
Are you ready to add a touch of comfort and style to your outdoor space? Building your own Adirondack chair from Home Depot materials is easier than you think.
Imagine sinking into a cozy chair you made yourself, perfect for relaxing on warm afternoons or enjoying a good book. In this guide, you’ll find simple steps and tips that make the process smooth, even if you’re new to woodworking.
Stick with me, and by the end, you’ll have a beautiful, sturdy Adirondack chair that you can be proud of—and that your friends will envy. Let’s get started!

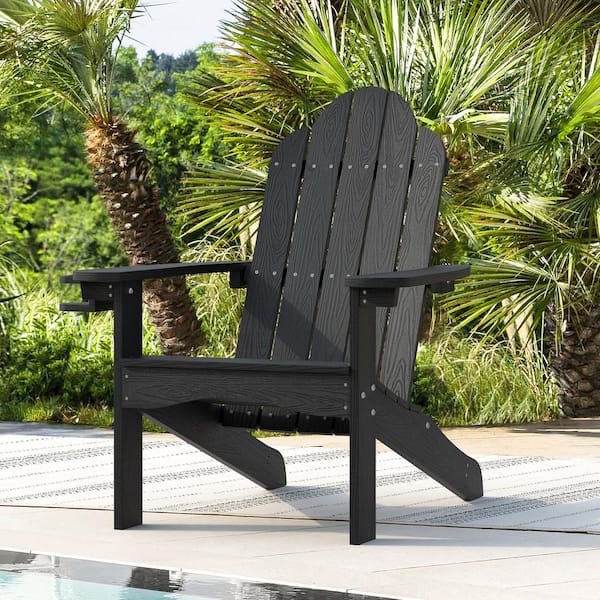
Credit: hamiltonparkhome.com
Materials And Tools Needed
Building an Adirondack chair from Home Depot materials requires the right supplies. Gather all items before starting your project.
Having the correct tools will help you work safely and efficiently. Make sure you have everything ready.
Wood Materials
Choose durable wood to ensure your chair lasts outdoors. Cedar and pine are popular choices at Home Depot.
- 1×4 cedar boards (for seat and back slats)
- 2×4 cedar boards (for frame and armrests)
- 1×2 cedar boards (for support pieces)
- Exterior wood screws
- Wood glue
Tools Required
You will need basic carpentry tools to cut and assemble the chair parts correctly.
| Tool | Purpose |
| Measuring tape | Measure wood accurately |
| Power drill | Drill holes and drive screws |
| Circular saw or miter saw | Cut wood to size |
| Sander or sandpaper | Smooth wood surfaces |
| Clamps | Hold pieces while gluing or screwing |
| Safety glasses | Protect eyes during cutting |
| Work gloves | Protect hands from splinters |
Finishing Supplies
Finish your Adirondack chair with stain or paint to protect the wood from weather.
Consider these finishing items:
- Exterior wood stain or paint
- Paintbrushes or foam brushes
- Clear outdoor sealant
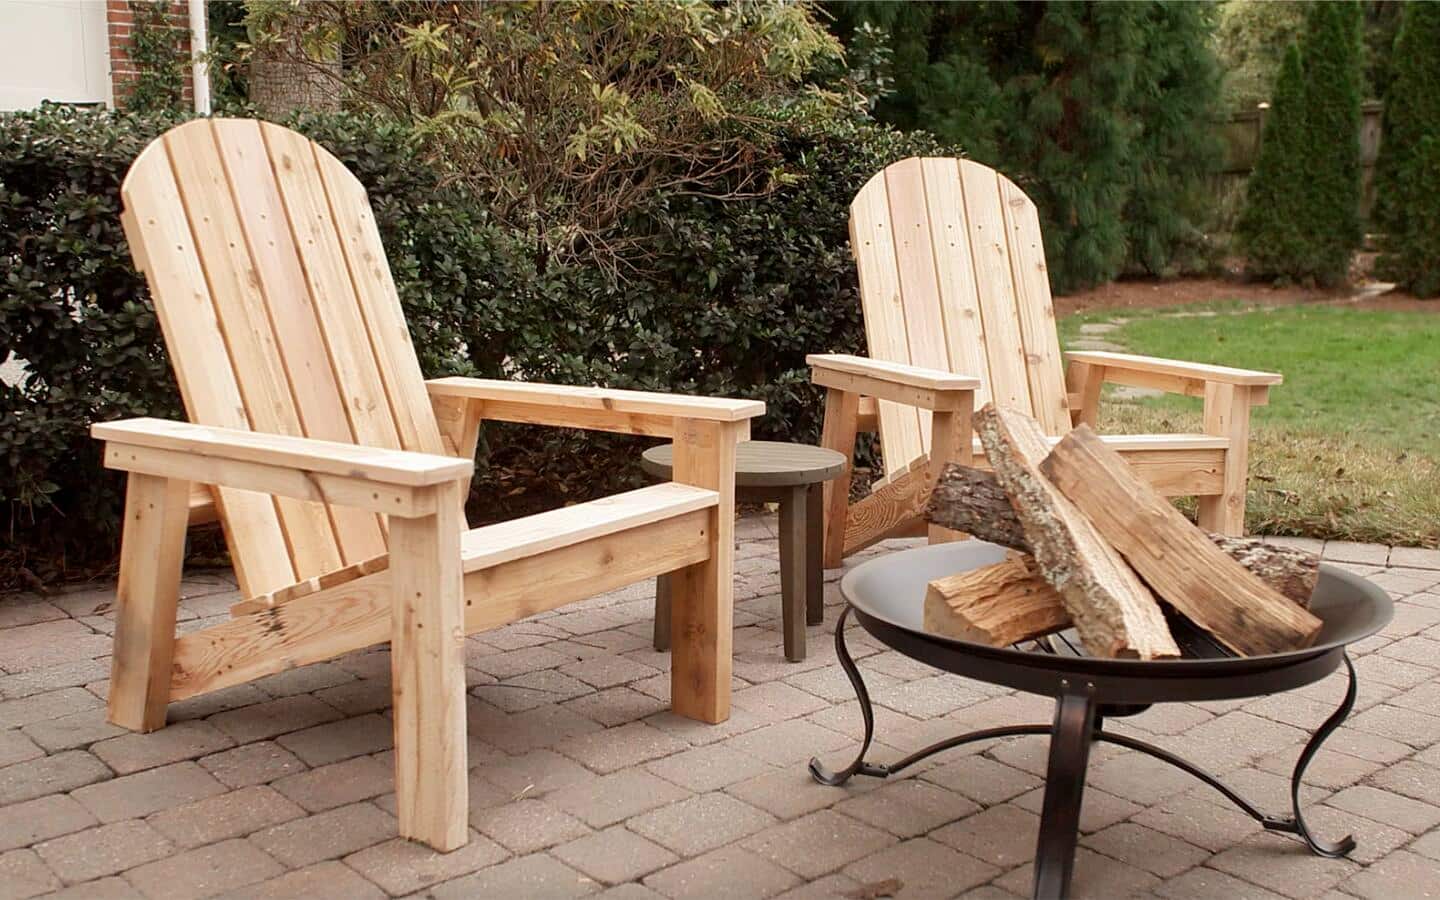
Credit: www.homedepot.com
Cutting And Preparing Wood
Building an Adirondack chair requires careful wood preparation. This ensures a sturdy and comfortable seat.
Start by selecting the right wood type. Cedar and pine are popular choices.
Gather Your Tools
Having the right tools is essential for cutting wood. You will need a saw and a drill.
- Hand saw or circular saw
- Power drill with bits
- Measuring tape
- Pencil for marking
Measure And Mark The Wood
Accurate measurements prevent mistakes. Use a measuring tape to mark your cuts.
Double-check all measurements before cutting. This saves time and wood.
Cut The Wood Pieces
Follow your measurements closely. Use your saw to cut each piece carefully.
Cut slowly to ensure smooth edges. This makes assembly easier.
Sand The Edges
Sanding removes rough spots. It helps prevent splinters.
Use sandpaper on all edges. Focus on corners and curves.
Check For Splits And Cracks
Inspect each piece for damage. Splits can weaken the chair.
Replace any damaged wood. This ensures a durable chair.
Assembling The Chair
Building an Adirondack chair from Home Depot parts can be fun and rewarding. This guide helps you put the chair together step by step.
Follow these instructions carefully to make sure your chair is strong and comfortable.
Prepare Your Workspace
Choose a flat, clean area to work. Gather all parts and tools before you start.
Keep screws, bolts, and wood pieces close by. This saves time during assembly.
Attach The Seat Slats
Lay the seat frame flat on your workspace. Align the seat slats evenly across the frame.
Use screws to secure each slat to the frame. Tighten the screws but do not over-tighten.
- Place slats with equal gaps
- Use a drill or screwdriver
- Check slats for evenness
Connect The Backrest
Stand the backrest upright. Align it with the seat frame’s rear edge.
Secure the backrest with screws through the frame into the backrest supports.
- Hold the backrest steady while screwing
- Use at least four screws for strength
- Double-check the angle for comfort
Attach The Armrests
Position the armrests on each side of the chair. Make sure they are level and even.
Use screws to fix the armrests to both the backrest and seat frame.
- Check alignment before screwing
- Secure both front and back ends
- Ensure armrests feel sturdy
Secure The Legs And Supports
Attach the front and rear legs to the seat frame. Use bolts or screws as needed.
Add any extra support braces under the seat for stability. Tighten all hardware firmly.
- Match legs to correct positions
- Use washers with bolts if provided
- Check that legs sit flat on the ground
Final Checks And Adjustments
Inspect all screws and bolts. Tighten any loose parts to avoid wobbling.
Test the chair by sitting gently. Make sure it feels stable and comfortable.
- Tighten loose screws
- Adjust armrests if needed
- Sand any rough edges
Finishing Touches And Maintenance
Finishing touches give your Adirondack chair a polished look. Proper maintenance keeps it strong and beautiful for years.
This guide covers the key steps to finish and care for your chair after building it from Home Depot materials.
Sanding And Smoothing
Use fine-grit sandpaper to smooth all surfaces. This removes rough spots and splinters.
- Start with medium-grit sandpaper for rough areas
- Finish with fine-grit for a smooth touch
- Sand edges and corners carefully
- Wipe dust off with a damp cloth before finishing
Applying Paint Or Stain
Choose paint or stain designed for outdoor wood. This protects the chair from weather damage.
Apply at least two coats. Let each coat dry fully before adding the next.
| Finish Type | Benefits | Drying Time |
| Exterior Paint | Bright color, strong protection | 4-6 hours |
| Wood Stain | Natural look, water resistant | 2-4 hours |
| Clear Sealer | Protects without color change | 1-2 hours |
Routine Cleaning
Clean your Adirondack chair regularly to keep it fresh and free of dirt.
- Use mild soap and water with a soft brush
- Rinse off soap with clean water
- Dry with a clean cloth or let air dry
- Do not use harsh chemicals or power washers
Seasonal Maintenance Tips
Protect your chair during harsh weather to extend its life.
- Cover or store indoors during winter months
- Check for loose screws and tighten as needed
- Reapply finish every 1-2 years
- Replace damaged wood parts promptly
Credit: www.homedepot.com
Frequently Asked Questions
What Materials Are Needed To Build An Adirondack Chair?
You need cedar or pine wood, exterior screws, waterproof glue, sandpaper, and outdoor paint or sealant. Home Depot supplies all these materials.
How Long Does It Take To Build An Adirondack Chair?
Building an Adirondack chair typically takes 3 to 5 hours for beginners. Experienced builders may finish faster.
Can I Customize My Adirondack Chair Design?
Yes, you can customize the chair’s size, color, and finish to fit your style and outdoor decor.
What Tools Are Essential For Building This Chair?
Basic tools include a saw, drill, screwdriver, measuring tape, clamps, and a sander. Home Depot offers these tools.
Conclusion
Building your own Adirondack chair from Home Depot materials is simple and fun. Follow each step carefully, and you will get a sturdy chair. Take your time with measuring and cutting wood pieces. Use the right tools for a smooth finish.
This project brings joy and a great place to relax outdoors. Enjoy your new chair on sunny days or cool evenings. Now, you have a beautiful chair made by your own hands. Ready to sit back and enjoy?


