
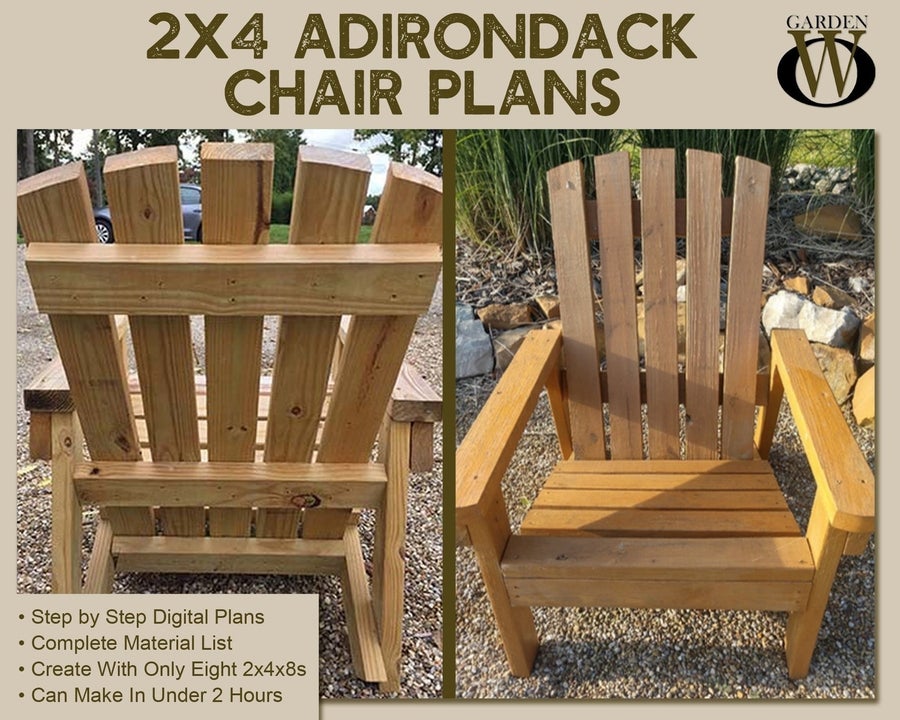
Are you ready to create a classic Adirondack chair that will become the centerpiece of your outdoor space? Imagine relaxing in a chair you built with your own hands—comfortable, sturdy, and perfectly suited to your style.
Building an Adirondack chair might seem tricky, but with the right steps, you can do it easily, even if you’re new to woodworking. In this guide, you’ll find clear, simple instructions that break down the process into manageable parts. By the end, you’ll have a beautiful chair to enjoy and show off.
Let’s get started and turn your outdoor dreams into reality!
Materials And Tools Needed
Building an Adirondack chair takes some basic materials and tools. Getting the right wood and tools helps you work faster.
This guide explains which wood to pick and which tools to prepare before you start.
Choosing The Right Wood
Good wood makes your Adirondack chair strong and lasts long. Use wood that can handle weather changes if you plan to keep it outside.
Here are some common wood types for Adirondack chairs:
- Cedar: Light, strong, and resists rot
- Redwood: Durable and looks nice
- Pine: Affordable but needs sealing
- Teak: Very durable but costly
Essential Tools For The Project
Having the right tools makes building easier and safer. You do not need many special tools for this project.
Here are the tools you will need:
- Measuring tape for accurate cuts
- Hand saw or circular saw to cut wood
- Drill for screws and holes
- Screwdriver for tightening screws
- Sandpaper or electric sander to smooth edges
- Clamps to hold pieces together
- Wood glue for extra strength
- Safety goggles and gloves for protection
Credit: kmccberwick.ca
Preparing The Wood Pieces
Building an Adirondack chair starts with preparing the wood pieces. This step is crucial for stability and comfort.
Proper preparation ensures that each piece fits perfectly. This helps in achieving a durable and attractive chair.
Measuring And Marking
Accurate measurements are key to a successful project. Take your time to mark each piece carefully.
- Use a tape measure for accuracy.
- Mark lines with a pencil for clear visibility.
- Double-check measurements before cutting.
Cutting And Sanding
Once the pieces are marked, proceed to cut and sand them. Smooth edges enhance safety and appearance.
Here’s a simple guideline for cutting and sanding:
- Use a saw to cut along the marked lines.
- Sand the edges with sandpaper for smoothness.
- Ensure all pieces are free from splinters.
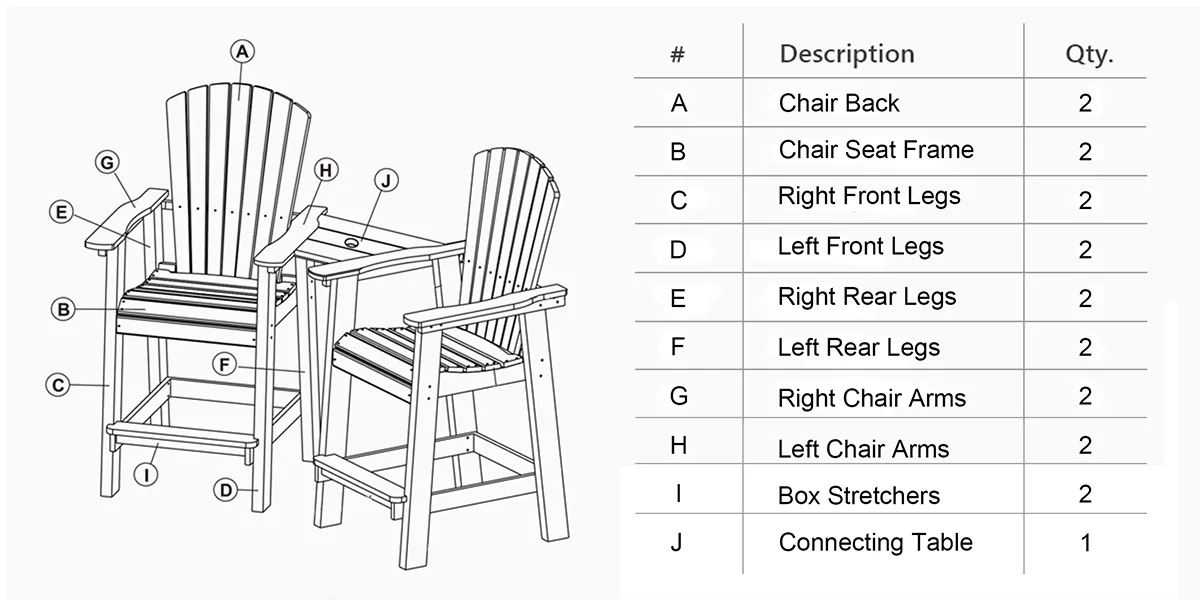
Assembling The Chair Frame
Building the frame is the first step to make an Adirondack chair. The frame holds the seat, backrest, and legs together.
Use strong wood and screws to make sure the frame stays sturdy for a long time.
Building The Seat And Backrest
Start by cutting the seat slats and backrest boards to the right size. The seat slats lie flat and the backrest boards are angled.
Attach the seat slats side by side on the frame. Leave small gaps for water drainage.
- Place seat slats evenly spaced on the seat frame
- Screw each slat tightly to the frame
- Attach backrest boards at a slight angle
- Make sure the backrest is secure and comfortable
Attaching The Legs And Supports
Next, fix the legs to the seat frame. The front legs go under the seat and the back legs support the backrest.
Add extra wooden supports between legs and frame. This keeps the chair steady and strong.
- Screw front legs firmly under the seat
- Attach back legs to support the backrest angle
- Install cross supports between legs for strength
- Double-check all screws are tight

Credit: taso.mn
Finishing Touches
After assembling your Adirondack chair, the final steps make it look great and last long. These finishing touches protect the wood and give a smooth feel.
We will cover sanding and smoothing, then painting and sealing. These steps are key to a quality chair.
Sanding And Smoothing
Start by sanding all surfaces with medium-grit sandpaper. This removes rough spots and splinters. Next, use fine-grit sandpaper to smooth the wood.
- Sand edges and corners carefully
- Wipe off dust with a dry cloth
- Check for any rough areas and sand again
- Do not skip sanding the seat and back slats
Painting And Sealing
Painting adds color and protects the wood from weather. Sealing prevents moisture damage. Choose a paint and sealer made for outdoor wood.
| Step | Details |
| Choose Paint | Use exterior latex or oil-based paint |
| Apply Primer | Helps paint stick and lasts longer |
| Paint Chair | Use even strokes, cover all parts |
| Let Dry | Wait 24 hours before next coat |
| Apply Sealer | Protects paint and wood from moisture |
| Final Dry | Let the chair dry fully before use |
Credit: serwalloutdoor.com
Frequently Asked Questions
What Materials Are Needed To Build An Adirondack Chair?
You need wood planks, screws, wood glue, sandpaper, and outdoor paint or sealant. Choose durable, weather-resistant wood like cedar or pine.
How Long Does It Take To Build An Adirondack Chair?
Building an Adirondack chair typically takes 4 to 6 hours. This includes cutting, assembling, sanding, and finishing the chair.
Can Beginners Build An Adirondack Chair Easily?
Yes, beginners can build it with basic tools and clear instructions. Follow step-by-step plans and take your time for best results.
What Tools Are Essential For Adirondack Chair Construction?
Basic tools include a saw, drill, screwdriver, measuring tape, and sander. These tools help cut, assemble, and smooth the wood effectively.
Conclusion
Building an Adirondack chair takes time and care. Follow each step clearly and patiently. Use the right tools and materials for best results. Enjoy the process of creating something useful and beautiful. Your finished chair will bring comfort and style to any space.
Share your new skill with friends or family. Keep practicing to improve your woodworking abilities. This project shows that simple steps can lead to great results. Now, take pride in your handmade Adirondack chair.


