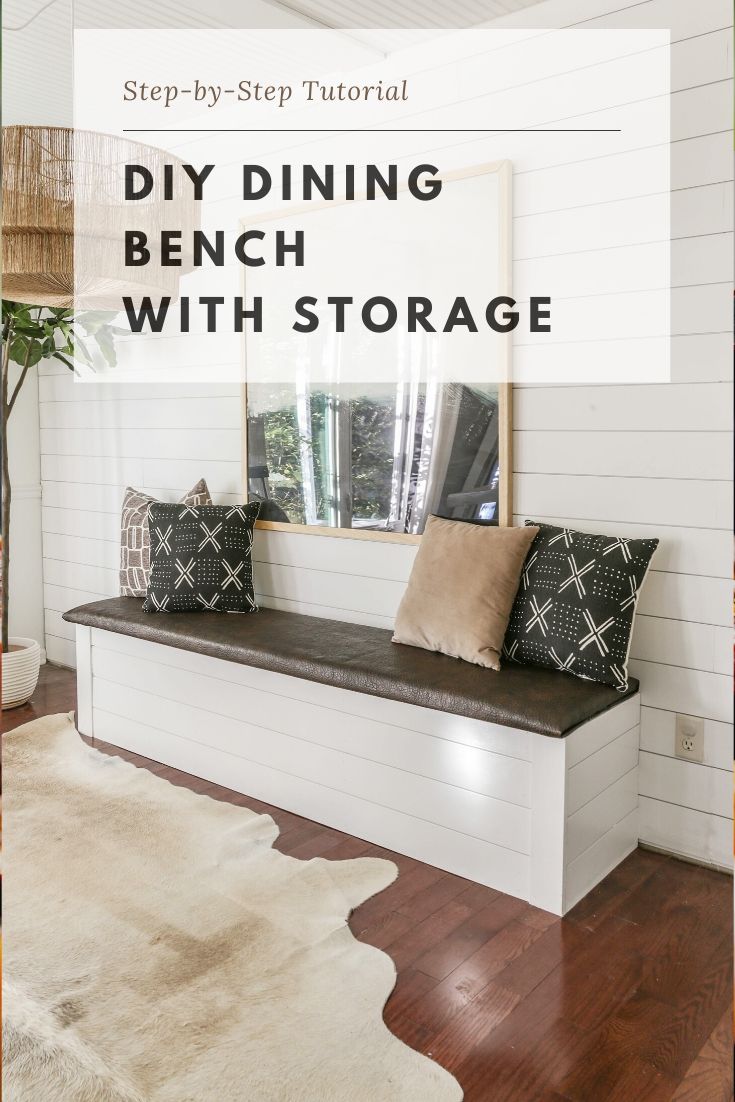
Looking to add charm and extra storage to your home? Building a shiplap storage bench might be just what you need.
It’s a simple project that transforms any space while giving you a place to sit and store your belongings. Imagine having a beautiful bench that fits perfectly in your entryway, living room, or bedroom — all made by your own hands.
In this guide, you’ll discover easy steps and tips to create your very own shiplap storage bench. Ready to make something both stylish and practical? Let’s get started!

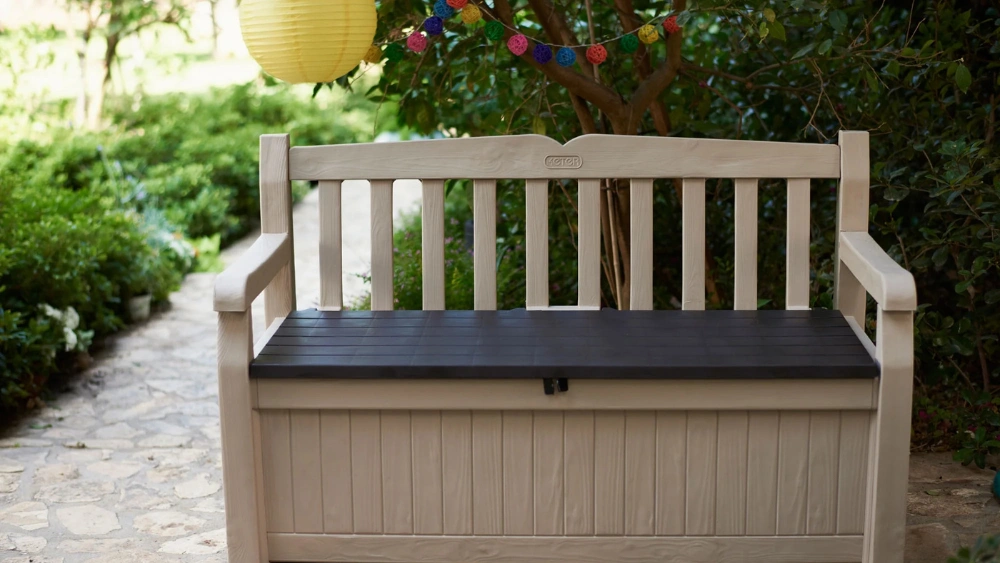
Credit: www.theawesomeorange.com
Materials And Tools Needed
Building a shiplap storage bench is a fun project. You need the right materials and tools to make it sturdy and stylish.
This guide lists the essential items to prepare before starting your bench.
Materials
Choose strong wood and hardware for your shiplap bench. Quality materials ensure your bench lasts long.
- 1×6 shiplap boards for the bench exterior
- 2×4 lumber for the frame and support
- 3/4 inch plywood for the bench seat and storage base
- Wood screws (1 1/4 inch and 2 1/2 inch)
- Wood glue for extra strength
- Sandpaper (medium and fine grit)
- Wood filler to cover holes and gaps
- Primer and paint or wood stain
- Hinges for the bench seat (if you want a lift-top)
Tools
Use basic woodworking tools to cut and assemble the bench. These tools make the work easier and safer.
- Measuring tape for accurate measurements
- Speed square to mark straight cuts
- Circular saw or miter saw for cutting wood
- Drill with screwdriver bits
- Clamps to hold pieces while gluing
- Sander or sanding block for smooth surfaces
- Paintbrushes or rollers for finishing
- Pencil for marking wood
- Safety glasses and ear protection
Credit: designingvibes.com
Cutting And Preparing The Wood
Cutting and preparing the wood is the first step to build your shiplap storage bench. Good preparation helps the wood fit well and last longer.
Take your time to measure and cut carefully. This will make your bench strong and look neat.
Measure And Mark The Wood
Start by measuring each piece of wood you need. Use a tape measure and pencil to mark the cuts clearly.
Double-check your measurements before cutting. This prevents mistakes and wasted wood.
- Measure length and width of each part
- Mark the wood with a sharp pencil
- Use a square tool for straight lines
- Label each piece to keep track
Cut The Wood Pieces
Use a saw to cut the wood along your marks. A miter saw or circular saw works well for straight cuts.
Cut slowly and hold the wood firmly. Smooth edges make assembly easier and safer.
- Wear safety glasses and gloves
- Clamp the wood to a workbench
- Follow the pencil lines carefully
- Sand rough edges after cutting
Sand The Wood Smooth
Sanding removes splinters and rough spots. Use sandpaper or a power sander for best results.
Start with coarse sandpaper, then finish with fine grit. This makes the wood smooth and ready for painting or staining.
- Begin with 80-grit sandpaper
- Finish with 120 or 150-grit sandpaper
- Sand along the grain of the wood
- Wipe off dust with a clean cloth
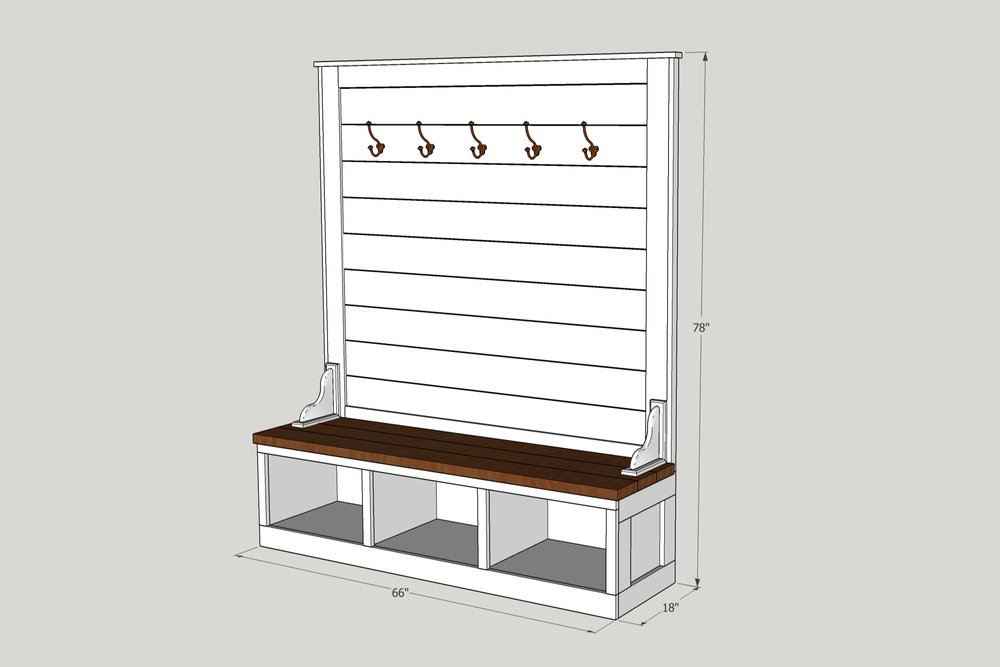
Assembling The Bench Frame
Building a shiplap storage bench starts with assembling the frame. A strong frame ensures the bench is sturdy and durable for everyday use.
In this guide, we will walk through the steps to create a reliable frame for your shiplap storage bench.
Gather Your Materials
Before you start, make sure you have all the necessary materials and tools. This will help the process run smoothly without interruptions.
- Wooden boards for the frame
- Wood screws
- Drill
- Measuring tape
- Wood glue
- Clamp
Cut The Boards
Measure and cut the wooden boards according to the dimensions required for your bench. Accurate cuts are crucial for a snug fit.
| Board Type | Length |
| Side Panels | 48 inches |
| Front and Back Panels | 60 inches |
| Top and Bottom Panels | 18 inches |
Assemble The Frame
Join the cut boards together to form the frame. Secure each joint with wood screws and wood glue for extra strength.
Secure The Frame With Clamps
Use clamps to hold the frame in place while the glue dries. This keeps the structure stable and prevents any movement.
Check for any misalignment and adjust before the glue fully cures. A perfectly aligned frame will make the next steps easier.
Credit: www.theawesomeorange.com
Adding Shiplap And Finishing Touches
Adding shiplap boards gives your storage bench a clean, classic look. It also adds strength and style to the project.
Finishing touches protect the wood and make the bench look polished. These steps help your bench last longer.
Installing The Shiplap Boards
Cut the shiplap boards to fit the front and sides of the bench. Make sure each board is the same length for a neat look.
Attach the boards using wood glue and finishing nails. Start from the bottom and work your way up to keep the lines straight.
- Measure and cut all boards before attaching
- Use a level to keep boards straight
- Apply wood glue to help hold boards firmly
- Use finishing nails to secure each board
- Fill nail holes with wood filler for a smooth finish
Sanding The Bench
Sand all surfaces with medium-grit sandpaper to remove rough edges. Then use fine-grit sandpaper for a smooth finish.
Pay close attention to corners and joints to avoid splinters. Wipe the dust off before painting or staining.
Painting Or Staining
Choose paint or stain that fits your room’s style. Paint gives a solid color, while stain shows the wood grain.
Apply one or two coats evenly. Let each coat dry completely before adding the next one.
- Use a brush or roller for paint
- Use a cloth or brush for stain
- Follow the product’s drying time
- Apply a second coat for better coverage
Adding Protective Finish
Apply a clear polyurethane or sealant to protect the bench from scratches and spills. This step helps the bench last longer.
Use a clean brush and apply thin coats. Allow each coat to dry fully before applying the next.
- Choose water-based for less odor
- Choose oil-based for stronger protection
- Apply at least two coats
- Sand lightly between coats if needed
Adding Hardware And Cushions
Attach handles or knobs to make the storage easy to open. Choose hardware that matches your style and is sturdy.
Add a cushion on top for comfort. Measure the bench and select a cushion that fits well and complements the finish.
- Use screws to secure hardware firmly
- Choose a weather-resistant cushion if used outdoors
- Select a cushion cover that is easy to clean
Frequently Asked Questions
What Materials Are Needed For A Shiplap Storage Bench?
You need shiplap boards, wood screws, wood glue, paint, hinges, and cushioning. Basic tools include a saw, drill, and measuring tape.
How Do You Assemble A Shiplap Storage Bench?
Cut the boards to size, assemble the frame, attach the shiplap panels, and install the lid with hinges. Finish by sanding and painting.
Can I Customize The Size Of The Storage Bench?
Yes, you can adjust the bench dimensions to fit your space. Measure carefully before cutting materials for a perfect fit.
What Type Of Wood Is Best For A Shiplap Bench?
Pine or cedar wood works well for durability and a smooth finish. Both are easy to paint and maintain.
Conclusion
Building a shiplap storage bench adds style and function to any space. The steps are simple and clear to follow. You get a sturdy bench with useful storage inside. This project saves money compared to buying furniture. Plus, it lets you personalize your home.
Try it out and enjoy a new piece made by you. Small efforts bring big rewards in home improvement. Your space will feel fresh and organized. Start with the tools and materials, then create your bench today.


