
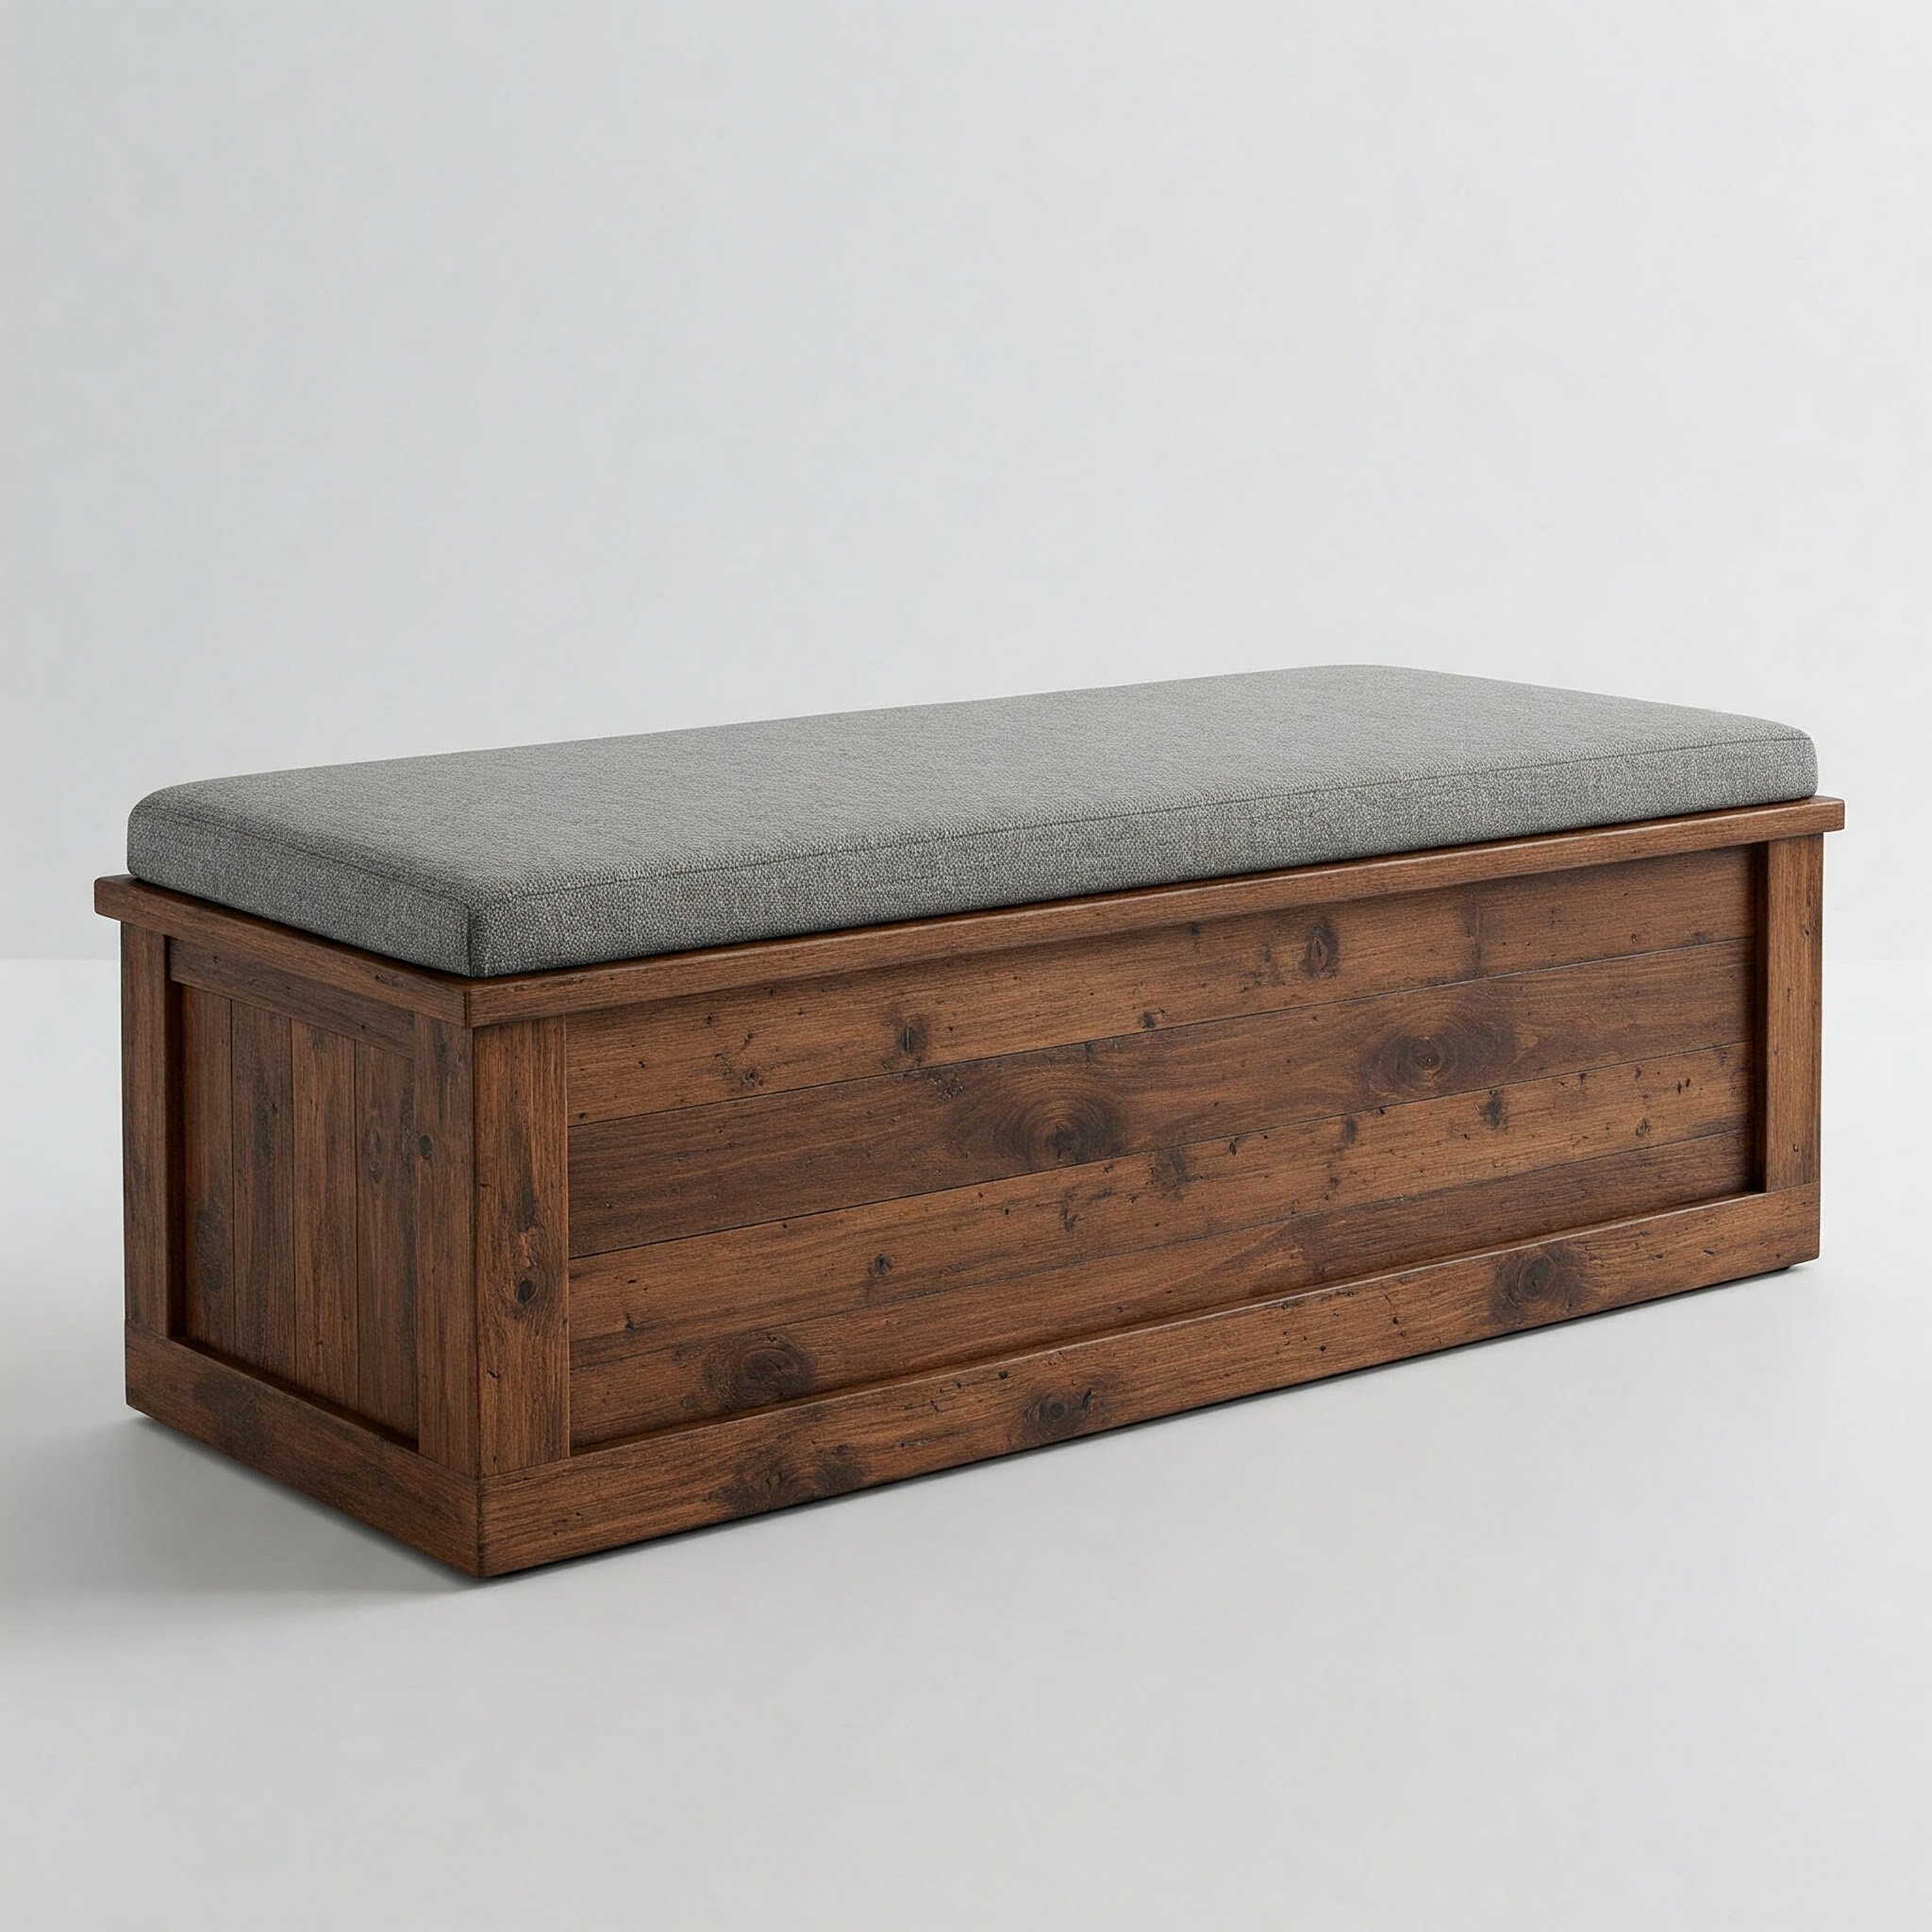
Are you looking for a simple way to add both style and storage to your home? Making a wooden storage bench could be the perfect project for you.
Imagine having a beautiful bench that not only offers a comfy seat but also hides away your clutter. In this guide, you’ll discover easy steps to build your own storage bench, even if you’re new to woodworking. By the end, you’ll have a practical piece that fits your space and personality.
Ready to turn wood into something useful and charming? Let’s get started!

Credit: crystelmontenegrohome.com
Choosing Materials And Tools
Making a wooden storage bench needs the right materials and tools. Choosing them well helps you build a strong bench.
This guide covers how to pick the wood and the tools you need for the project.
Selecting The Right Wood
Pick wood that is strong and easy to work with. Pine is a good choice for beginners. It is light and affordable.
Hardwoods like oak and maple are more durable but harder to cut. Choose based on your skill level and bench use.
- Pine: Soft, easy to cut, good for indoor use
- Oak: Hard, strong, good for heavy use
- Maple: Smooth finish, durable, more expensive
- Cedar: Resists moisture, good for outdoor benches
Essential Tools Needed
You need basic tools to cut, join, and finish the wood. Having the right tools makes your work easier and safer.
Some tools are optional but helpful. Start with the basics and add more as you gain experience.
- Measuring tape – for accurate cuts
- Handsaw or circular saw – to cut wood
- Hammer and nails or drill and screws – to join pieces
- Sandpaper or electric sander – to smooth surfaces
- Wood glue – for stronger joints
- Clamps – to hold pieces while drying
- Square – to check right angles
Credit: www.liveneat.com
Planning And Measuring
Building a wooden storage bench requires careful planning and precise measurements. This ensures that your bench fits perfectly in its intended space.
Consider the design and dimensions before starting. These steps will guide you in creating a functional and attractive piece.
Designing Your Bench
Decide on the style of your bench. Think about the room where it will be placed. A rustic design might suit a country-style home, while a sleek design fits modern spaces.
Choose the type of wood that complements your decor. Pine is budget-friendly and easy to work with. Oak is more durable and offers a classic look.
- Consider seat height for comfort
- Choose between a backrest or a simple seat
- Plan for storage space, like bins or shelves
Taking Accurate Measurements
Use a tape measure to get the dimensions of the area where the bench will sit. Measure the width, height, and depth of the space.
Note the measurements carefully. This will help you cut the wood accurately, ensuring all pieces fit together properly.
| Space Width | Measure from side to side |
| Space Height | Measure from floor to desired seat height |
| Space Depth | Measure from front to back |
Cutting And Assembly
Making a wooden storage bench needs careful cutting and assembly. Precise cuts help the parts fit well. Strong assembly makes the bench safe to use.
This guide shows how to cut the wood pieces and assemble the frame step by step. Follow the instructions to build a sturdy bench.
Cutting Wood Pieces
Start by measuring and marking each piece of wood. Use a saw to cut the pieces to the correct size. Smooth the edges with sandpaper to avoid splinters.
- Cut two side panels for the bench.
- Cut the front and back panels.
- Cut the seat panel to fit the top.
- Cut support pieces for inside the frame.
Assembling The Bench Frame
Lay the side panels flat on the ground. Attach the front and back panels to the sides using wood screws. Make sure the corners are square before tightening the screws.
| Part | Size (inches) | Quantity |
| Side panel | 18 x 36 | 2 |
| Front panel | 18 x 36 | 1 |
| Back panel | 18 x 36 | 1 |
| Seat panel | 18 x 36 | 1 |
| Support pieces | 2 x 36 | 2 |
Attach the support pieces inside the frame for extra strength. Finally, place the seat panel on top and secure it with screws. Check the bench for stability before use.

Credit: www.youtube.com
Finishing Touches
Adding the final touches to your wooden storage bench makes it look neat and lasts longer. Careful finishing improves both the style and function of your bench.
This section covers sanding, painting or staining, and adding storage features to complete your project.
Sanding And Smoothing
Start by sanding the entire bench to remove rough edges and splinters. Use medium-grit sandpaper first, then fine-grit for a smooth finish. Sand along the wood grain to avoid scratches.
- Check corners and edges carefully
- Sand the bench seat and storage lid thoroughly
- Wipe off dust with a damp cloth after sanding
Painting Or Staining
Choose paint or stain based on the look you want. Paint gives bright color and full coverage. Stain shows the wood’s natural grain and protects it.
| Type | Benefits | Drawbacks |
| Paint | Color variety, covers imperfections | May chip, hides wood grain |
| Stain | Enhances wood look, easy to touch up | Less color options, needs sealant |
Apply two coats for best protection. Let the first coat dry fully before adding the second.
Adding Storage Features
Make your bench more useful by adding storage features inside or outside. Consider organizing tools or cushions for easy access.
- Dividers to separate items inside the bench
- Hooks on the sides for hanging small tools or bags
- Soft cushions on top for comfortable seating
- Handles or wheels to move the bench easily
Frequently Asked Questions
What Materials Are Needed To Make A Wooden Storage Bench?
You need wood boards, screws, wood glue, hinges, sandpaper, paint or stain, and a saw. These basics ensure a sturdy, functional bench. Additional tools like a drill and measuring tape help accuracy and durability during assembly.
How Long Does It Take To Build A Wooden Storage Bench?
Building a wooden storage bench typically takes 4 to 6 hours. Time varies based on skill level and design complexity. Preparation, cutting, assembly, sanding, and finishing all contribute to the total duration.
What Type Of Wood Is Best For Storage Benches?
Pine, cedar, and oak are popular choices for storage benches. Pine is affordable and easy to work with, cedar resists moisture, and oak offers durability and a classic look. Choose based on budget and desired style.
How Do I Ensure The Bench Is Sturdy And Safe?
Use quality wood, tight joints, and proper screws for strength. Reinforce corners with brackets and check for wobbling. Sand edges smoothly to avoid splinters and apply a protective finish to prevent damage.
Conclusion
Building a wooden storage bench is a useful skill to have. It saves money and adds charm to your space. You can customize it to fit any room or style. The process is simple with the right tools and steps.
Enjoy creating something practical and beautiful with your own hands. Try making one today and see how rewarding it feels. A wooden bench brings both function and warmth to your home.


