Imagine having a cozy spot right by your door where you can sit down, take off your shoes, and store everything neatly out of sight. That’s exactly what a mudroom bench with storage can do for your home.
If you’ve ever struggled with cluttered entryways or missing a place to sit and organize your stuff, this project is made for you. In this guide, you’ll learn simple, step-by-step instructions to build a sturdy, stylish bench that fits your space perfectly.
Ready to transform your mudroom into a functional and inviting area? Let’s get started.
Choosing Materials
Building a mudroom bench with storage needs the right materials. Choosing good materials helps the bench last longer.
Think about the wood type and the tools you need. Good choices make the project easier and the bench stronger.
Selecting Wood Types
Pick wood that fits your style and use. Hardwoods like oak and maple work well. They are strong and look nice.
- Pine is soft but easy to work with and cheaper.
- Oak is very strong and has a nice grain pattern.
- Maple is hard and smooth, good for a polished look.
- Birch is durable and has a light color.
- Plywood can be used for hidden parts like shelves.
Gathering Tools And Supplies
| Tool | Purpose |
| Measuring tape | Measure wood accurately |
| Saw | Cut wood pieces |
| Drill | Make holes and drive screws |
| Screwdriver | Tighten screws |
| Sandpaper | Smooth wood surfaces |
| Wood glue | Hold pieces firmly |

Credit: us.plankhardware.com
Designing Your Bench
Building a mudroom bench with storage is a great way to add function to your entryway. A well-designed bench can help keep your space tidy and organized.
To start, focus on designing your bench. Consider the space you have and the storage needs of your household.
Measuring Space
Measure the area where you plan to place the bench. Accurate measurements ensure the bench fits well and looks good.
Consider the height, width, and depth of the space. Leave room for doors or other features nearby.
- Measure the width for the bench placement
- Check the height for seating comfort
- Ensure depth allows for easy movement
Planning Storage Compartments
Think about what items you need to store in the bench. Planning storage compartments helps keep things organized.
Decide if you need open shelves, drawers, or bins. Each option serves different storage needs.
- Open shelves for shoes and bags
- Drawers for smaller items like gloves
- Bins for seasonal gear
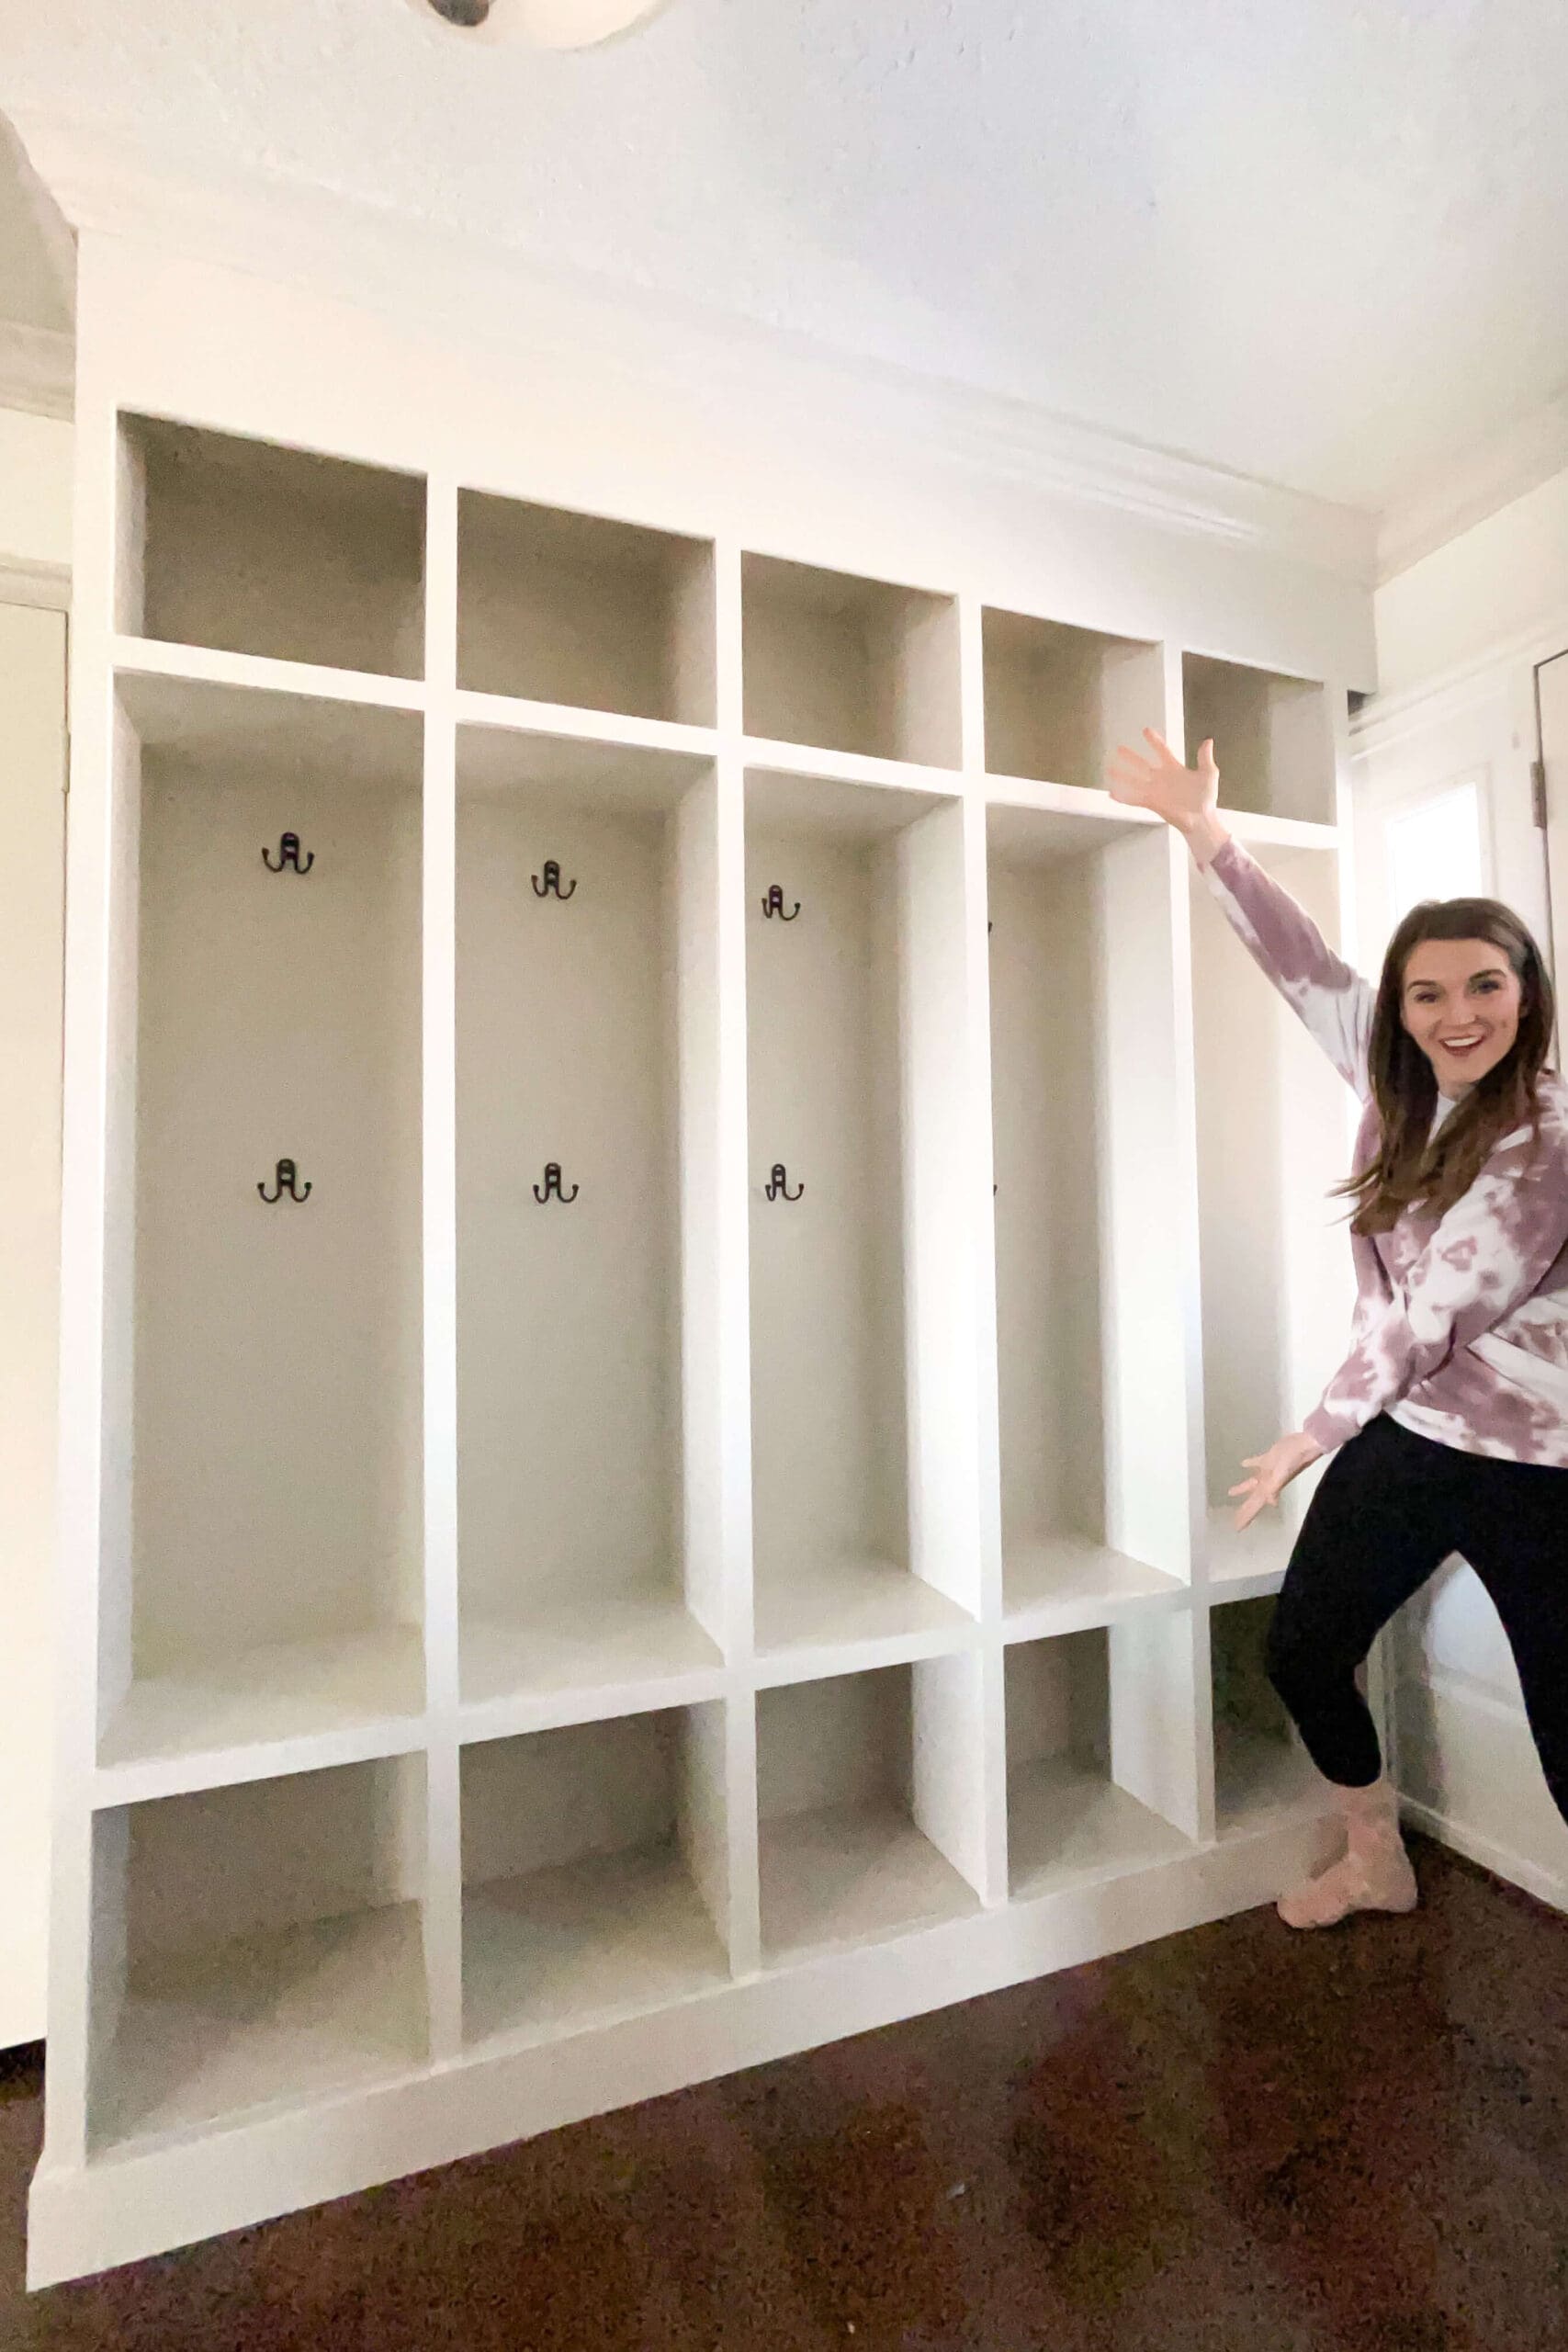
Building The Bench Frame
Building the bench frame is the first big step in making your mudroom bench. A strong frame will hold the bench and storage well.
You will need some basic tools and wood pieces cut to size. Follow clear steps for a sturdy frame.
Cutting Wood Pieces
Cut wood pieces carefully to get the right shapes and sizes. Use a measuring tape and pencil to mark the cuts.
Common wood parts include legs, side panels, seat supports, and storage dividers. Cut each piece straight and smooth.
- Cut 2 long side panels for the frame
- Cut 2 shorter end panels
- Cut 4 legs of equal length
- Cut seat supports to fit between the side panels
- Cut storage dividers if your design has compartments
Assembling The Frame
Start by attaching the legs to the side panels. Use wood glue and screws for strong joints. Make sure everything is square.
Add the end panels next to connect the sides. Then fix the seat supports across the frame. Check alignment as you work.
- Attach legs to side panels with screws and glue
- Fix end panels between the legs
- Secure seat supports inside the frame
- Check that the frame is level and square
- Let glue dry before adding storage parts

Credit: crystelmontenegrohome.com
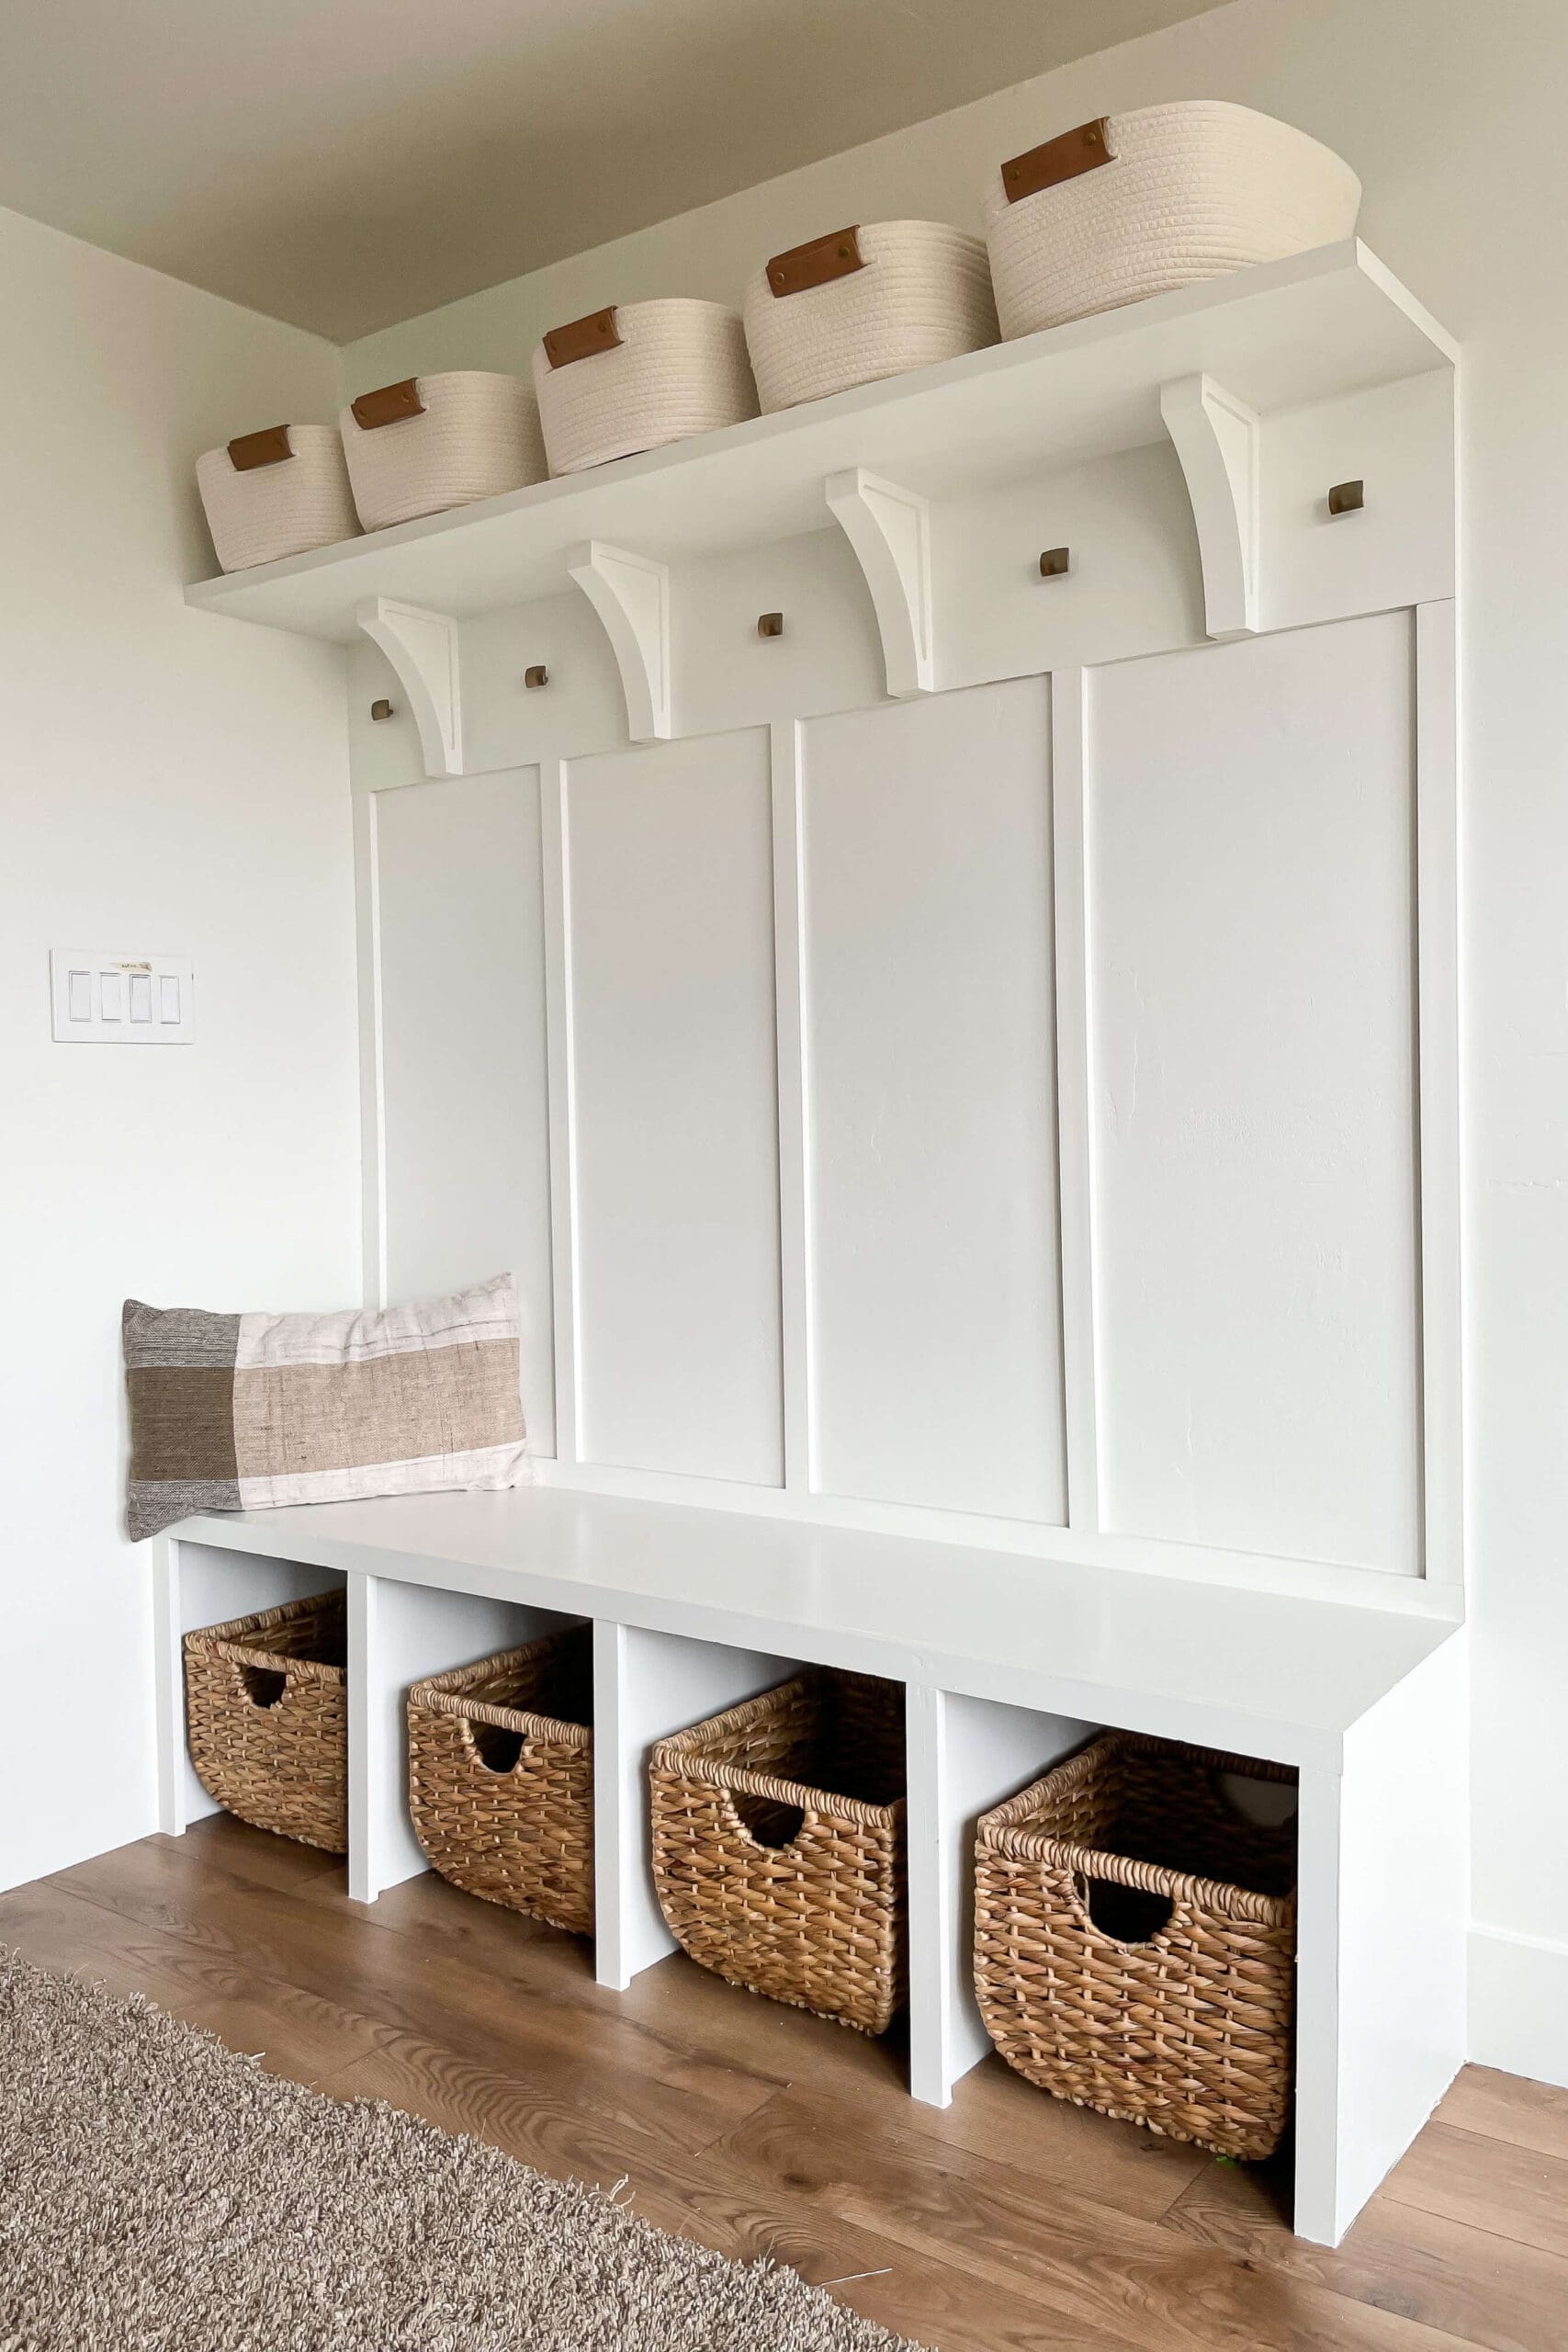
Adding Storage And Finishing Touches
A mudroom bench is more useful when it has storage. Adding bins or shelves keeps things tidy. Finishing touches protect your work and improve looks.
This guide shows how to add storage and finish your mudroom bench nicely.
Installing Storage Bins Or Shelves
Storage bins or shelves under the bench help organize shoes, hats, and gloves. Choose the right size to fit your space and needs.
- Measure the space under the bench carefully.
- Cut shelves from plywood or buy ready-made storage bins.
- Attach shelves with screws and brackets for stability.
- Use baskets or bins that slide in and out easily.
- Label bins to find items faster.
Painting And Sealing
Paint and seal the bench to protect it from dirt and water. This makes it last longer and look better.
| Material | Recommended Finish | Dry Time |
| Wood | Water-based paint and clear polyurethane | 2-4 hours |
| Metal hardware | Rust-resistant spray paint | 1 hour |
| Storage bins | Plastic or fabric, no paint needed | N/A |
Credit: crystelmontenegrohome.com
Frequently Asked Questions
What Materials Are Needed To Build A Mudroom Bench?
You need wood boards, screws, wood glue, sandpaper, paint or stain, and storage hardware. Choose durable, moisture-resistant wood for longevity and easy maintenance.
How Much Time Does It Take To Build A Mudroom Bench?
Building a mudroom bench typically takes 4 to 6 hours, including cutting, assembling, sanding, and finishing. Time varies with design complexity and skill level.
Can I Customize The Storage Compartments In The Bench?
Yes, customize compartments by adding cubbies, drawers, or shelves to fit your storage needs. Tailor size and layout for shoes, bags, and other items.
What Tools Are Required For Constructing The Bench?
Essential tools include a saw, drill, screwdriver, measuring tape, level, and clamps. These help ensure precise cuts and secure assembly for a sturdy bench.
Conclusion
Building a mudroom bench with storage adds both style and function to your home. You create a space to sit and store shoes, bags, and more. The project is simple and uses basic tools anyone can handle. Taking time to measure and plan helps avoid mistakes.
Personalizing your bench with paint or cushions makes it unique. Enjoy a tidy mudroom that welcomes family and guests alike. This small addition can make daily routines easier and your home neater. Give it a try and see the difference it makes!


