
Are you looking for a stylish and sturdy way to organize your space? A pipe shelving unit might be just what you need.
It’s not only practical but also adds a cool, industrial look to any room. Imagine having a custom shelf that fits perfectly in your home or office, built by your own hands. In this guide, you’ll discover simple steps to create your own pipe shelving unit without any hassle.
Ready to transform your space and impress your friends? Let’s get started!
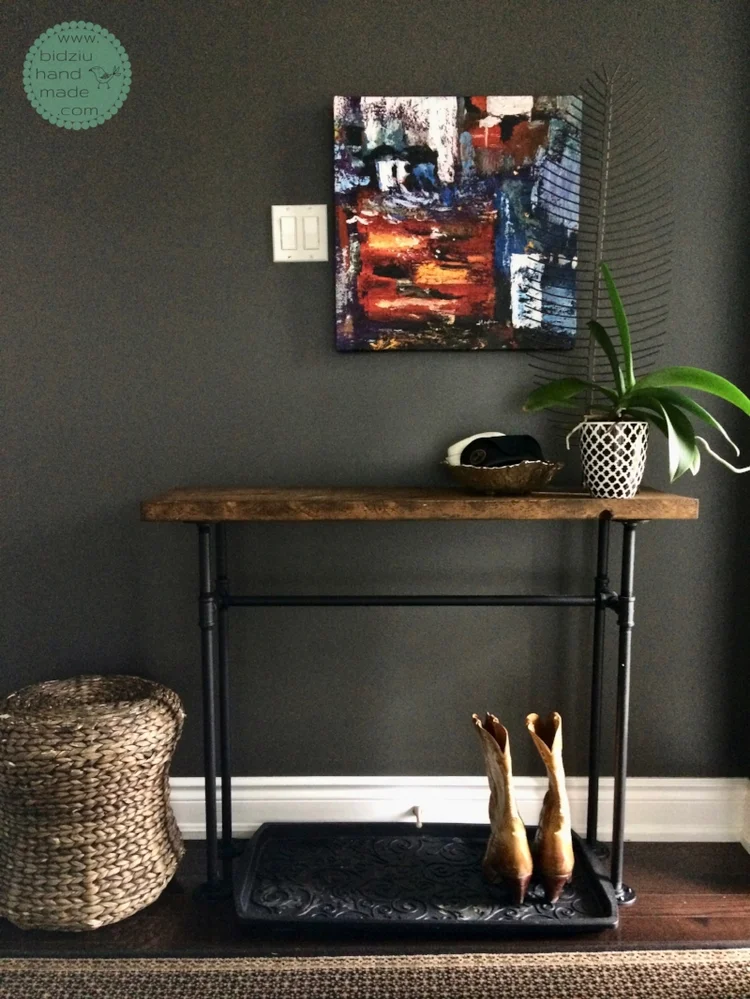
Credit: www.bidziuhandmade.com
Materials And Tools Needed
Building a pipe shelving unit is a practical project. You need the right materials and tools. This guide helps you gather everything before you start.
Choosing good pipes, wood, and tools makes your shelf strong and lasting. Let’s look at each material and tool type carefully.
Types Of Pipes
Pipes form the frame of the shelving unit. You can pick from several kinds based on style and strength.
- Black Iron Pipes:Strong and industrial looking. They are heavy and durable.
- Galvanized Pipes:Rust-resistant and good for damp areas.
- Copper Pipes:Stylish and shiny but cost more.
- Steel Pipes:Very sturdy, ideal for heavy shelves.
Wood For Shelves
The wood holds your items. Choose wood that matches your style and fits the space.
| Wood Type | Features | Price Range |
|---|---|---|
| Pine | Lightweight, easy to work with | Low |
| Oak | Strong, classic grain pattern | Medium |
| Walnut | Dark color, very durable | High |
| Reclaimed Wood | Eco-friendly, unique character | Varies |
Essential Tools
These tools help you cut, join, and assemble the shelving unit. Make sure you have them ready.
- Pipe wrench or adjustable wrench
- Measuring tape
- Power drill with drill bits
- Wood saw or circular saw
- Level to keep shelves straight
- Sandpaper or electric sander
- Screwdriver or impact driver
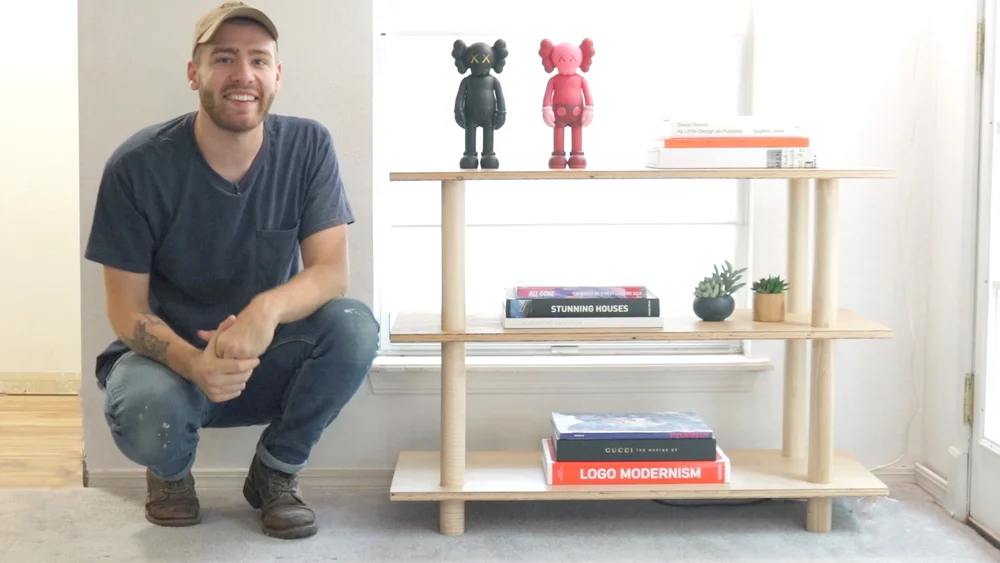
Credit: www.modernbuilds.com
Planning Your Shelving Unit
Building a pipe shelving unit can add a modern touch to your home. Proper planning ensures your project will be successful and fit your space.
Let’s break down the steps needed to plan your shelving unit effectively. We will cover measuring your space, design ideas, and choosing the right pipe sizes.
Measuring Space
Accurate measurements are crucial for a perfect fit. Use a measuring tape to determine the width, height, and depth of your intended shelving area.
- Measure the width of the wall or area.
- Determine the desired height for the shelves.
- Check the depth to ensure shelves do not protrude too much.
Design And Layout Ideas
Consider how you want the shelves to look and function. A good design will be both practical and visually pleasing.
- Decide on the number of shelves needed.
- Choose a layout: vertical, horizontal, or staggered.
- Think about the items you plan to store or display.
Choosing Pipe Sizes
Selecting the right pipe sizes ensures stability and durability. Pipes come in various diameters and lengths.
| Pipe Size | Recommended Use |
| 1/2 inch | Lightweight items |
| 3/4 inch | Medium weight items |
| 1 inch | Heavy items |
Step-by-step Assembly
Building a pipe shelving unit is a simple project. You need pipes, wood planks, and some tools. Follow the steps carefully for a sturdy shelf.
We will start with cutting the pipes and wood. Then, assemble the frame. Finally, attach the shelves securely.
Cutting Pipes And Wood
Measure the pipes and wood planks to fit your desired shelf size. Use a pipe cutter for metal pipes and a saw for wood. Wear safety gear during cutting.
- Mark the lengths on pipes and wood.
- Cut the pipes with a pipe cutter or hacksaw.
- Cut the wood planks with a handsaw or power saw.
- Sand the edges of the wood for smoothness.
- Clean the pipes to remove any debris.
Assembling The Frame
Lay out the cut pipes and connectors on a flat surface. Join pipes using the fittings to form the frame shape. Tighten all connections with a wrench.
| Part | Quantity | Tip |
|---|---|---|
| Vertical Pipes | 4 | Check all are same length |
| Horizontal Pipes | 6 | Keep them level |
| Pipe Elbows | 8 | Tighten firmly |
| Pipe Flanges | 4 | Attach to base for stability |
Attaching Shelves
Place the wood shelves on the horizontal pipes. Use screws or brackets to fix the shelves. Make sure shelves are level and secure.
- Position the shelf on the frame.
- Mark screw points through brackets or directly.
- Drill pilot holes in the wood.
- Attach shelves using screws and a screwdriver.
- Check the shelf for stability before use.
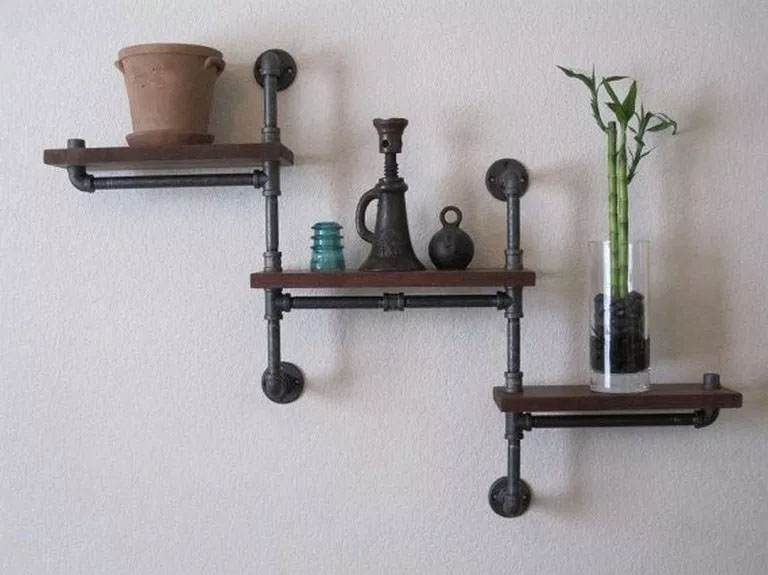
Credit: www.simplifiedbuilding.com
Finishing Touches
After building your pipe shelving unit, the finishing touches make a big difference. These steps help protect the materials and add style to your project.
Focus on smoothing surfaces, securing the unit safely, and decorating it to fit your space. Each part adds to the final look and function.
Sanding And Painting
Sanding the wood removes rough spots and splinters. Use medium-grit sandpaper first, then finish with fine-grit for a smooth surface.
Choose paint or stain that matches your room’s style. Apply thin coats and let each dry fully before adding the next. Sealing with clear varnish protects the finish.
Securing The Unit
Safety is key when setting up your shelving unit. Secure it to the wall to prevent tipping. Use heavy-duty brackets and anchors for strong support.
- Find wall studs with a stud finder.
- Mark bracket positions on the wall.
- Drill pilot holes for screws.
- Attach brackets to both the shelving unit and the wall.
- Check that the unit is level and stable.
Styling Tips
| Tip | Details |
|---|---|
| Mix Materials | Combine wood and metal items to create contrast. |
| Add Plants | Place small pots to add greenery and life. |
| Use Baskets | Store loose items neatly with wicker or wire baskets. |
| Display Art | Lean framed pictures or small sculptures on shelves. |
| Keep It Balanced | Arrange items evenly to avoid overcrowding one side. |
Frequently Asked Questions
What Materials Are Needed For Pipe Shelving Units?
You need metal pipes, pipe fittings, wooden boards, screws, and wall anchors. These materials create a sturdy, industrial-style shelving unit. Choose wood thickness based on shelf size and pipe diameter for strength and durability.
How Do I Assemble A Pipe Shelving Unit?
Start by cutting pipes to desired lengths. Attach fittings to pipes, then secure the wooden shelves. Use screws and anchors to mount the unit on the wall safely. Follow a step-by-step guide for proper alignment and stability.
Can I Customize Pipe Shelving Designs?
Yes, pipe shelving units are highly customizable. You can change shelf size, pipe color, and configuration. Mixing wood types and pipe finishes creates unique styles. This flexibility suits various room sizes and decor themes.
How Do I Maintain Pipe Shelving Units?
Regularly dust shelves and wipe pipes with a damp cloth. Check for loose fittings and tighten if needed. Avoid excessive moisture to prevent rusting. Proper maintenance ensures longevity and keeps your shelves looking great.
Conclusion
Building a pipe shelving unit can be simple and fun. You only need a few tools and materials. Follow the steps carefully, and take your time. The result is a strong, stylish shelf for any room. You can change the size to fit your space.
It saves money compared to buying new furniture. Plus, it adds a personal touch to your home. Try this project to enjoy a useful and unique shelf. You will feel proud of your work. Give it a go!


