Are you looking to add style and storage to your space without breaking the bank? Building a shelving wall unit might be the perfect solution for you.
Imagine having a custom-made piece that fits your room perfectly, holds all your favorite items, and becomes the centerpiece of your home. This guide will show you simple steps to create a sturdy, attractive shelving wall unit—even if you’ve never built furniture before.
Keep reading, and by the end, you’ll have the confidence and know-how to transform your walls into functional works of art.
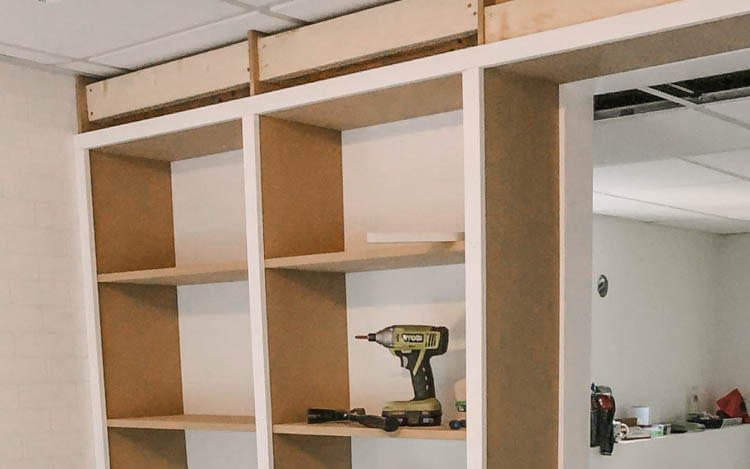
Credit: www.youtube.com
Planning Your Shelving Wall Unit
Building a shelving wall unit needs good planning. It helps you make a sturdy and useful shelf.
Planning includes picking the spot, measuring space, and choosing materials. These steps save time and avoid mistakes.
Choosing The Right Location
Pick a wall that fits the shelf size and shape. Check if the wall is strong enough to hold the shelves.
Think about how you will use the shelves. Choose a spot that is easy to reach and looks good in the room.
Measuring Space Accurately
Measure the wall space carefully before you start building. Write down the height, width, and depth of the area.
Measure twice to avoid mistakes. Check for obstacles like light switches or vents that could block the shelves.
Selecting Materials And Tools
Choose wood or other materials that fit your style and budget. Make sure they are strong enough for your needs.
Gather tools like a saw, drill, level, and screws. Having the right tools makes building easier and safer.
Building The Frame
Creating a shelving wall unit begins with building a sturdy frame. The frame holds the shelves and ensures the unit is stable and secure. Follow these steps to construct a strong frame for your shelving unit.
Pay close attention to measurements and alignment during this process. A well-built frame leads to a successful shelving wall unit.
Cutting Wood To Size
Accurate measurements are crucial when cutting wood for your frame. Measure twice to ensure precision before cutting.
Use a saw to cut the wood pieces to the required lengths. Ensure all pieces are even and smooth to avoid gaps when assembling.
- Measure each piece twice
- Use a straightedge for guidance
- Check for smooth edges
Assembling The Base And Sides
Begin by laying out the base on a flat surface. Attach the side pieces to the base using wood screws.
Ensure the corners form right angles. Use a carpenter’s square to check alignment as you assemble.
- Lay the base flat
- Attach sides with screws
- Check for right angles
Securing The Frame To The Wall
Position the frame against the wall where you want the shelves. Use a level to ensure it is straight.
Screw the frame into wall studs for maximum stability. Double-check that the frame is secure before adding shelves.
- Position frame against the wall
- Use a level for alignment
- Attach to wall studs
Adding Shelves And Supports
Adding shelves and supports is an important step in building a shelving wall unit. It helps create strong storage space and keeps everything neat.
This guide covers how to mark shelf positions, install brackets, and place shelves safely.
Marking Shelf Positions
Start by deciding where each shelf will go on the wall unit. Use a tape measure to find the right height for each shelf.
- Measure the total height of the wall unit.
- Decide how many shelves you want.
- Divide the height by the number of shelves plus one.
- Mark the spot on the wall or frame for each shelf level.
- Use a level to make sure the marks are even.
Installing Shelf Brackets
Shelf brackets hold the shelves in place. Choose brackets that fit the shelf size and weight needs.
| Bracket Type | Best For | Weight Support |
| Standard L-Brackets | Light to medium shelves | Up to 50 lbs |
| Heavy-Duty Brackets | Thick or heavy shelves | Up to 150 lbs |
| Floating Brackets | Minimalist look | Up to 40 lbs |
Fix the brackets on the marks using screws and a drill. Check they are level and secure.
Placing And Securing Shelves
Once brackets are ready, place each shelf on them carefully. Make sure the shelf fits well on the supports.
Use these tips to secure shelves:
- Push the shelf fully to the wall for support.
- Use screws through the bracket holes into the shelf bottom.
- Check each shelf for stability before adding items.

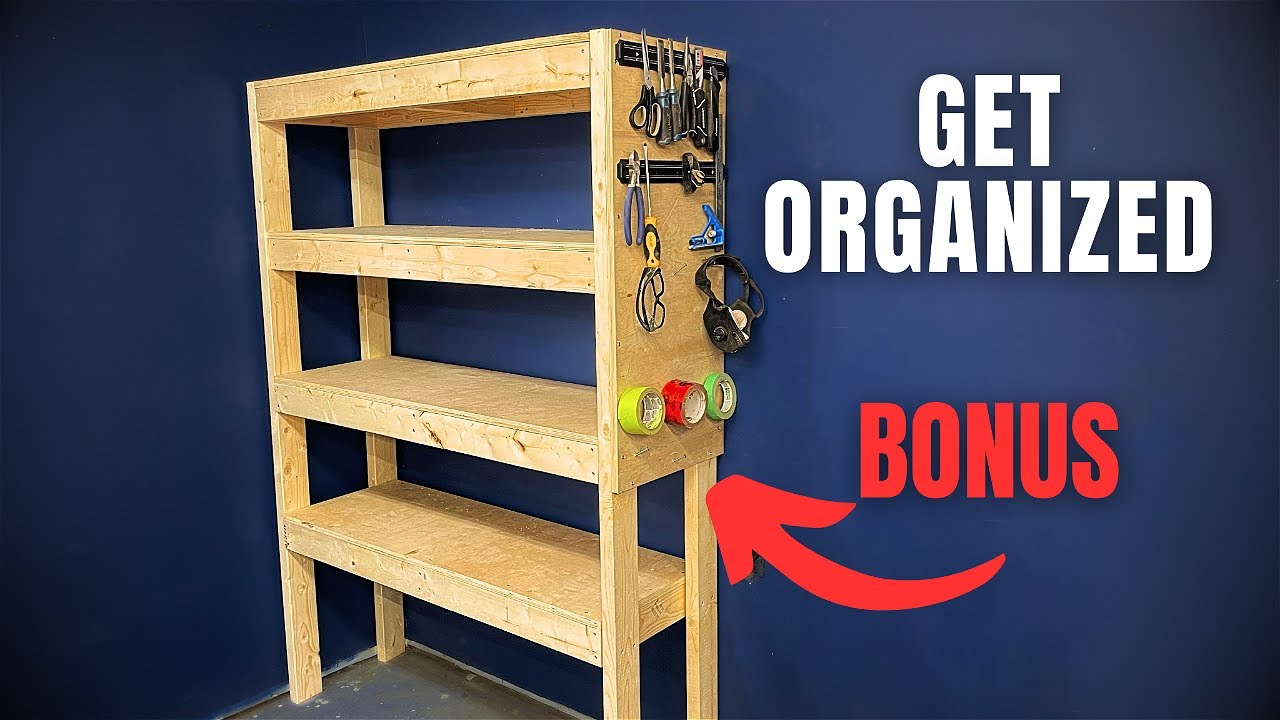
Credit: www.youtube.com
Finishing Touches
Finishing your shelving wall unit well makes it look great and last longer. This part includes sanding, painting, adding style, and care tips.
Take your time with each step to get the best results. A neat finish will make your unit a standout piece in any room.
Sanding And Painting
Start by sanding the entire unit to smooth rough edges. Use fine-grit sandpaper for a clean surface. Wipe off dust with a damp cloth before painting.
Choose paint that fits your room’s style. Apply thin coats and let each dry fully. Use a brush for corners and a roller for flat areas.
- Sand all surfaces evenly
- Clean off dust and dirt
- Apply primer if needed
- Paint with thin, even coats
- Let paint dry completely
Adding Decorative Elements
Decorative touches give your shelving unit character. You can add trim, wallpaper, or LED lights to enhance its look.
- Attach crown molding along the top edge
- Use patterned wallpaper on the back panel
- Install LED strip lights under each shelf
- Add decorative brackets for support and style
Maintaining Your Shelving Unit
Keep your shelving unit looking fresh by cleaning and checking it regularly. Dust shelves often and fix loose parts fast.
| Maintenance Task | Frequency |
| Dust shelves with a soft cloth | Weekly |
| Check screws and brackets | Monthly |
| Touch up paint chips | As needed |
| Clean stains or marks | Immediately |

Credit: hamiltonparkhome.com
Frequently Asked Questions
What Materials Do I Need For A Shelving Wall Unit?
You need wood panels, screws, brackets, a drill, level, measuring tape, and paint or stain. Quality wood ensures durability. Choose screws and brackets that support the shelf weight. Proper tools help with accurate assembly and finishing for a professional look.
How Do I Measure Space For A Shelving Wall Unit?
Measure the wall width, height, and depth available. Consider clearance for furniture and walkways. Mark dimensions on the wall to visualize shelf placement. Accurate measurements ensure the unit fits perfectly and maximizes storage without overcrowding the room.
What Is The Best Wood Type For Shelving Units?
Pine, oak, and plywood are popular choices. Pine is affordable and easy to work with. Oak offers strength and a classic look. Plywood is sturdy and resists warping. Choose based on your budget, style, and durability needs.
How Can I Securely Attach Shelves To The Wall?
Use wall anchors or studs to support weight. Locate studs with a stud finder for maximum strength. Use heavy-duty brackets or cleats for stability. Proper attachment prevents shelves from sagging or falling, ensuring safety and longevity.
Conclusion
Building a shelving wall unit adds style and storage to any room. It fits your space and holds books, plants, or decor. The steps are simple and clear to follow. You save money by making it yourself. Enjoy the pride of creating something useful and beautiful.
A shelving wall unit can change how your room feels. Try it out and see how much it helps your home.


