
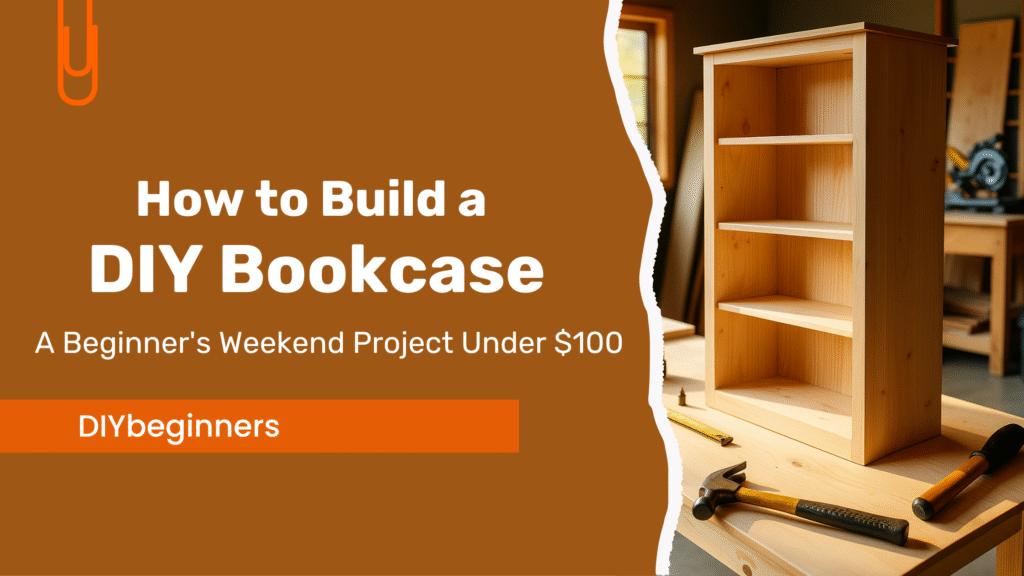
Are you ready to transform your space with a beautiful, custom bookcase? Building your own bookcase is easier than you might think, and it lets you create something that fits perfectly in your home.
Imagine having a sturdy, stylish shelf that holds your favorite books and shows off your personality. In this guide, you’ll learn simple steps to build a bookcase from scratch, even if you’ve never worked with wood before. By the end, you’ll have the skills and confidence to make a piece that’s truly yours.
Let’s get started and turn your vision into reality!
Choosing Materials
Building a bookcase starts with choosing the right materials. Good materials make the bookcase strong and long-lasting.
This guide covers selecting wood types, picking tools, and gathering hardware. Each part helps you build better.
Selecting Wood Types
Choose wood that fits your style and budget. Softwoods are easy to work with. Hardwoods last longer and look better.
- Pine: Affordable and easy to cut
- Oak: Strong and has a nice grain
- Maple: Hard and smooth finish
- Cherry: Dark color and ages well
Picking The Right Tools
Using the right tools makes your work easier and safer. You need basic hand tools and some power tools.
| Tool | Purpose |
|---|---|
| Saw | Cut wood to size |
| Drill | Make holes for screws |
| Hammer | Drive nails |
| Measuring Tape | Measure wood pieces |
| Screwdriver | Insert screws |
Gathering Hardware
You need hardware to hold the bookcase together. Choose screws, nails, and brackets that fit your wood type.
- Screws for strong joints
- Nails for quick assembly
- Brackets for extra support
- Wood glue for added strength

Credit: www.youtube.com
Measuring And Planning
Building a bookcase requires careful measuring and planning. This ensures the bookcase fits your space and needs.
Planning helps you avoid mistakes. It also saves time and materials.
Determining Dimensions
First, measure the space where the bookcase will go. Note the height, width, and depth.
Think about what you will store on the bookcase. This affects shelf height and depth.
- Measure the tallest book or item
- Consider future storage needs
- Leave room for decorative items
Sketching The Design
Draw a simple sketch of your bookcase. Include all dimensions and shelf placements.
Your sketch helps visualize the final product. It also guides you during construction.

Preparing A Cut List
Make a list of all the wood pieces you need. Include their dimensions and quantity.
A cut list ensures you buy the right amount of material. It also helps during the cutting process.
| Piece | Quantity | Dimensions |
| Shelves | 5 | 2′ x 10″ |
| Sides | 2 | 6′ x 1′ |
| Back | 1 | 6′ x 3′ |
Assembly Process
Building a bookcase needs careful steps to ensure it is strong and neat. Follow this guide to put your bookcase together properly.
Each part must fit well. This keeps the bookcase safe to hold your books and items.
Cutting The Pieces
Start by cutting all wood parts to the right size. Use a saw and measure twice before cutting. This avoids mistakes and waste.
- Measure the height, width, and depth of the bookcase.
- Mark the wood pieces clearly with a pencil.
- Cut the side panels, shelves, top, and bottom pieces carefully.
- Sand the edges to make them smooth.
Joining Components
Connect the side panels to the top and bottom boards. Use wood glue and screws for a strong hold. Keep the corners square as you join pieces.
| Component | Type of Joint | Tools Needed |
| Side panels to top/bottom | Butt joint with screws | Drill, screwdriver, wood glue |
| Shelves to side panels | Support brackets or dado joints | Chisel, drill, brackets |
| Back panel to frame | Staples or nails | Hammer, staples or nails |
Securing Shelves
Place shelves evenly inside the frame. Use shelf supports or brackets to hold them tight. Double-check each shelf is level before fixing.
- Measure and mark shelf positions on side panels.
- Install shelf brackets or cut dado grooves for shelves.
- Set shelves into place carefully.
- Secure shelves with screws or nails if needed.
- Check the whole bookcase for stability.
Credit: www.anikasdiylife.com
Finishing Touches
Finishing touches make your bookcase look neat and complete. They protect the wood and add style.
Taking time on these steps helps your bookcase last longer and look better in your home.
Sanding And Smoothing
Sanding removes rough spots and splinters from the wood. It makes the surface smooth to touch.
Use sandpaper with different grits. Start with coarse grit, then use fine grit for a smooth finish.
- Begin sanding with 80-grit sandpaper
- Switch to 120-grit for a smoother surface
- Finish with 220-grit for a very smooth finish
- Wipe dust off with a clean cloth after sanding
Applying Paint Or Stain
Paint or stain changes the color of your bookcase. It also protects the wood from damage.
Choose paint for a bright, solid color. Pick stain to keep the natural wood look with added color.
- Apply a primer if you use paint
- Use a brush or cloth for even coats
- Let each coat dry before adding another
- Use a clear sealant for extra protection
Adding Decorative Elements
Decorative elements add personality to your bookcase. They make it match your room style.
Add trim, molding, or special knobs to enhance the look. Small details make a big difference.
- Attach crown molding to the top edge
- Use decorative corner brackets
- Install stylish handles or knobs on doors
- Apply decals or stencils for patterns
Credit: diybeginners.com
Frequently Asked Questions
What Materials Do I Need To Build A Bookcase?
You need wood boards, screws, nails, wood glue, sandpaper, paint or stain, a drill, and a saw. Choose quality materials for durability and a polished look.
How Long Does It Take To Build A Bookcase?
Building a basic bookcase typically takes 4 to 6 hours. Complex designs may require more time. Planning and preparation speed up the process.
What Tools Are Essential For Bookcase Construction?
Essential tools include a saw, drill, screwdriver, measuring tape, level, clamps, and sander. These tools ensure precise cuts and a sturdy build.
How Do I Ensure My Bookcase Is Stable?
Use sturdy materials, secure joints with screws and glue, and add a back panel for support. Level the bookcase to prevent wobbling.
Conclusion
Building a bookcase can be simple and fun. Start with a clear plan and gather your tools. Take your time to measure and cut carefully. Assemble the pieces step by step, checking each part fits well. Painting or staining adds a nice finish.
A sturdy bookcase holds your books and looks great. You will feel proud seeing your work every day. Try building one yourself and enjoy the process. Small projects like this help you learn new skills. Why not give it a go?


