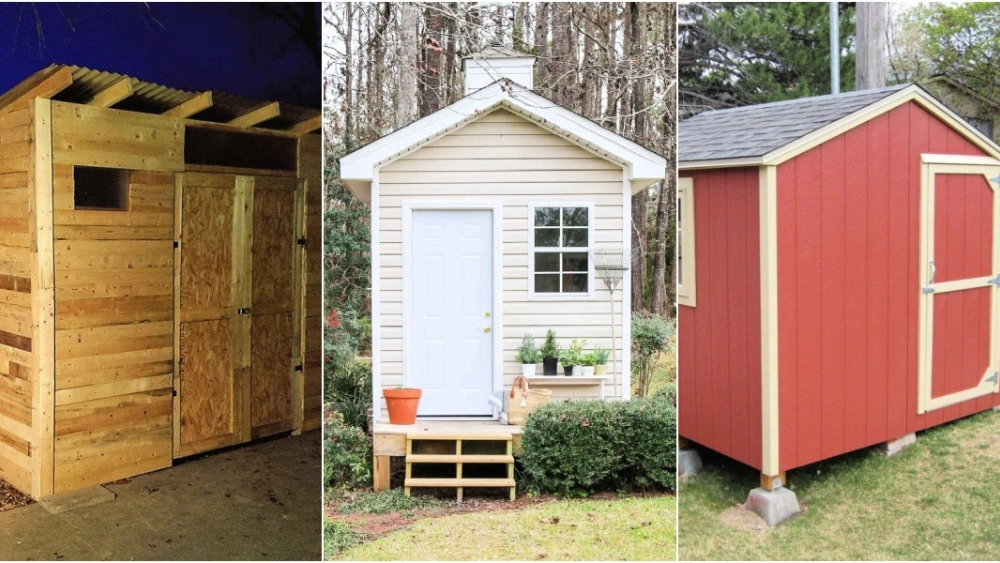
Are you tired of clutter taking over your yard? Building an outdoor storage shed could be the perfect solution to organize your tools, garden supplies, and seasonal items.
Imagine having a dedicated space that not only keeps everything tidy but also adds value and charm to your outdoor area. In this guide, you’ll discover simple, step-by-step instructions to create your own sturdy and stylish shed—no advanced skills needed.
Ready to transform your space and make your life easier? Let’s get started!
Choosing The Right Location
Picking the right spot for your outdoor storage shed is very important. A good location keeps your shed safe and easy to use. You should think about the ground, sunlight, drainage, and local rules.
This guide will help you choose the best place for your shed. Follow these tips to avoid problems later.
Assessing Ground Conditions
Check the ground before building your shed. The soil should be firm and level. Avoid soft or wet areas that can cause sinking or tilting.
- Look for flat land with solid soil
- Remove rocks, roots, and debris
- Consider adding gravel or a concrete slab for stability
- Make sure the ground does not flood after rain
Considering Sunlight And Drainage
Sunlight and water flow affect your shed’s condition. Place the shed where sunlight helps keep it dry. Good drainage stops water from pooling around the base.
| Factor | What to Check |
| Sunlight | Choose a spot with at least 4 hours of sunlight daily |
| Drainage | Ground should slope away to prevent water buildup |
| Shade | Avoid deep shade to reduce mold and mildew |
| Water Flow | Check that rainwater moves away from the shed site |
Checking Local Regulations
Before building, learn your local rules. Some places have size or placement limits. You may need a permit to build your shed.
Here are common rules to check:
- Minimum distance from property lines
- Height limits for outdoor buildings
- Restrictions on types of sheds
- Permit requirements and fees
Credit: www.extraspace.com
Selecting Materials And Tools
Building an outdoor storage shed requires the right materials and tools. Knowing what to choose will ensure your shed lasts long and serves its purpose well.
This guide will help you pick the best wood, essential tools, and the right fasteners for your project.
Best Wood Types For Durability
Choosing the right wood is crucial for the shed’s longevity. Durable wood types resist weather and pests.
- Cedar: Naturally resistant to decay and insects.
- Redwood: Offers great durability and weather resistance.
- Pine: Affordable and easy to work with, but needs treatment.
Essential Tools Checklist
Having the right tools makes building your shed easier and more efficient. Here is a list of must-have tools.
- Measuring tape: For accurate measurements.
- Hammer: Essential for nailing wood pieces.
- Power drill: Speeds up the process and provides precision.
- Saw: Necessary for cutting wood to size.
- Level: Ensures your shed is balanced and stable.
Choosing Fasteners And Hardware
Fasteners and hardware hold your shed together. Choosing the right ones ensures stability and durability.
| Fastener | Usage |
| Galvanized nails | Resist rust for outdoor use |
| Wood screws | Provide strong joints for wood |
| Brackets | Support corners and joints |
Step-by-step Construction Process
Building an outdoor storage shed is a practical project. It helps you organize your tools and garden items.
This guide walks you through the main steps. Follow each part carefully to build a strong shed.
Preparing The Foundation
Start by choosing a flat, dry spot for your shed. Clear the area of grass and rocks.
Lay a solid foundation to keep your shed stable and dry. Use concrete blocks or a gravel base.
- Mark the shed’s outline with stakes and string
- Dig a shallow trench for the foundation
- Place concrete blocks evenly spaced
- Fill gaps with gravel to improve drainage
Building The Frame
Use treated lumber to build the frame. This wood resists rot and insects.
Start with the floor frame, then build walls separately on the ground before raising them.
- Cut floor joists to size and attach them securely
- Build wall frames with studs spaced 16 inches apart
- Assemble roof trusses or rafters on the ground
- Lift walls and secure them to the floor frame
Installing Walls And Roof
Attach plywood or siding panels to the wall frames. Make sure they are flush and secure.
Cover the roof frame with sheathing, then add roofing material like shingles or metal sheets.
- Nail siding panels to each wall frame
- Install house wrap for weather protection
- Attach roof sheathing to rafters
- Lay roofing felt and secure shingles or metal roofing
- Seal edges to prevent water leaks

Credit: www.ramblingrenovators.ca
Finishing Touches For Longevity
Building an outdoor storage shed is not just about the structure. The finishing touches help protect it from weather and wear. These details keep your shed strong and useful for many years.
Focus on weatherproofing, adding doors and windows, and regular maintenance. These steps improve your shed’s durability and appearance.
Applying Weatherproofing
Weatherproofing stops water and moisture from damaging your shed. It also protects the wood from rot and insects. Use good quality sealants and paints to cover all surfaces.
Start by sanding rough areas. Then apply a primer before the paint. Use waterproof paint or wood stain for the best results.
- Seal all cracks and gaps with caulk
- Use water-resistant paint or stain
- Apply at least two coats for better protection
- Protect the roof with shingles or metal panels
Adding Doors And Windows
Doors and windows let you access and light the shed. Choose sturdy doors that fit well to keep out rain and pests. Windows should be weatherproof and easy to open.
Install weatherstripping around doors and windows. This stops drafts and water leaks. Use quality hinges and locks to secure the shed.
- Select doors made of durable wood or metal
- Use tempered glass or plastic windows
- Seal all edges with weatherstripping
- Check that doors and windows close tightly
Regular Maintenance Tips
Regular care keeps your shed in good shape. Inspect the shed every few months. Look for damage, leaks, or signs of pests.
Clean debris from the roof and around the base. Reapply paint or sealant when it starts to wear. Fix small problems before they grow.
- Check for cracks or holes in walls and roof
- Clear leaves and dirt from gutters and roof
- Repaint or reseal every 2-3 years
- Lubricate door hinges and locks
- Treat wood for pests if needed

Credit: www.youtube.com
Frequently Asked Questions
What Materials Are Best For Outdoor Storage Sheds?
Wood, metal, and plastic are top materials for sheds. Wood offers durability and aesthetics. Metal resists pests and fire. Plastic is lightweight and low-maintenance. Choose based on climate, budget, and use for best results.
How Do I Prepare The Shed Foundation Properly?
Clear the area, level the ground, and use gravel or concrete blocks. A solid foundation prevents moisture damage and ensures stability. Proper preparation extends the shed’s lifespan and maintains structural integrity.
What Tools Are Essential For Building An Outdoor Shed?
Basic tools include a hammer, saw, drill, measuring tape, level, and screwdriver. These tools help with cutting, assembling, and securing parts. Having the right tools ensures a smoother and faster building process.
How Can I Protect My Shed From Weather Damage?
Apply weather-resistant paint or sealant to wood surfaces. Use galvanized screws to prevent rust. Install proper roofing and ensure good drainage around the shed. These steps keep your shed durable and weatherproof.
Conclusion
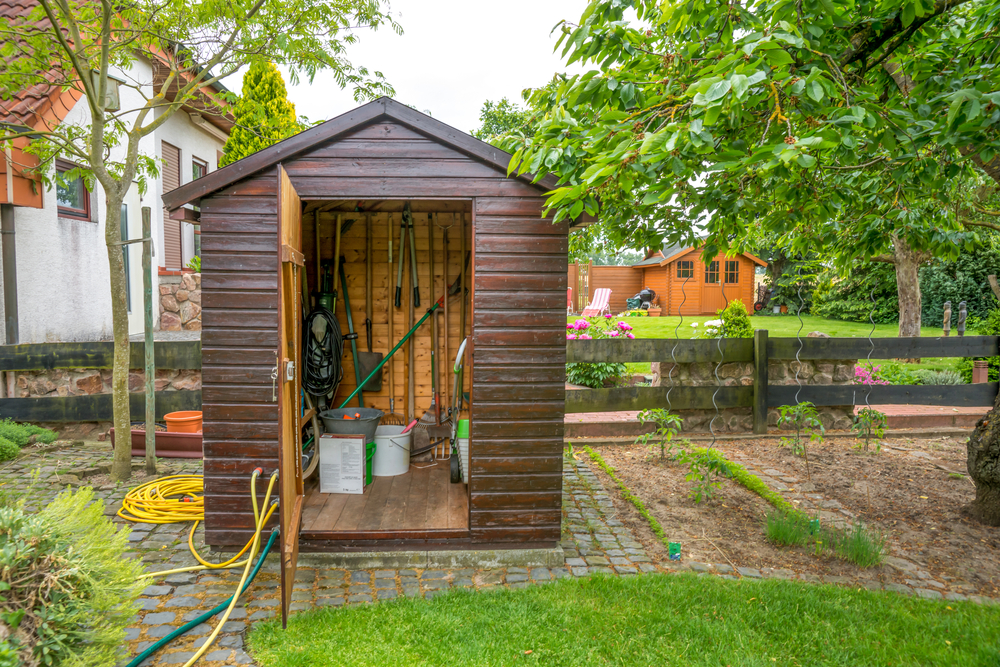
Building an outdoor storage shed takes time and effort. Plan your space well before starting the project. Choose materials that last and fit your budget. Follow safety steps to avoid accidents. Keep the shed organized for easy access to tools.
A good shed adds value and helps keep your yard neat. Enjoy the satisfaction of your own finished storage space. Start small, stay patient, and watch your shed take shape.


