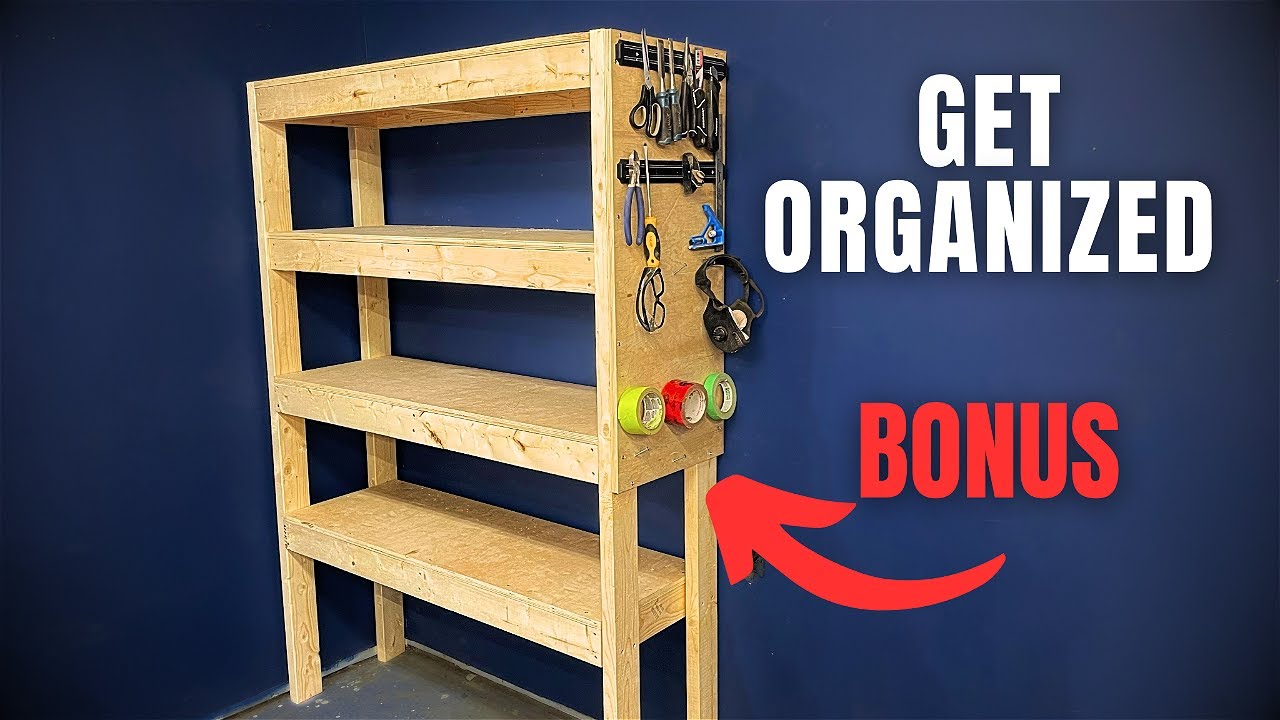
Are you tired of clutter taking over your space? Building your own shelving unit can be the perfect solution to organize your belongings and add a personal touch to your room.
Imagine having a sturdy, custom shelf that fits exactly what you need—without spending a fortune or waiting for delivery. In this guide, you’ll discover simple, step-by-step instructions that make building a shelving unit easy, even if you’ve never worked with wood before.
By the end, you’ll have the confidence and skills to create a shelf that looks great and lasts for years. Ready to transform your space? Let’s get started.

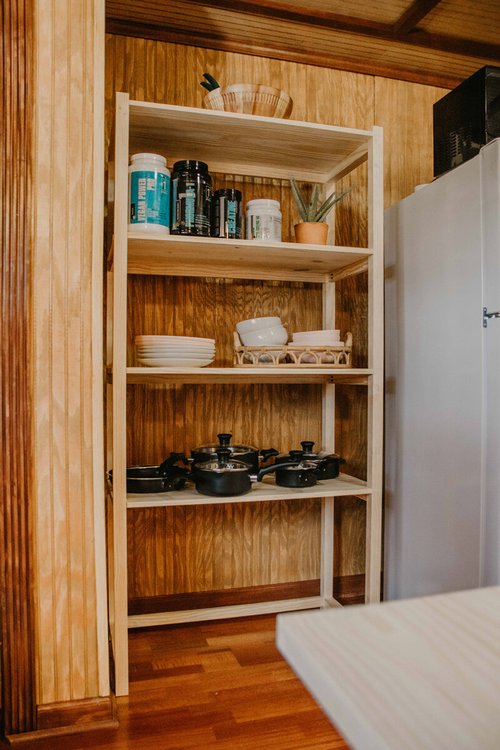
Credit: www.lemonthistle.com
Choosing The Right Materials
Building a shelving unit needs careful material choices. The right materials make the shelf strong and last long.
This guide covers wood types, hardware, and tools needed for the project. Each section helps you pick what fits best.
Wood Types
Wood is the main material for shelving. Different woods offer different looks and strength levels.
- Pine: Softwood, easy to work with, and affordable.
- Oak: Hardwood, very strong, and has a nice grain.
- Birch: Hard and smooth, good for painting.
- Maple: Dense and durable, great for heavy shelves.
- Plywood: Made from layers, stable and less likely to warp.
Hardware Selection
Hardware holds the shelves together. Choose screws, brackets, and supports that match your design and weight needs.
| Hardware | Use | Material |
| Screws | Join wood pieces | Steel or stainless steel |
| Brackets | Support shelves | Metal or plastic |
| Wood glue | Add extra hold | Strong adhesive |
| Anchors | Fix shelves to walls | Plastic or metal |
Tools Needed
Having the right tools makes building easier and safer. Some tools are basic, others are for finishing touches.
- Measuring tape: For accurate measurements.
- Power drill: To make holes and drive screws.
- Screwdriver: To tighten screws by hand.
- Level: To keep shelves straight.
- Saw: To cut wood to size.
- Sandpaper: To smooth rough edges.
Planning Your Shelving Unit
Building a shelving unit starts with careful planning. This ensures the unit fits your needs and space. Let’s explore the key steps in planning your shelving unit.
Consider space, design, and load capacity. These factors will guide your choices in materials and style.
Measuring Space
Accurate measurements are crucial. Measure the height, width, and depth of the space where you plan to install the shelving unit.
- Use a tape measure for precision.
- Record the dimensions in a notebook.
- Consider obstacles like doors or windows.
Design Ideas
Think about the style and function of your shelving unit. Choose a design that matches your room’s decor and meets your storage needs.
Explore various styles such as:
- Minimalist
- Rustic
- Industrial
Each style brings a unique look to your space.
Load Capacity
Determine how much weight your shelving unit needs to hold. This affects the choice of materials and construction methods.
| Material | Load Capacity |
| Wood | Medium |
| Metal | High |
| Plastic | Low |
Step-by-step Assembly
Building a shelving unit is a useful skill for organizing your space. This guide breaks down the process into clear steps.
Follow these instructions to create a strong and functional shelving unit. Each step is simple and easy to follow.
Cutting And Preparing Wood
Start by selecting the right wood for your shelves. Use a saw to cut the wood to the correct lengths.
Sand the edges to make them smooth. This helps avoid splinters and gives a clean finish.
- Measure twice to ensure accuracy
- Cut wood pieces for sides, shelves, and supports
- Sand all cut edges carefully
- Check for any cracks or defects
Assembling Frame
Begin by attaching the side panels to the bottom and top supports. Use screws or nails to hold them firmly.
Make sure the frame is square by measuring the diagonals. Adjust if needed before tightening all screws.
- Align side panels with top and bottom pieces
- Pre-drill holes to prevent wood splitting
- Screw or nail pieces together securely
- Check for right angles using a carpenter’s square
Installing Shelves
Place the shelves inside the frame at the desired heights. Use brackets or supports to hold the shelves.
Secure the shelves with screws. Check each shelf for stability before moving to the next one.
- Mark shelf positions on side panels
- Attach shelf supports or brackets
- Set shelves on supports carefully
- Screw shelves to supports for strength
- Test shelves by applying light pressure
Credit: www.woodbrew.tv
Finishing Touches
Adding finishing touches is key to making your shelving unit look great and last long. These steps help protect the wood and add style.
Focus on sanding, painting, decorating, and upkeep. Each part improves the shelf’s function and appearance.
Sanding And Painting
Sand the wood smooth to remove rough spots and splinters. Use fine-grit sandpaper for the best finish.
Painting or staining protects the wood and adds color. Apply paint evenly and let it dry completely before use.
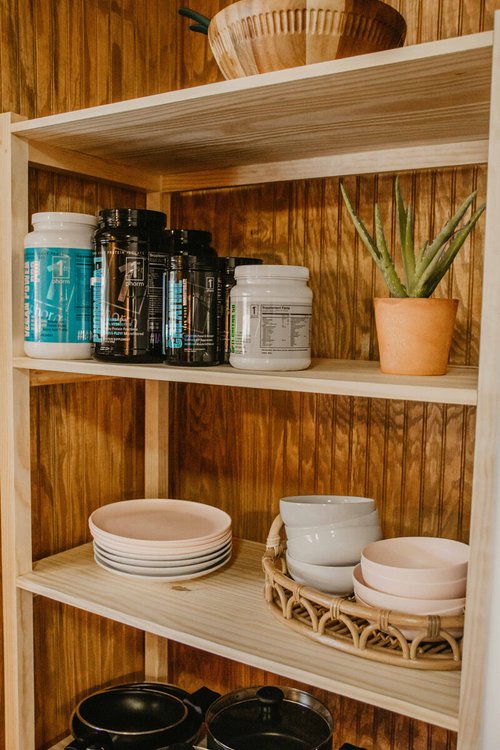
Adding Decorative Elements
Decorations can make your shelving unit unique. You can use decals, stencils, or small hardware pieces.
- Attach decorative knobs or handles
- Use patterned tape for borders
- Apply stencils with paint for designs
- Add small plant pots or picture frames
Maintenance Tips
| Task | How Often | Details |
| Dusting | Weekly | Use a soft cloth to remove dust and dirt |
| Check for Damage | Monthly | Look for loose screws or cracks in wood |
| Repaint or Stain | Yearly | Touch up paint or stain to protect wood |
| Tighten Screws | As needed | Ensure all screws are secure for safety |
Credit: www.woodbrew.tv
Frequently Asked Questions
What Materials Are Needed To Build A Shelving Unit?
You need wood panels, screws, brackets, a drill, sandpaper, and paint or stain. Choose quality wood for durability. These materials ensure a sturdy and long-lasting shelving unit.
How Do I Measure Space For My Shelving Unit?
Measure the wall height, width, and depth where the shelf will go. Allow extra space for clearance. Accurate measurements prevent fitting issues and optimize storage.
What Tools Are Essential For Building Shelves?
Essential tools include a drill, screwdriver, measuring tape, level, saw, and clamps. These tools help ensure precise cuts and stable assembly. Having the right tools simplifies the building process.
How Can I Make Shelves More Durable?
Use high-quality wood and strong brackets. Apply a protective finish like varnish or paint. Proper installation and maintenance also enhance shelf durability over time.
Conclusion
Building a shelving unit can be simple and rewarding. Follow each step carefully and take your time. Use the right tools and materials for a strong shelf. Measure twice to avoid mistakes. Enjoy the process of creating something useful for your space.
A sturdy shelf adds storage and style to any room. Keep practicing to improve your skills. Soon, building shelves will feel easy and fun.


