
Have you ever dreamed of having a vanity table that lights up your space and makes getting ready a breeze? Imagine a stylish, glowing setup where every detail of your look is perfectly visible.
Creating your own vanity table with lights is easier than you think, and it can transform your daily routine. In this guide, you’ll discover simple steps to build a vanity that not only looks amazing but also fits your style and needs.
Ready to bring that dream vanity to life? Let’s get started!
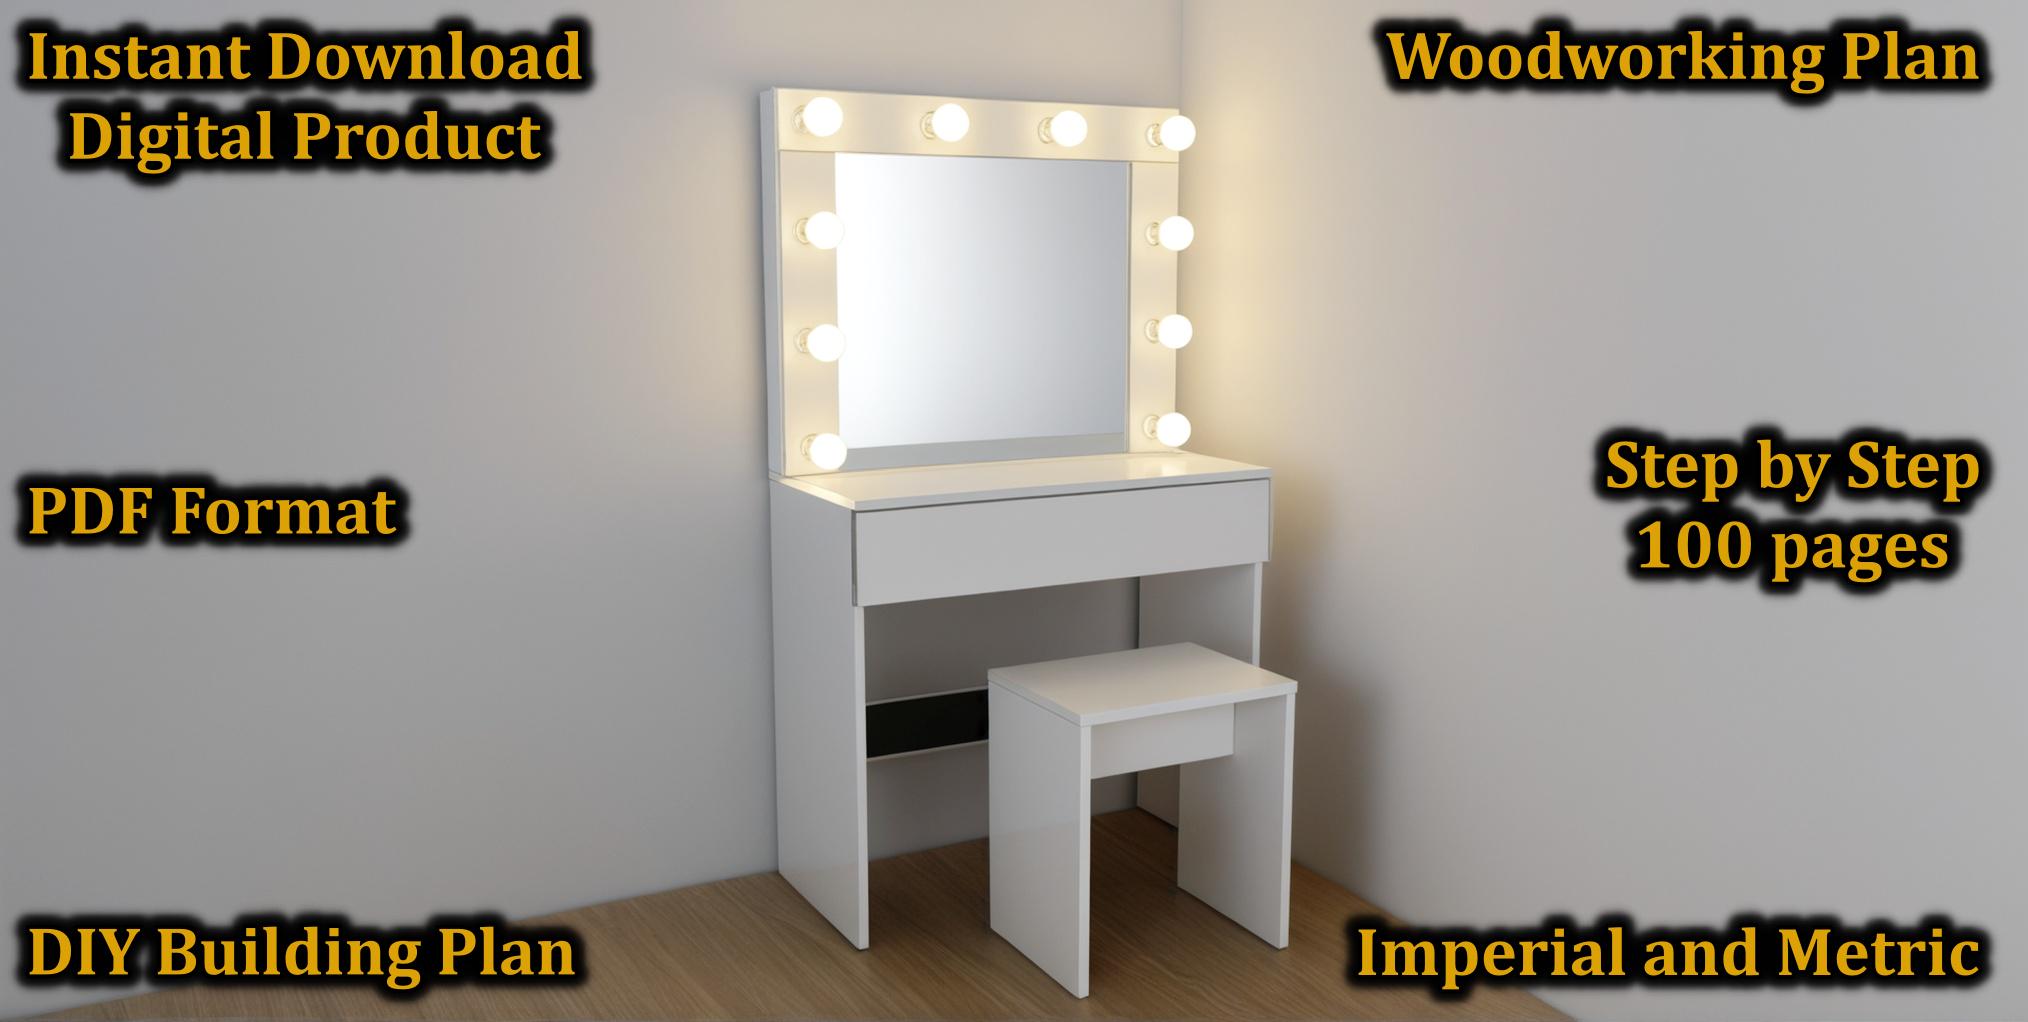
Credit: www.etsy.com
Choosing The Right Materials
Building a vanity table with lights needs careful material selection. The materials affect durability and look.
Good materials make your project easier and the final product better. Focus on wood, hardware, and lighting.
Selecting Wood And Hardware
Choose wood that is strong and smooth for the table surface. Common woods are pine, oak, and plywood.
- Pine:Affordable and easy to paint.
- Oak:Durable and has a nice grain.
- Plywood:Stable and less likely to warp.
- Hardware:Use metal screws and brackets for strong joints.
- Drawer slides:Pick smooth gliding ones for easy use.
Picking Suitable Lighting Options
Lighting is important to see clearly while using the vanity. Choose lights that are bright but soft.
| Light Type | Brightness | Energy Use | Best Use |
| LED Strip Lights | Medium | Low | Edges and mirrors |
| Bulb String Lights | High | Medium | Decorative lighting |
| Vanity Bulbs | High | Medium | Direct face lighting |
| Fluorescent Tubes | High | High | Large area lighting |
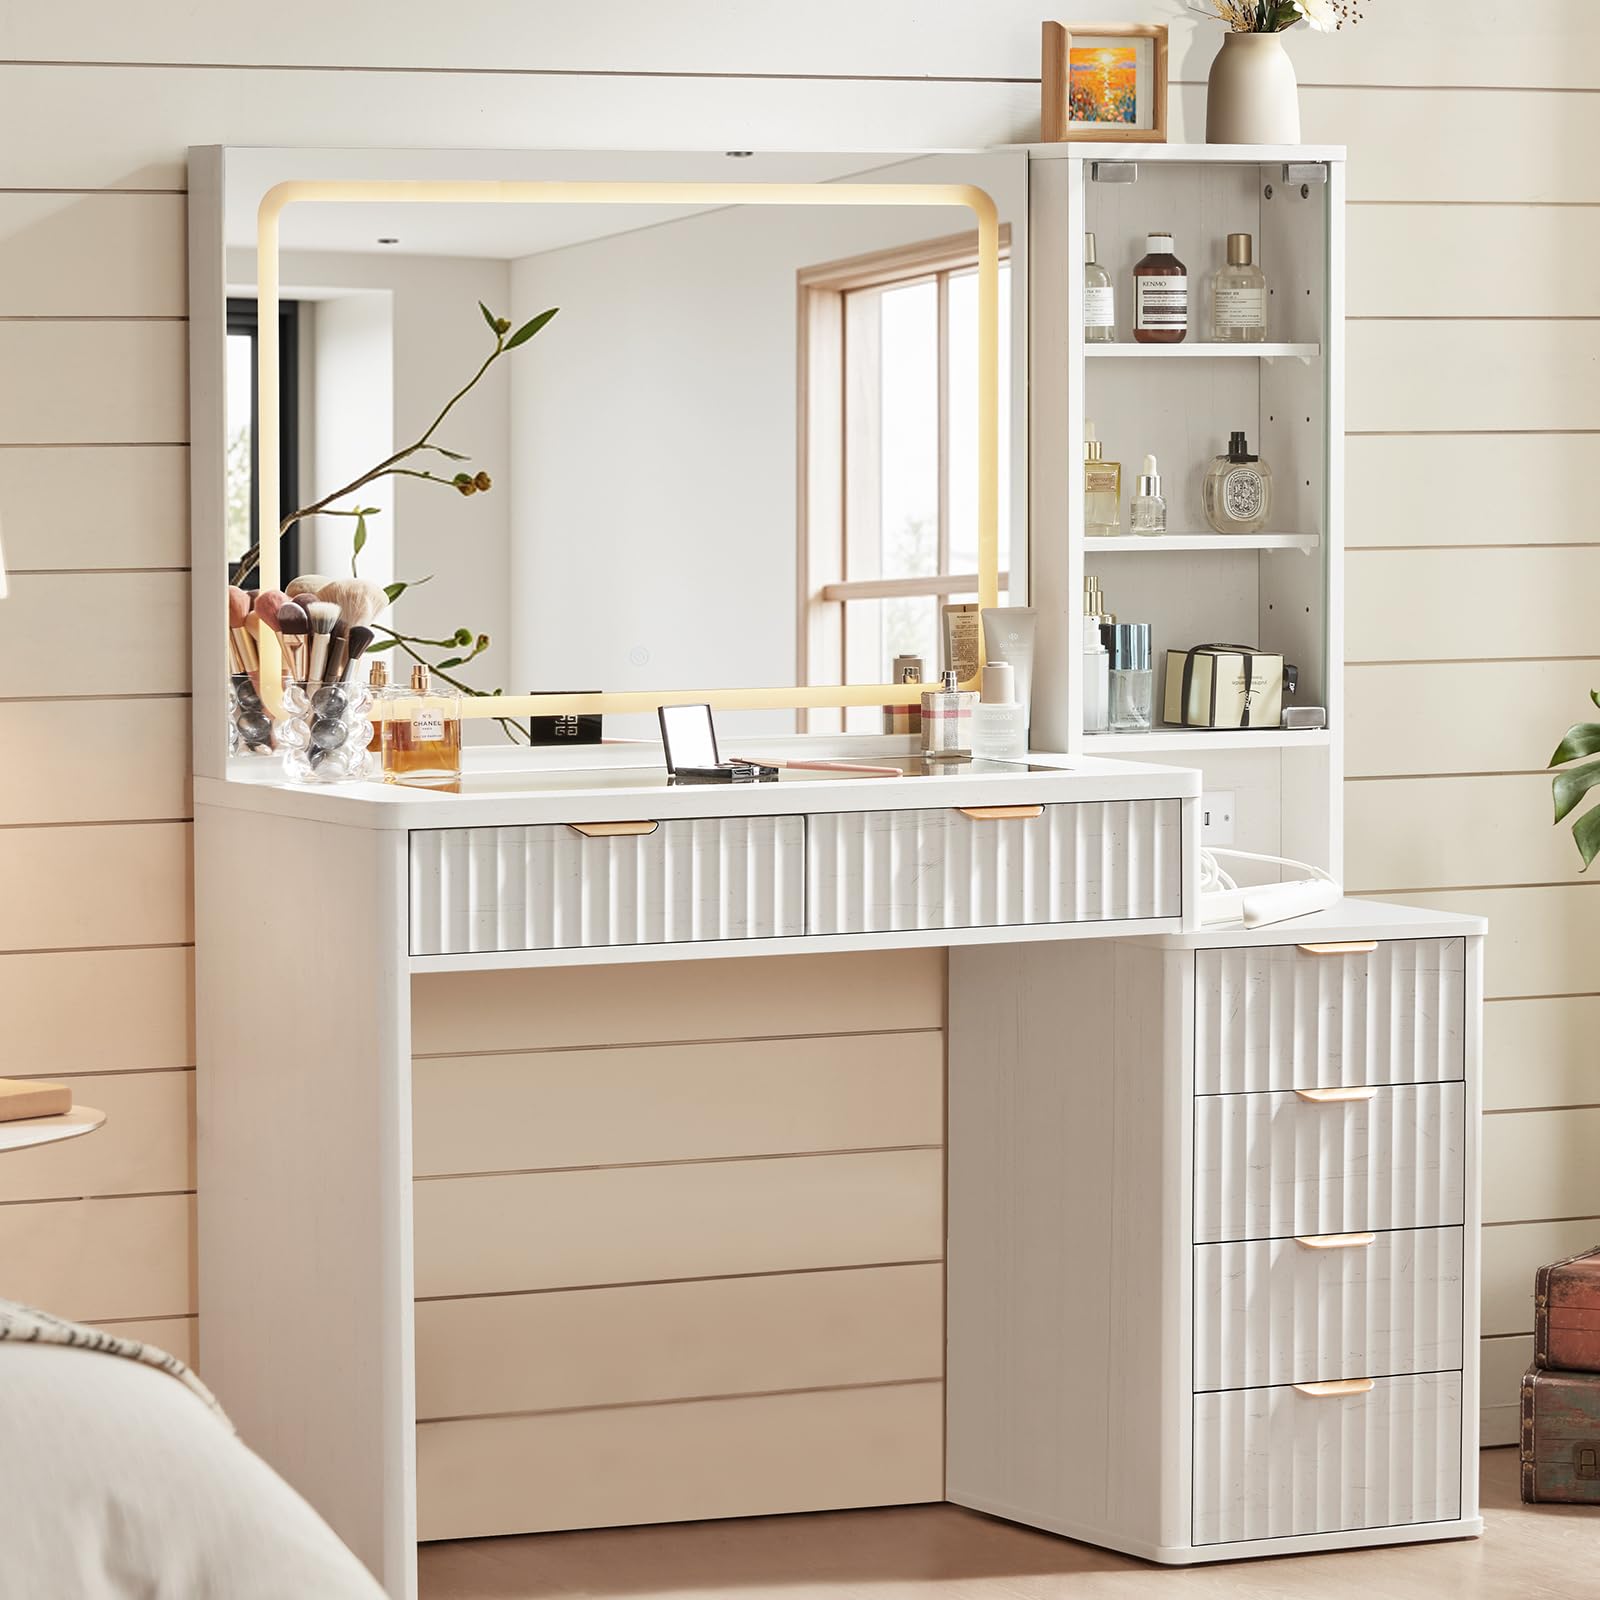
Credit: www.amazon.com
Preparing The Vanity Table Base
Building a vanity table starts with a strong base. Preparing the base well makes the final product stable and durable.
This guide covers measuring and cutting the wood and assembling the frame. Follow these steps carefully for the best results.
Measuring And Cutting Wood
Measure the wood pieces to fit the desired size of your vanity table. Accurate measuring ensures all parts fit together properly.
- Use a tape measure to get exact dimensions.
- Mark cutting lines clearly with a pencil.
- Use a saw to cut the wood along the lines.
- Sand the edges to smooth rough cuts.
Assembling The Frame
Put the cut wood pieces together to form the frame. Make sure the frame is square and strong before fixing it permanently.
| Step | Action | Tip |
| 1 | Arrange wood pieces on a flat surface | Check corners with a carpenter’s square |
| 2 | Apply wood glue to joints | Use clamps to hold pieces tightly |
| 3 | Drive screws or nails into the joints | Pre-drill holes to avoid wood splitting |
| 4 | Let glue dry for recommended time | Keep frame flat during drying |
Installing The Lights
Adding lights to your vanity table makes it easier to apply makeup and style hair. Proper installation helps create a bright and even glow around the mirror.
This guide explains how to wire your vanity lights and position them for the best effect.
Wiring And Power Options
Choose the right power source for your vanity lights. You can plug them into a wall outlet or hardwire them for a cleaner look.
- Use a power strip with surge protection if plugging into an outlet.
- Consider LED lights for low energy use and less heat.
- Hire an electrician to hardwire lights safely into your home wiring.
- Install a switch close to the vanity for easy control.
- Check the voltage and wattage to match your lights and power source.
Positioning Lights For Best Effect
Place lights so they shine evenly on your face without causing shadows. The right position improves your view and the room’s look.
| Light Position | Effect | Placement Tips |
|---|---|---|
| Side Lights | Reduces shadows on your face | Mount at eye level on both sides of the mirror |
| Top Lights | Brightens the whole area | Place above the mirror but avoid harsh downward glare |
| Backlighting | Adds soft glow and depth | Install behind the mirror or around its edges |

Credit: www.walmart.com
Finishing Touches
Adding finishing touches to your vanity table makes it stand out. A well-finished table adds beauty to your room.
Let’s explore how to complete your vanity table with style. We will cover sanding, painting, mirrors, and accessories.
Sanding And Painting
Sanding smooths the surface of your vanity table. It removes rough spots and prepares the wood for painting.
- Start with coarse sandpaper to remove imperfections.
- Switch to fine sandpaper for a smooth finish.
- Wipe the surface with a damp cloth to remove dust.
- Apply a primer to seal the wood and enhance paint adhesion.
- Paint with your chosen color using even strokes.
Adding Mirrors And Accessories
A mirror is essential for any vanity table. It adds functionality and elegance.
Consider these mirror options:
- Round mirror for a classic look.
- Square mirror for modern aesthetics.
- Lighted mirror for enhanced visibility.
Accessories personalize your vanity table. Choose items that reflect your style.
| Accessory | Purpose |
| Jewelry Box | Store accessories |
| Brush Holder | Organize brushes |
| Perfume Tray | Display fragrances |
Frequently Asked Questions
How Do I Start Making A Vanity Table With Lights?
Begin by choosing a sturdy table as your base. Plan the lighting placement and gather LED bulbs, a power source, and mounting tools. Measure carefully to ensure even light distribution. Assemble the lights around the mirror frame for optimal illumination.
What Type Of Lights Work Best For Vanity Tables?
LED strip lights or bulb string lights are ideal. They offer bright, natural light and consume less power. Choose warm white or daylight bulbs to simulate natural skin tones. Avoid harsh fluorescent lights that cause shadows.
How Can I Safely Install Lights On My Vanity Table?
Use adhesive clips or mounting brackets to secure lights. Avoid exposed wires by using electrical tape or cord covers. Ensure the power source is stable and avoid overloading sockets. Always unplug before adjusting the setup.
What Materials Do I Need To Build A Vanity Table With Lights?
You need a sturdy tabletop, a mirror, LED lights, power cords, adhesive clips, and basic tools like a drill and screwdriver. Optional materials include decorative paint and storage drawers for extra functionality.
Conclusion
Creating a vanity table with lights adds style and function to any room. You can enjoy better lighting for makeup or grooming. The project is fun and saves money compared to store-bought options. Use basic tools and materials to build your perfect table.
Bright lights help you see clearly and feel confident. Personalize the design to fit your space and taste. Start small, then improve your vanity as you go. This simple DIY project brings beauty and brightness together.


