
Are you tired of your bed lacking that perfect blend of style and stability? Wondering how you can craft your own bed rails for a headboard and footboard?
You’ve come to the right place. Creating bed rails might sound complex, but with the right guidance, you can transform your sleeping space into a sanctuary of comfort and elegance. Imagine waking up every morning to a bedroom that feels uniquely yours, with bed rails that you built yourself.
Not only does this add a personal touch to your space, but it also ensures that your bed frame is sturdy and reliable. Get ready to dive into a simple, step-by-step process that will empower you to enhance your bedroom aesthetics and functionality. You’re about to discover just how easy and rewarding it can be to make your own bed rails, so let’s get started!

Credit: www.amazon.in
Materials And Tools Needed
Gathering the right materials and tools is key to making sturdy bed rails for a headboard and footboard. Choosing quality wood and having proper tools ensures a smooth building process. You also need some hardware for assembly and support.
Choosing The Right Wood
Select wood that is strong and easy to work with. Pine, oak, and poplar are popular choices. Pine is soft and affordable, great for beginners. Oak offers durability and a nice finish but costs more. Poplar is smooth and paints well. Avoid wood with cracks or knots that weaken the rails.
Essential Tools For The Project
- Measuring tape for accurate cuts
- Hand saw or circular saw for cutting wood
- Power drill for making holes and driving screws
- Screwdriver or drill bit for screws
- Sandpaper or electric sander to smooth edges
- Clamps to hold pieces while assembling
- Square or carpenter’s angle for right angles
Additional Hardware Requirements
- Wood screws to join rails securely
- Bed rail brackets to connect rails to headboard and footboard
- Washers to prevent screw damage
- Wood glue for extra strength at joints
- Optional: metal corner braces for added support
Credit: crystelmontenegrohome.com
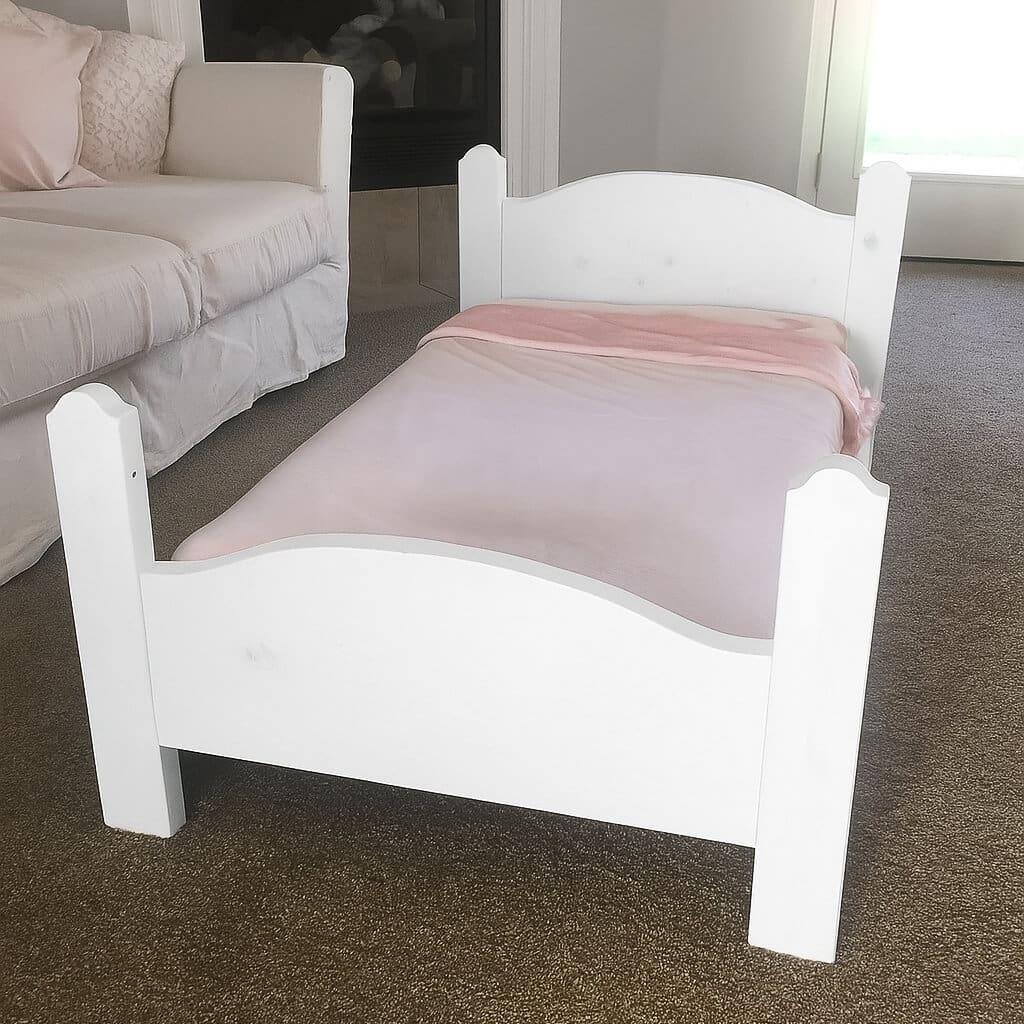
Step-by-step Construction
Building bed rails for your headboard and footboard can seem tricky, but breaking it down into clear steps makes the process manageable and even enjoyable. You’ll gain more control over the fit and finish of your bed frame by handling each part yourself. Let’s walk through the essential stages that will get your bed rails strong, straight, and perfectly connected.
Measuring And Cutting Rails
Start by measuring the distance between your headboard and footboard where the rails will attach. Accuracy here is key—too long or too short rails can cause instability or gaps.
Use a tape measure and record the length twice to avoid mistakes. Then, mark your wood pieces clearly with a pencil before cutting.
Choose durable wood like pine or oak for lasting support. Saw the rails carefully along the marks, checking for smooth edges to prevent splinters or uneven joins.
Assembling The Bed Rails
Once cut, prepare the rails for assembly by sanding all surfaces lightly. This improves paint or stain adhesion and removes rough spots.
If your design includes support slats, attach them now using screws or nails. Space them evenly to distribute mattress weight properly.
Consider pre-drilling holes to avoid splitting the wood when securing parts. Take your time tightening screws; snug but not overtightened is best.
Attaching Rails To Headboard And Footboard
Align the rails with the mounting points on your headboard and footboard carefully. Check the height and level before securing.
Use sturdy bolts or bed rail brackets designed for furniture to ensure a strong connection. If your headboard and footboard have pre-drilled holes, match them precisely.
Test the stability by gently rocking the frame once attached. If there’s movement, double-check your fasteners and adjust as needed.
Have you ever noticed how small errors in measurement can cause big problems in furniture assembly? Taking extra time here prevents headaches later and gives you a bed frame that feels solid every night.
Finishing Touches And Safety Tips
Finishing touches and safety tips are what transform your bed rails from just functional pieces to lasting, reliable parts of your bedroom. Paying attention to these details not only improves the look of your rails but also keeps you and your loved ones safe every night. Let’s look at some practical ways to polish off your project and make sure it stands strong for years.
Sanding And Painting Options
Sanding smooths the wood and removes any rough edges that could cause splinters. Start with a medium-grit sandpaper and finish with a fine grit for a silky surface. Don’t rush this part—your hands will thank you later!
Choosing the right paint or finish is key. A water-based paint dries quickly and is less toxic, making it a great option for bedroom furniture. If you prefer a natural look, try an oil-based wood stain followed by a clear polyurethane coat for protection.
Ever thought about using chalk paint for a vintage vibe? It’s easy to apply and creates a matte finish that hides imperfections. Plus, you can distress it slightly for a charming, worn look.
Securing Rails For Stability
Loose bed rails can be a hazard and a nuisance. Use heavy-duty brackets or bolts to attach the rails firmly to the headboard and footboard. This ensures your bed won’t wobble or come apart over time.
Check that all screws and connectors are tightened evenly. Uneven pressure can cause the wood to crack or the joints to weaken. Adding metal corner braces can give extra support without being visible.
Have you tested the bed’s stability by applying pressure in different directions? It’s a simple step that catches weak spots before they cause problems.
Maintenance And Safety Checks
Regularly inspect your bed rails for any signs of wear like cracks, loose screws, or chipped paint. Early detection helps prevent accidents and keeps your bed looking fresh.
Keep a small tool kit nearby with screwdrivers and sandpaper for quick fixes. Tighten any loose hardware as soon as you notice it to maintain stability.
Consider adding felt pads where the rails touch the floor to prevent slipping and protect your flooring. Have you noticed how a small pad can make a big difference in noise reduction and movement?

Credit: frillsanddrills.com
Frequently Asked Questions
What Materials Are Needed To Make Bed Rails?
You need wood planks, screws, brackets, a drill, measuring tape, and sandpaper. Choose durable wood like pine or oak. These materials ensure strong, stable bed rails for headboard and footboard support.
How Do I Measure For Bed Rails?
Measure the distance between the headboard and footboard. Measure the height from the floor to the top of the side rails. Accurate measurements help create bed rails that fit perfectly and provide sturdy support.
Can I Make Bed Rails Without Professional Tools?
Yes, basic tools like a drill, screwdriver, and saw suffice. Simple hand tools can work for smaller projects. Using these tools allows you to build functional bed rails at home.
How Do I Attach Bed Rails To The Headboard?
Use metal brackets or bolts to secure rails to the headboard. Ensure they are tightly fastened for stability. Proper attachment prevents movement and increases bed safety.
Conclusion
Making bed rails for your headboard and footboard can save money and add a personal touch. Use the right tools and materials for safety and durability. Take your time measuring and cutting to ensure a perfect fit. Simple steps lead to a strong, sturdy bed frame.
Enjoy the satisfaction of building something useful with your own hands. This project suits beginners and helps improve basic woodworking skills. Try it yourself and create a bed frame that matches your style and needs.


