
Are you tired of toys scattered all over your living room? Imagine having a stylish storage bench that not only keeps your space tidy but also gives your kids a cozy spot to sit.
Making your own storage bench for toys is easier than you think, and it can save you money while adding a personal touch to your home. In this guide, you’ll discover simple steps to create a functional and attractive storage bench that fits your needs perfectly.
Ready to transform your clutter into a neat, organized space? Let’s get started!

Credit: www.familyhandyman.com
Materials And Tools Needed
Making a storage bench for toys is a fun and useful project. You will need some basic materials and tools. This list will help you prepare before you start.
Gathering all items first makes the work faster and easier. Check the quality of your materials to ensure durability.
Wood And Hardware
Choose wood that is strong and smooth. Plywood or pine boards work well. Hardware pieces hold everything together and add function.
- 3/4 inch plywood sheets (for the body and lid)
- 1×2 inch pine boards (for framing)
- Wood screws, 1 1/4 inch and 2 inch
- Hinges (for the lid)
- Wood glue
- Sandpaper, medium and fine grit
Tools Required
Use tools that help you cut, join, and finish the wood. Safety gear is also important to protect yourself.
| Tool | Purpose |
| Measuring tape | To measure wood pieces accurately |
| Circular saw or handsaw | To cut wood to size |
| Drill and drill bits | To make holes and drive screws |
| Screwdriver | To tighten screws |
| Clamps | To hold wood pieces while gluing |
| Safety glasses and gloves | To protect your eyes and hands |
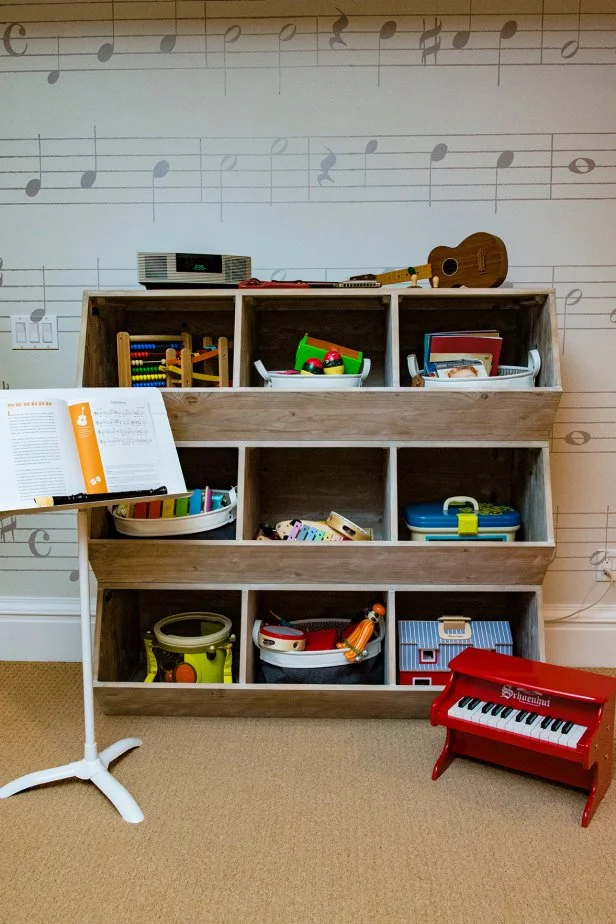
Credit: www.hgtv.com
Step-by-step Assembly
Building a storage bench for toys is a practical project. It helps keep play areas neat and organized.
This guide will walk you through the process of creating a functional and stylish storage bench.
Cutting The Wood
Begin by cutting all the wood pieces to the right sizes. This forms the base of your bench.
- Measure the dimensions for the bench frame.
- Cut the side panels and base.
- Ensure all pieces are smooth and even.
Building The Frame
The frame is the backbone of your storage bench. Assemble it with care for stability.
Use screws and wood glue for a sturdy build. Ensure all corners are at right angles.
Adding The Storage Box
The storage box is where toys will be kept. Make sure it is spacious enough.
| Material | Dimensions |
| Plywood | 30″ x 20″ |
| Side Panels | 12″ x 20″ |
| Back Panel | 30″ x 12″ |
Attaching The Lid
The lid serves as the seating area. It also keeps toys hidden when not in use.
- Attach hinges to the back panel.
- Secure the lid with screws.
- Test the lid to ensure it opens smoothly.
Finishing Touches
Adding the final details makes your storage bench both useful and pretty. These touches help the bench last longer and look great in your home.
Focus on smoothing the wood and adding handles or knobs. These steps complete the project nicely.
Sanding And Painting
Start by sanding the entire bench to remove rough spots. Use fine sandpaper for a smooth surface that feels nice to touch.
After sanding, wipe the dust off with a damp cloth. Choose a paint that fits your room’s style and protect the wood.
- Sand edges and corners carefully
- Use a primer before painting for better coverage
- Apply two coats of paint for even color
- Let each coat dry fully before the next
Installing Handles Or Knobs
Handles or knobs make it easier to open the storage bench. They also add style and personality to the piece.
Pick handles that fit the bench size and match the paint or room decor. Measure carefully before drilling holes.
- Mark the spots where handles will go
- Use a drill to make holes for screws
- Attach handles tightly with screws
- Check that handles are straight and secure
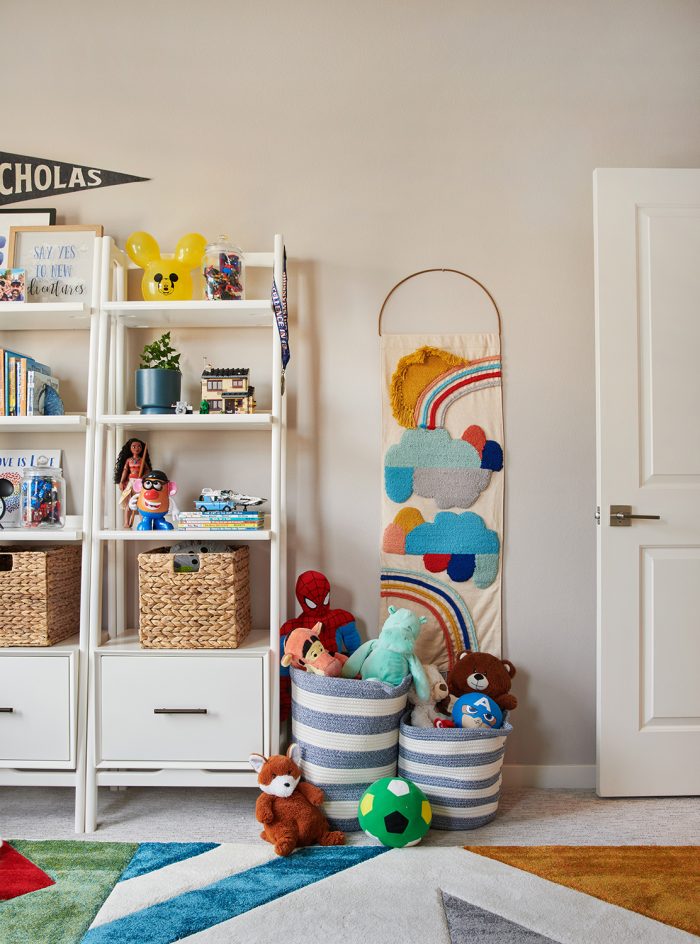
Credit: havenly.com
Tips For Customization
Making a storage bench for toys can be fun and useful. Customizing it helps fit your space and style.
Use these tips to make your storage bench unique and practical for your needs.
Choosing The Right Size
Pick a size that fits your room and toy amount. A bench too big takes space, too small holds less.
Measure the area where you want the bench. Think about how many toys you want to store.
- Measure the wall or corner space
- Count the toys to estimate storage needs
- Allow extra room for future toy growth
- Make sure the bench height fits kids’ reach
Adding Cushion For Seating
A cushion makes the bench comfy for sitting. Choose soft but firm padding for kids’ safety.
Pick a fabric that is easy to clean. You can use bright colors or patterns to match the room.
- Use foam padding for comfort
- Cover with washable fabric
- Add ties or Velcro to keep cushion in place
- Choose colors that hide stains well
Personalizing With Decorations
Decorate the bench to make it special. Use stickers, paint, or decals to show your child’s style.
Make sure decorations are safe and do not peel easily. You can change them as tastes change.
- Use non-toxic paint or markers
- Add themed stickers or decals
- Attach name tags or labels
- Use washi tape for easy decoration changes
Frequently Asked Questions
What Materials Do I Need To Build A Toy Storage Bench?
You need wood panels, screws, hinges, wood glue, sandpaper, paint or stain, and a cushion. Choose durable wood like pine or plywood for strength and safety.
How Long Does It Take To Make A Storage Bench For Toys?
Building a toy storage bench typically takes 3 to 5 hours. Time depends on skill level, drying times for paint, and assembly complexity.
Can I Customize The Bench Size For My Room?
Yes, you can customize the bench size easily. Measure your space first and adjust wood panel dimensions to fit your room perfectly.
Is It Safe For Kids To Use A Diy Storage Bench?
Yes, if built correctly. Use smooth edges, non-toxic paint, and secure hinges. Ensure the bench is sturdy and free from sharp parts.
Conclusion
Building a storage bench for toys brings order and style to any room. It helps keep toys neat and easy to find. Plus, it saves space and adds a cozy spot to sit. Using simple tools and steps makes the project fun and doable.
Your kids will enjoy having a special place for their toys. Try making one and see how much tidier your space feels. A storage bench is practical, useful, and adds charm to your home.


