Are you ready to add a warm, cozy touch to your home while impressing your guests? A rustic bar cart is the perfect way to bring charm and functionality into your space.
Imagine having a stylish spot where your favorite drinks and accessories are always within reach, creating the perfect vibe for any gathering. In this guide, you’ll discover simple, step-by-step tips to build your own rustic bar cart—no special skills needed.
Keep reading, and you’ll soon be crafting a unique piece that reflects your style and makes every toast feel special.
Choosing Materials
Picking the right materials makes your rustic bar cart strong and stylish.
Focus on wood and hardware to match the rustic look you want.
Wood Types
Wood gives your bar cart its character. Choose wood that fits rustic style and lasts long.
- Reclaimed wood offers a weathered, vintage look.
- Oak is strong and has a beautiful grain.
- Pine is softer and lighter but easy to work with.
- Walnut has rich color and smooth texture.
Hardware Selection
Hardware holds your cart together and adds to its style. Choose pieces that match rustic charm.
| Hardware Type | Material | Rustic Style Benefit |
| Handles | Brass or Iron | Adds vintage look and easy grip |
| Hinges | Steel or Bronze | Durable and fits rustic feel |
| Casters | Rubber with Metal | Easy to move and sturdy |
| Screws and Nails | Galvanized Steel | Rust-resistant and strong |

Credit: heirloomedblog.com
Building The Frame
Making a rustic bar cart is an exciting project. You need a sturdy frame to start with. This guide will help you build the frame step by step.
Follow the instructions carefully for the best results. Let’s dive into the process.
Cutting Wood Pieces
Begin by cutting the wood pieces needed for the frame. Accurate cuts ensure stability and durability.
- Measure the wood pieces according to your bar cart design.
- Use a saw to cut the wood to the required lengths.
- Sand the edges to make them smooth.
Assembling Structure
Once all wood pieces are cut, you can start assembling them. This is where your bar cart begins to take shape.
Ensure you have:
- Screws
- Screwdriver
- Drill
- Wood glue
Attach the pieces using screws and wood glue for extra strength. Double-check all joints for tightness.
| Component | Purpose |
| Side Panels | Support the frame |
| Base | Holds the weight |
| Shelves | Store items |
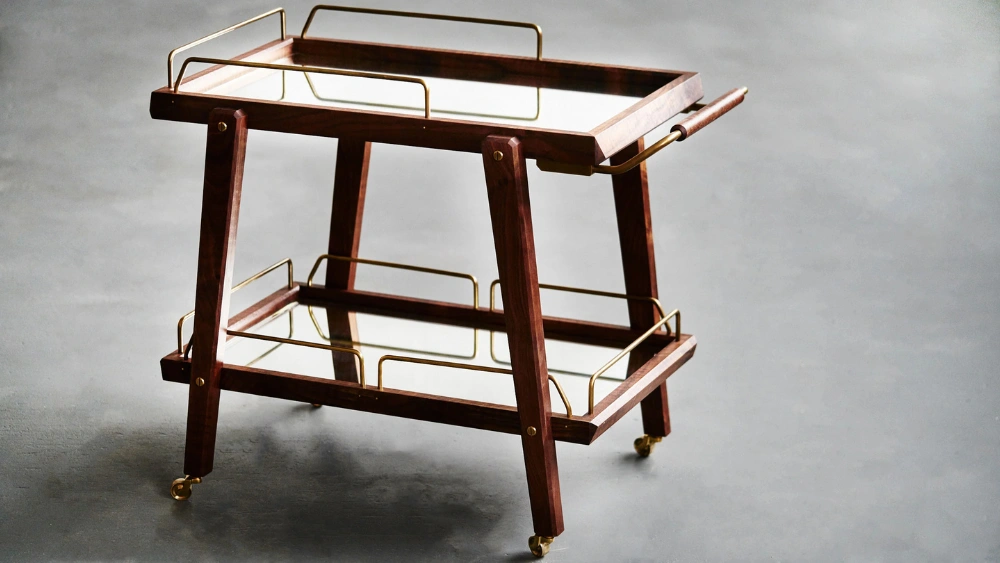
Adding Rustic Details
Creating a rustic bar cart means focusing on natural, worn looks. Adding simple rustic details makes the cart feel warm and inviting.
Use easy methods to give your bar cart a vintage charm. Small touches can make a big difference in style.
Distressing Techniques
Distressing wood gives your bar cart a weathered look. This style shows character and age, which fits rustic decor well.
- Use sandpaper to rub edges and corners gently.
- Apply a dark wax or stain to highlight scratches and dents.
- Lightly tap the surface with a hammer or chain to create small dents.
- Remove some paint or varnish with a scraper to reveal wood underneath.
Finishing Touches
Finish your rustic bar cart with details that add warmth and texture. These small additions complete the look.
| Finish | Effect |
|---|---|
| Matte Sealant | Protects wood without shine |
| Beeswax Polish | Adds soft glow and smooth feel |
| Rustic Metal Handles | Enhances vintage look |
| Twine Wraps | Adds texture and charm |

Credit: sugarandcharm.com
Styling Your Bar Cart
Styling a rustic bar cart adds charm and function to any space. It blends vintage vibes with modern needs. You can make it both beautiful and practical.
Use simple ideas to decorate and organize. This helps you enjoy your drinks and impress your guests with a cozy look.
Accessorizing Tips
Choose accessories that match the rustic style. Wood, metal, and glass work well. Keep colors warm and natural to keep the look cozy.
- Use mason jars or vintage glasses for drinks
- Add a wooden tray to hold bottles and tools
- Place small plants or herbs for a fresh touch
- Include a classic cocktail shaker and strainer
- Use coasters made from cork or wood
Organizing Essentials
Keep your bar cart tidy with smart organizing. Group similar items and use containers to reduce clutter. This saves space and makes it easy to find things.
| Item | Storage Tip |
| Bottles | Place upright on the bottom shelf |
| Glassware | Store on the middle shelf for easy reach |
| Mixers and Syrups | Use small baskets to keep them together |
| Tools (shakers, strainers) | Hang on side hooks or store in a jar |
| Napkins and Coasters | Stack neatly on the top shelf |

Credit: www.hgtv.com
Frequently Asked Questions
What Materials Are Best For A Rustic Bar Cart?
Wood like reclaimed pine or oak suits rustic bar carts best. These woods add natural texture and durability. Metal accents, like wrought iron, enhance the rustic charm. Choose sturdy wheels for mobility and raw finishes for authenticity.
How Do I Design A Rustic Bar Cart?
Focus on natural wood finishes and simple, sturdy construction. Incorporate open shelves and vintage hardware. Add metal or leather accents for character. Balance function with style by including space for bottles, glasses, and bar tools.
Can I Make A Rustic Bar Cart On A Budget?
Yes, use reclaimed wood or repurpose old furniture. Look for affordable metal accents at thrift stores. DIY sanding and staining save costs. Simple tools and creativity help you build a stylish cart affordably.
How To Maintain A Rustic Bar Cart?
Keep the wood clean with a soft cloth and mild cleaner. Avoid harsh chemicals to preserve the finish. Regularly check and tighten hardware. Apply wood oil or wax to maintain moisture and appearance.
Conclusion
Creating a rustic bar cart brings charm to any space. Use wood and simple tools to build it yourself. Choose natural colors and rough textures for a cozy feel. Add your favorite drinks and accessories to personalize it. This project suits beginners and saves money too.
Enjoy your unique bar cart at home or parties. A little effort makes a big style difference. Start building today and bring warmth to your room.


