Are you looking to add a fun and tasty touch to your next party or event? Creating your own candy bar cart is easier than you think, and it’s a surefire way to impress your guests.
Imagine having a colorful display filled with all your favorite sweets, ready for everyone to enjoy. In this guide, you’ll discover simple steps to build a candy bar cart that fits your style and budget. Ready to make your celebration unforgettable?
Let’s get started!
Choosing The Right Candy Bar Theme
Picking a theme for your candy bar cart makes it fun and inviting. It helps you match the party style and guests’ tastes.
Think about the event and the people who will enjoy the candy. A good theme ties everything together nicely.
Color Schemes And Styles
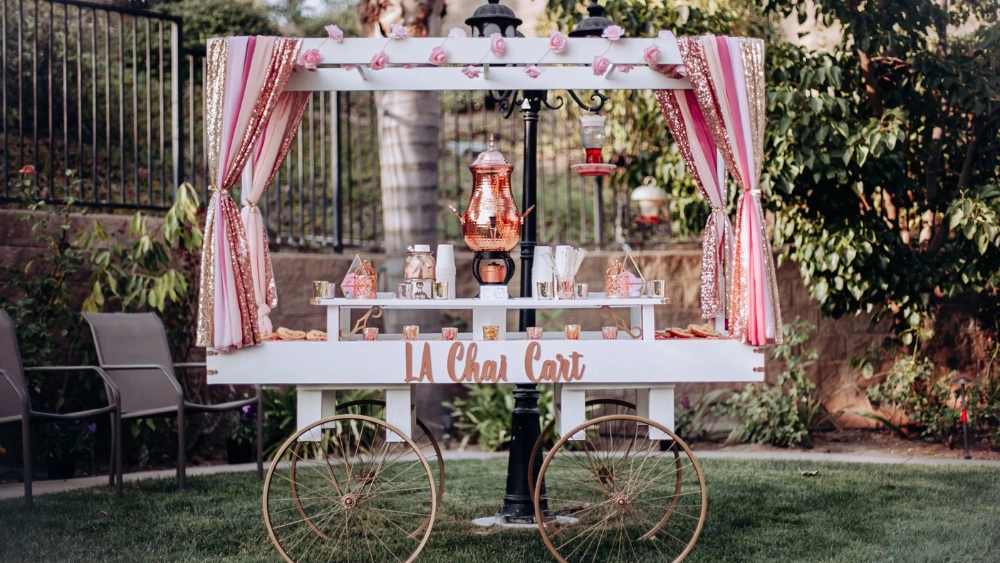
Choose colors that fit the event’s mood. Soft pastels work well for baby showers or weddings.
Bright colors add fun to birthday parties and casual events. Match your decorations with the candy wrappers.
- Use metallic colors for a classy look
- Choose seasonal colors for holidays
- Pick bold colors for kids’ parties
Selecting Candy Types
Offer a mix of candies to please all tastes. Include chocolate, sour, and fruity options.
Think about dietary needs. Add sugar-free or allergy-friendly sweets if needed.
- Classic favorites like chocolate bars and gummies
- Unique candies for a special touch
- Colorful candies matching your theme
- Small treats easy to grab and enjoy
Incorporating Personal Touches
Add personal details to make your candy bar cart unique. Use custom labels or tags with names.
Decorate with photos or small keepsakes to connect with guests. Personal touches make the cart memorable.
- Use themed jars and containers
- Add handwritten signs or notes
- Include favorite candies of the guest of honor
- Use ribbons or stickers that match the event

Credit: www.hitched.co.uk
Gathering Supplies And Materials
Creating a candy bar cart is a fun project. It requires careful planning and gathering the right supplies. This guide helps you with the basics.
Start by organizing all the materials you need. This makes the process smooth and enjoyable.
Containers And Display Stands
Containers and stands hold the candy on your cart. Choose clear jars and trays for easy visibility.
- Glass jars with lids
- Tiered display trays
- Acrylic boxes
Decorative Elements
Decorative elements add charm to your candy bar cart. They make it look inviting and fun.
Consider using colorful ribbons, banners, and themed decorations. This creates a festive atmosphere.
Tools And Accessories
Having the right tools and accessories is important. It helps in setting up and maintaining the candy bar cart.
- Scoops and tongs for serving
- Labels for candy names
- Scissors and tape for setup
Setting Up The Candy Bar Layout
Creating a candy bar is fun and easy with some planning. Setting up the layout well helps your guests enjoy the treats.
This guide covers how to arrange candy, add labels, and keep everything accessible and flowing smoothly.
Arranging Candy For Visual Appeal
Place candy in groups by color and type to make the display attractive. Use jars and containers of different heights to add interest.
- Mix bright and pastel colors for variety
- Use clear containers to show the candy inside
- Place larger items at the back and smaller at the front
- Keep similar shapes or flavors together
- Add decorative elements like ribbons or lights
Labeling And Signage
Clear labels help guests find their favorite sweets and avoid confusion. Use easy-to-read fonts and place signs near the candy.
| Candy Type | Label Suggestions |
| Chocolate Bars | “Chocolate Treats” |
| Gummy Candy | “Chewy Gummies” |
| Hard Candy | “Sweet Hard Candy” |
| Lollipops | “Colorful Lollipops” |
| Mixed Candy | “Candy Mix” |
Ensuring Accessibility And Flow
Set the candy bar in a place with enough room for people to move. Avoid crowding the table or blocking walkways.
Follow these tips for smooth flow:
- Place the candy bar near other party activities
- Leave space on both sides for easy access
- Use trays or stands to keep items within reach
- Keep napkins and bags nearby for convenience

Credit: www.hitched.co.uk
Adding Finishing Touches
After setting up your candy bar cart, small details make it stand out. These final touches create a welcoming and fun space.
Focus on lighting, packaging, and keeping everything fresh and clean. These elements improve your guests’ experience.
Lighting And Ambiance
Soft lighting creates a warm and inviting atmosphere around your candy bar cart. Use string lights or small lamps to highlight the treats.
Choose lights that match your party theme and avoid harsh overhead lighting. This keeps the area cozy and comfortable.
- Use warm white string lights for a soft glow
- Add small spotlights to highlight candy jars
- Consider battery-operated candles for safety
Packaging For Guests
Provide guests with easy ways to take candy home. Small bags, boxes, or jars work well for packaging.
Offer different packaging sizes so guests can choose what fits them best. Label the packages for a neat look.
- Use clear plastic bags with ribbon ties
- Provide small cardboard boxes for fragile candy
- Include stickers or tags for decoration
Maintaining Freshness And Cleanliness
Keep candy fresh by covering containers when not in use. This prevents dust and insects from reaching the treats.
Regularly wipe down surfaces and clean utensils. A clean cart looks better and helps guests feel safe.
- Use lids or plastic wrap on candy jars
- Sanitize scoops and tongs often
- Clear spills immediately to avoid stickiness

Credit: www.youtube.com
Frequently Asked Questions
What Materials Do I Need To Make A Candy Bar Cart?
To make a candy bar cart, gather wood boards, wheels, screws, paint, and candy jars. These basic materials help create a sturdy, mobile cart perfect for events or parties.
How Do I Design A Candy Bar Cart Layout?
Start by planning candy jar placement for easy access and visual appeal. Use tiers or shelves to maximize space and create an inviting display.
Can I Customize A Candy Bar Cart For Different Themes?
Yes, customize with themed decorations, colors, and signage. Personalizing your cart enhances the event’s atmosphere and delights guests with a cohesive look.
How Much Time Does It Take To Build A Candy Bar Cart?
Building a candy bar cart typically takes 4 to 6 hours. Time depends on design complexity and your DIY skill level.
Conclusion
Creating a candy bar cart adds fun to any event. It is simple and enjoyable to build. Choose your favorite candies and organize them nicely. Use a cart or a small table for display. Add labels and decorations for a personal touch.
Your guests will love the sweet treat station. This idea fits birthdays, weddings, and parties well. Start with basic supplies and get creative as you go. A candy bar cart brings smiles and tasty moments. Give it a try and watch everyone enjoy!


