Looking to add a unique touch to your bedroom without spending a fortune? Making a headboard out of pallets is a simple and creative way to transform your space.
You don’t need fancy tools or skills—just a bit of patience and some basic materials. Imagine waking up every day to a headboard that reflects your style and adds warmth to your room. Keep reading, and you’ll discover easy steps to build your own pallet headboard that will impress everyone who sees it.
Ready to get started? Let’s dive in!

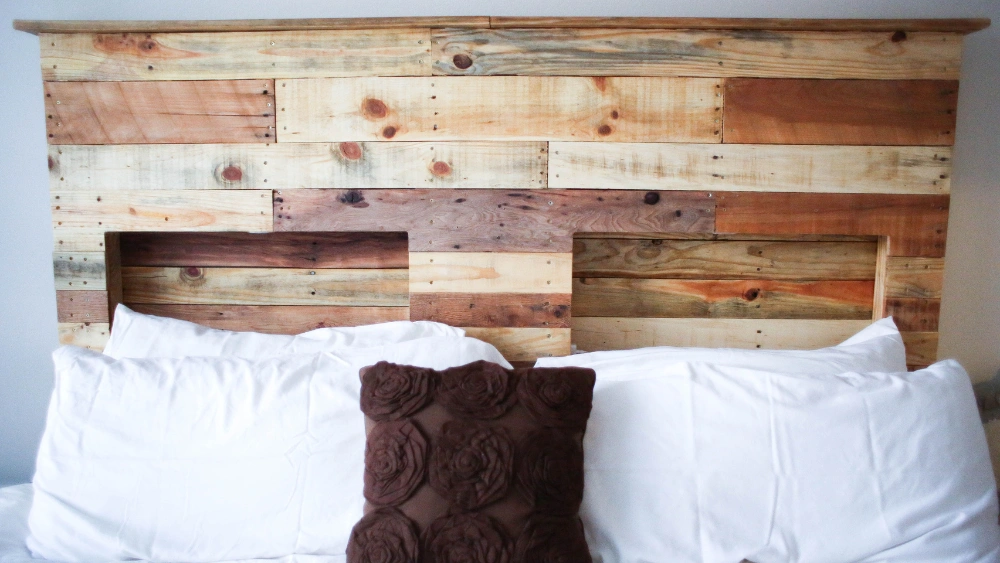
Credit: www.familyhandyman.com
Choosing The Right Pallets
Choosing the right pallets is the foundation of creating a durable and stylish pallet headboard. Not all pallets are equal, and the type you select will impact the look, safety, and longevity of your project. Before you start, consider where you will get your pallets and how much work they will need to be ready for your bedroom.
Types Of Pallets To Use
Wood pallets come in various types, each with different qualities. Look for pallets made of hardwood like oak or maple for a sturdier headboard. Softwood pallets, such as pine, are lighter and easier to work with but may not last as long.
Pay attention to the pallet’s condition. Avoid pallets with broken boards, large splinters, or signs of chemical treatment. Stamped markings like “HT” (heat treated) are safer than “MB” (methyl bromide), which indicates chemical fumigation.
Where To Find Pallets
Finding good pallets doesn’t have to be difficult. Many local stores, warehouses, or garden centers throw away pallets regularly. Asking permission to take pallets can save you money and give you access to high-quality wood.
Check online marketplaces or community groups where people offer pallets for free or low cost. Be cautious about pallets found on the street—they might be damaged or treated with harmful chemicals.
Preparing Pallets For Use
Once you have your pallets, preparation is crucial to avoid problems later. Start by cleaning them thoroughly with soap and water to remove dirt and debris. Let them dry completely to prevent mold growth.
Sand the surfaces to smooth out rough spots and splinters. This step makes your headboard safer and more comfortable to lean against. Finally, inspect for nails or staples and remove any that could cause injury or damage.
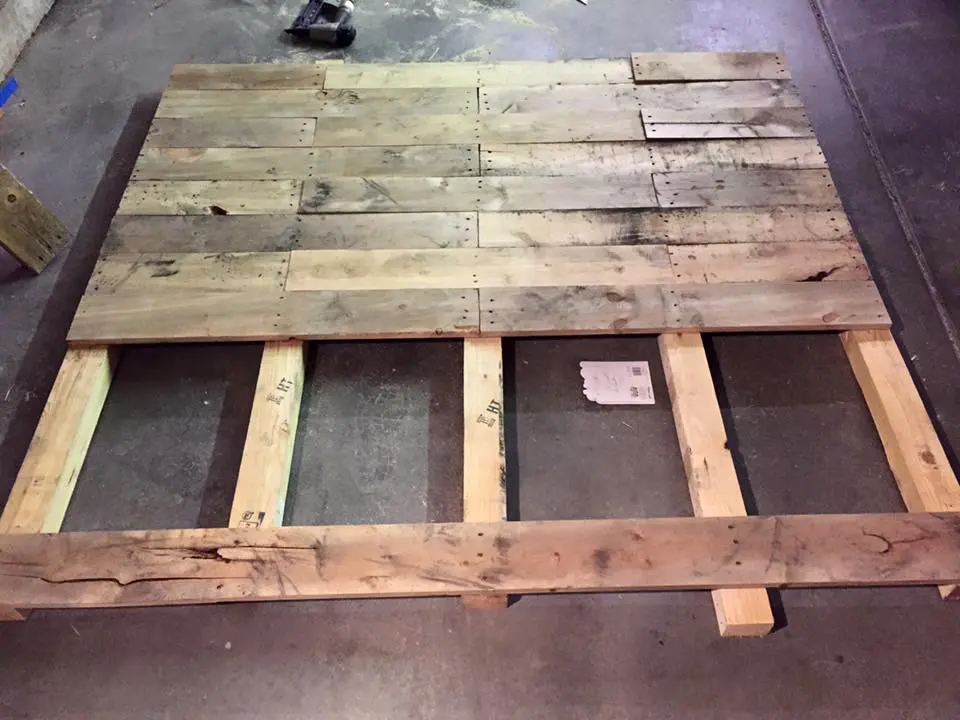
Credit: myfixituplife.com
Building Your Pallet Headboard
Building your pallet headboard is a rewarding project that turns simple wooden pallets into a stylish centerpiece for your bedroom. It’s more than just assembly; it’s about shaping your space with hands-on creativity. You’ll find that with the right approach, the process is straightforward and the results impressive.
Tools And Materials Needed
- Wooden pallets (choose sturdy ones without too many cracks)
- Measuring tape and pencil
- Hand saw or power saw
- Hammer and nails or electric drill with screws
- Sandpaper (medium and fine grit) or an electric sander
- Wood stain, paint, or sealant for finishing
- Protective gloves and safety glasses
- Optional: Wood filler for gaps or holes
Gathering all these items before starting saves you time and frustration. Think about the style you want—rustic, modern, or colorful—and select your finishing materials accordingly.
Step-by-step Assembly
Start by measuring your bed width to determine the size of the headboard. Cut pallets down if necessary, aiming for a height that suits your room and bed style.
Next, arrange the pallet boards side by side, experimenting with different layouts. You might want a smooth, flat surface or a more textured look with gaps and varied wood pieces.
Secure the pallets together using screws or nails, making sure everything stays level and tight. If you want extra stability, attach a horizontal support beam across the back.
Consider how you’ll mount the headboard. You can attach it directly to the bed frame or fix it to the wall for a cleaner look.
Sanding And Finishing Touches
Sand the entire surface to remove rough edges and splinters. Start with medium grit sandpaper and finish with fine grit for a smooth feel.
Apply wood stain or paint according to your design choice. This not only enhances the look but also protects the wood from wear and tear.
Think about adding personal touches like stencils, decals, or even string lights to make your headboard uniquely yours.
Have you thought about how your headboard can reflect your personality? Taking time here makes all the difference between a DIY project and a statement piece.
Mounting And Styling Tips
Mounting and styling your pallet headboard is where creativity meets functionality. How you secure it impacts safety and durability, while your styling choices reflect your personal taste. Let’s dive into practical tips that help your headboard stand firm and look fantastic.
Securing The Headboard To The Wall
Start by choosing the right wall anchors for your wall type—drywall, brick, or plaster. Use a stud finder to locate the studs; attaching the headboard directly to studs ensures it won’t wobble or fall.
Attach sturdy brackets or mounting plates to the back of the pallet. Then, use long screws to secure these brackets into the wall studs. If you rent or prefer not to drill, consider heavy-duty adhesive strips made for mounting heavy items, but test their strength first.
Keep safety in mind—your headboard should not shift when you lean against it. Have you checked if your mounting hardware can support extra weight?
Adding Decorative Elements
Wood pallets have a rustic charm, but you can add personality with simple touches. Paint the wood in soft pastels for a calming bedroom vibe or go bold with a bright color to make it a focal point.
Try attaching fairy lights along the edges for a cozy glow. You can also mount small shelves on the headboard to display plants or books, making it both decorative and practical.
What’s a unique element you’d add that reflects your style? Consider stenciling a favorite quote or pattern for a personal touch.
Maintaining Your Pallet Headboard
To keep your headboard looking fresh, dust it regularly with a soft cloth. If the wood feels rough, lightly sand it down and apply a wood conditioner or sealant to prevent splinters.
Check for loose nails or screws every few months and tighten them as needed. If you’ve painted your headboard, touch up any chips to maintain its charm.
Have you noticed how a little upkeep extends the life and beauty of your DIY projects?
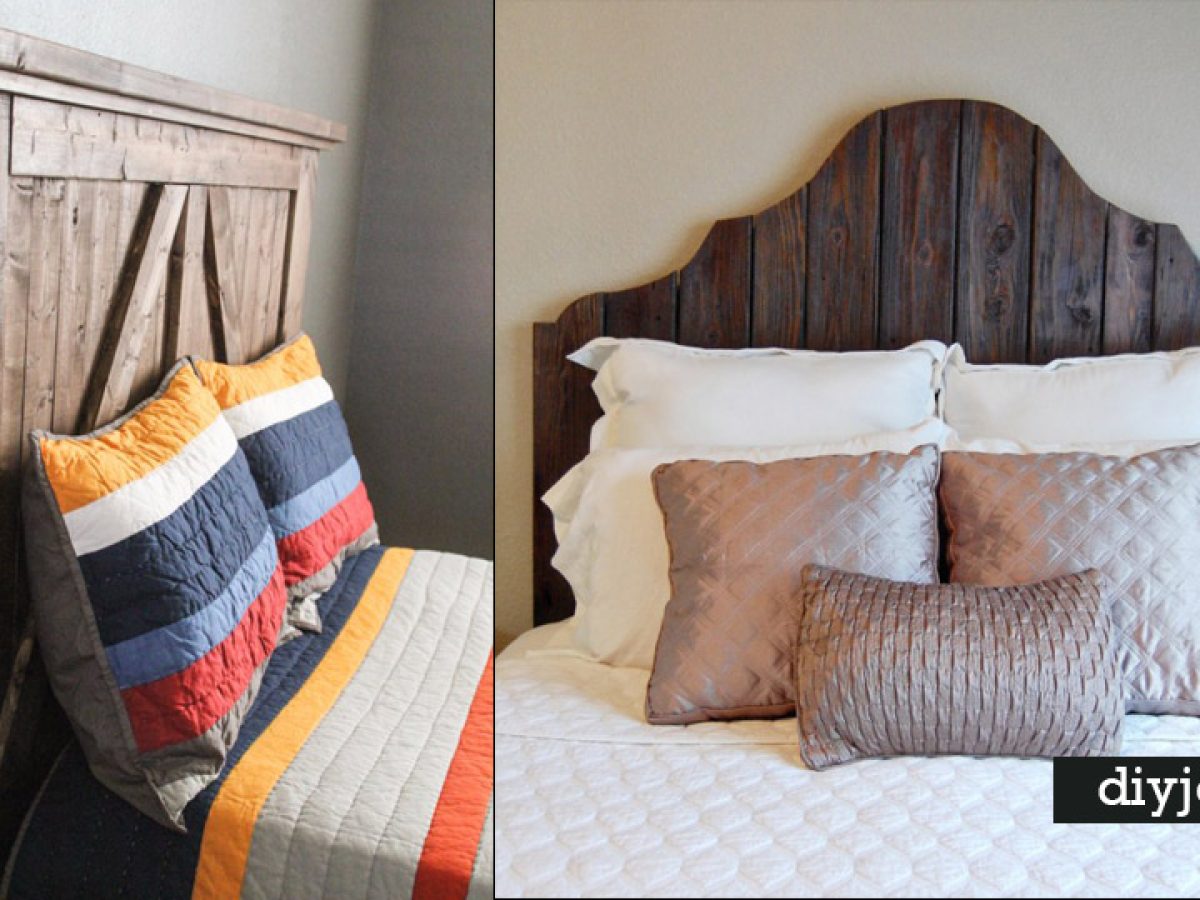
Credit: diyjoy.com
Frequently Asked Questions
How Do You Prepare Pallets For A Headboard?
Start by cleaning and sanding the pallets thoroughly. Remove nails and splinters carefully. This ensures a smooth, safe surface for your headboard.
What Tools Are Needed To Make A Pallet Headboard?
You’ll need a saw, hammer, nails or screws, sandpaper, and a drill. Optional: paint or wood stain for finishing.
Can Pallet Wood Be Painted Or Stained?
Yes, pallet wood can be painted or stained. Choose non-toxic finishes for safety and apply evenly for a polished look.
How Do You Attach A Pallet Headboard To The Wall?
Use sturdy brackets or wall anchors. Secure the headboard at multiple points for stability and safety.
Conclusion
Creating a headboard from pallets is fun and rewarding. It saves money. Adds a personal touch to your bedroom. Simple tools and materials make it possible. Anyone can do it with basic skills. This project suits both beginners and experienced DIY enthusiasts.
Plus, it’s an eco-friendly choice. You give old pallets a new life. Try it and enjoy the results. Your bedroom will feel unique and cozy. Start today and create something special.


