
Are you looking to add a touch of elegance and functionality to your living space without breaking the bank? Imagine having a stylish console table with drawers that not only enhances your home décor but also provides practical storage for your everyday essentials.
You don’t need to be a master craftsman to achieve this; you just need a little guidance and creativity. In this guide, we’ll walk you through the simple steps to create your very own console table with drawers. Whether you’re a DIY enthusiast or a beginner, you’ll find that building this piece of furniture is both rewarding and enjoyable.
Curious to see how you can transform a few materials into a stunning centerpiece for your home? Keep reading, and discover the secrets to crafting a console table that speaks to your style and storage needs.

Credit: www.reddit.com
Materials And Tools Needed
Wood choiceaffects the table’s strength and look. Common woods include pine, oak, and walnut. Pine is easy to work with and budget-friendly. Oak is hard and durable. Walnut offers a rich, dark finish.
Hardwareincludes drawer slides, handles, screws, and brackets. Choose smooth drawer slides for easy opening. Handles should match your style and fit the drawer size. Use strong screws and brackets for stability.
Toolsneeded are a saw, drill, screwdriver, measuring tape, and sandpaper. A power saw speeds up cutting wood. Drills help make precise holes for screws and hardware. Sandpaper smooths rough edges for a clean finish.

Credit: www.amazon.com
Step-by-step Construction
Start by measuring and marking the wood carefully. Use a saw to cut the pieces to size. Sand all surfaces smooth to avoid splinters. Make sure the edges are straight and even for a better fit.
Join the cut wood pieces to form the table frame. Use wood glue and screws to secure the joints tightly. Check that the frame is square and stable before moving on.
Build the drawers by cutting smaller wood panels. Assemble drawer sides, bottom, and front with glue and nails. Fit the drawers into the frame carefully. Attach drawer handles or knobs for easy use.
Finishing Touches
Start by sanding the console table’s surface smoothly. Use fine-grit sandpaper for best results. Wipe off dust with a clean cloth before painting. Choose paint that matches your room style. Apply thin, even coats for a neat finish. Let each coat dry fully before the next.
Handles and hardware add style and function. Pick handles that fit the drawer size well. Screw them tightly but avoid over-tightening. Check that drawers open and close smoothly.
For final assembly, attach drawers carefully into the frame. Make sure everything fits well and is sturdy. Place the console table in your chosen spot. Adjust its position for the best look and use.
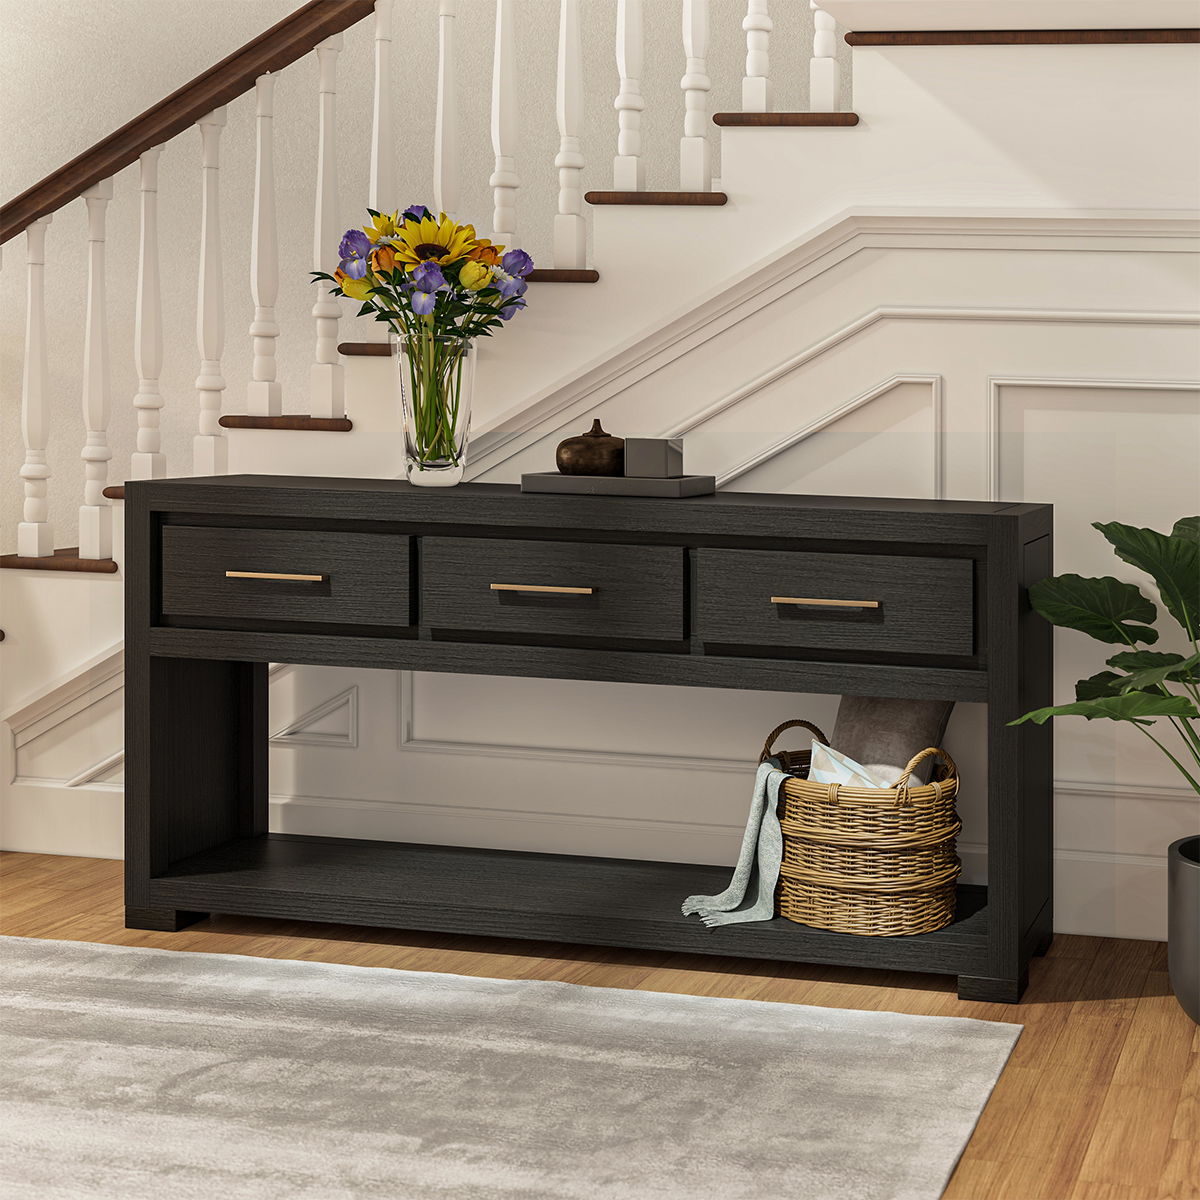
Credit: www.sierralivingconcepts.com
Frequently Asked Questions
What Materials Are Needed To Make A Console Table With Drawers?
You need wood boards, drawer slides, screws, wood glue, handles, sandpaper, and paint or stain. Choose quality wood for durability. Drawer slides ensure smooth drawer movement. Handles add style and function. Sand and finish for a polished look.
How Long Does It Take To Build A Console Table?
Building a console table with drawers typically takes 4 to 6 hours. This depends on your skill level and tools. Allow extra time for drying paint or stain. Planning and preparation speed up the process.
Can Beginners Make A Console Table With Drawers?
Yes, beginners can build a console table with drawers. Start with a simple design and follow clear instructions. Use basic tools and take safety precautions. Practice measuring and cutting accurately. Patience and care lead to good results.
What Tools Are Essential For Making This Table?
Essential tools include a saw, drill, screwdriver, measuring tape, and clamps. A sander or sandpaper helps smooth surfaces. Drawer slides require a drill for precise attachment. Having these tools ensures efficient and safe construction.
Conclusion
Building a console table with drawers adds style and storage to any room. Follow each step carefully for best results. Choose the right materials to fit your space and needs. Take your time to measure and assemble parts correctly. A handmade table brings pride and personal touch to your home.
Enjoy using your new piece every day. Simple tools and effort can create something useful and beautiful. Keep practicing to improve your woodworking skills. This project shows that anyone can build furniture with patience. Ready to start your next DIY adventure?


