Looking to add more storage and style to your space? Creating your own shelving unit is easier than you might think.
Imagine having a custom piece that fits perfectly in your room and shows off your personality. In this guide, you’ll learn exactly how to build a sturdy, beautiful shelving unit step by step. Whether you’re a beginner or just need a simple plan, you’ll find clear instructions and helpful tips that make the process smooth and fun.
Ready to transform your space and impress yourself with a DIY project? Let’s get started!
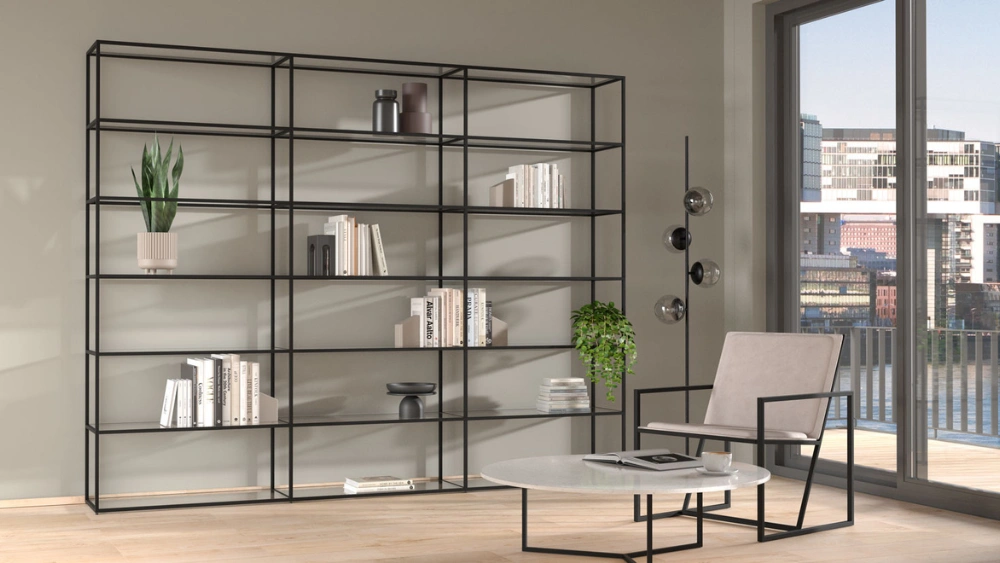
Credit: www.etsy.com
Planning Your Shelving Unit
Building a shelving unit starts with good planning. It saves time and money during construction.
Focus on materials, space, and design before you begin cutting or assembling parts.
Choosing The Right Materials
Select materials that fit your budget and the style of the room. Wood is common and strong.
- Solid wood for durability and a classic look
- Plywood for a cost-effective option
- Metal for modern and industrial designs
- Glass shelves for light and open feeling
Measuring Your Space
Measure the wall or area where the shelf will go. Use a tape measure for accuracy.
| Dimension | Recommended Action |
| Width | Measure the full width of the available space |
| Height | Decide how tall the shelving unit should be |
| Depth | Check how far shelves can extend without blocking walkways |
Designing The Layout
Plan shelf placement based on what you will store. Mix open and closed spaces for variety.
- Place heavy items on lower shelves
- Leave space for decorations and books
- Use adjustable shelves for flexibility
- Consider adding drawers or doors for hidden storage
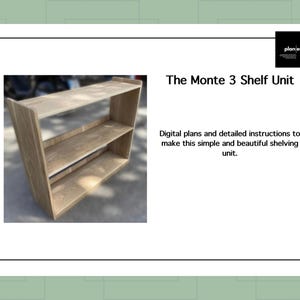
Credit: myoutdoorplans.com
Gathering Tools And Supplies
Building a shelving unit requires planning and preparation. First, gather all necessary tools and supplies. This ensures a smooth and efficient building process.
Having everything ready helps avoid interruptions. It also keeps the project on track. Below are some essential items to consider.
Essential Tools List
Tools are vital for assembling your shelving unit. Use the right tools to ensure stability and durability.
- Measuring tape
- Screwdriver set
- Hammer
- Saw (hand or power)
- Level
- Drill with bits
- Pencil and notepad
Selecting Hardware
The right hardware secures your shelving unit. Choose hardware based on the weight and size of the shelves.
- Screws
- Brackets
- Anchors
- Nails
- Wood glue (optional)
Safety Gear
Safety is important when building a shelving unit. Wear protective gear to prevent injuries.
- Safety goggles
- Work gloves
- Ear protection (if using power tools)
- Dust mask
Building The Shelving Unit
Building a shelving unit is a practical project that helps organize your space. This guide covers cutting wood, assembling the frame, and attaching shelves.
Follow each step carefully to create a sturdy and functional shelving unit. Use basic tools and materials to get started.
Cutting The Wood
Begin by measuring the wood according to your shelving plan. Cut all pieces precisely to ensure a good fit.
- Measure twice to avoid mistakes
- Use a saw suitable for the wood type
- Cut vertical supports and shelves to size
- Sand edges for smoothness
Assembling The Frame
Join the cut wood pieces to build the frame. Make sure it is square and stable before securing it with screws.
| Step | Action | Tip |
| 1 | Align vertical supports | Use a carpenter’s square |
| 2 | Attach horizontal braces | Pre-drill holes to prevent splitting |
| 3 | Secure with screws | Use wood glue for extra strength |
| 4 | Check for level | Adjust if necessary before glue dries |
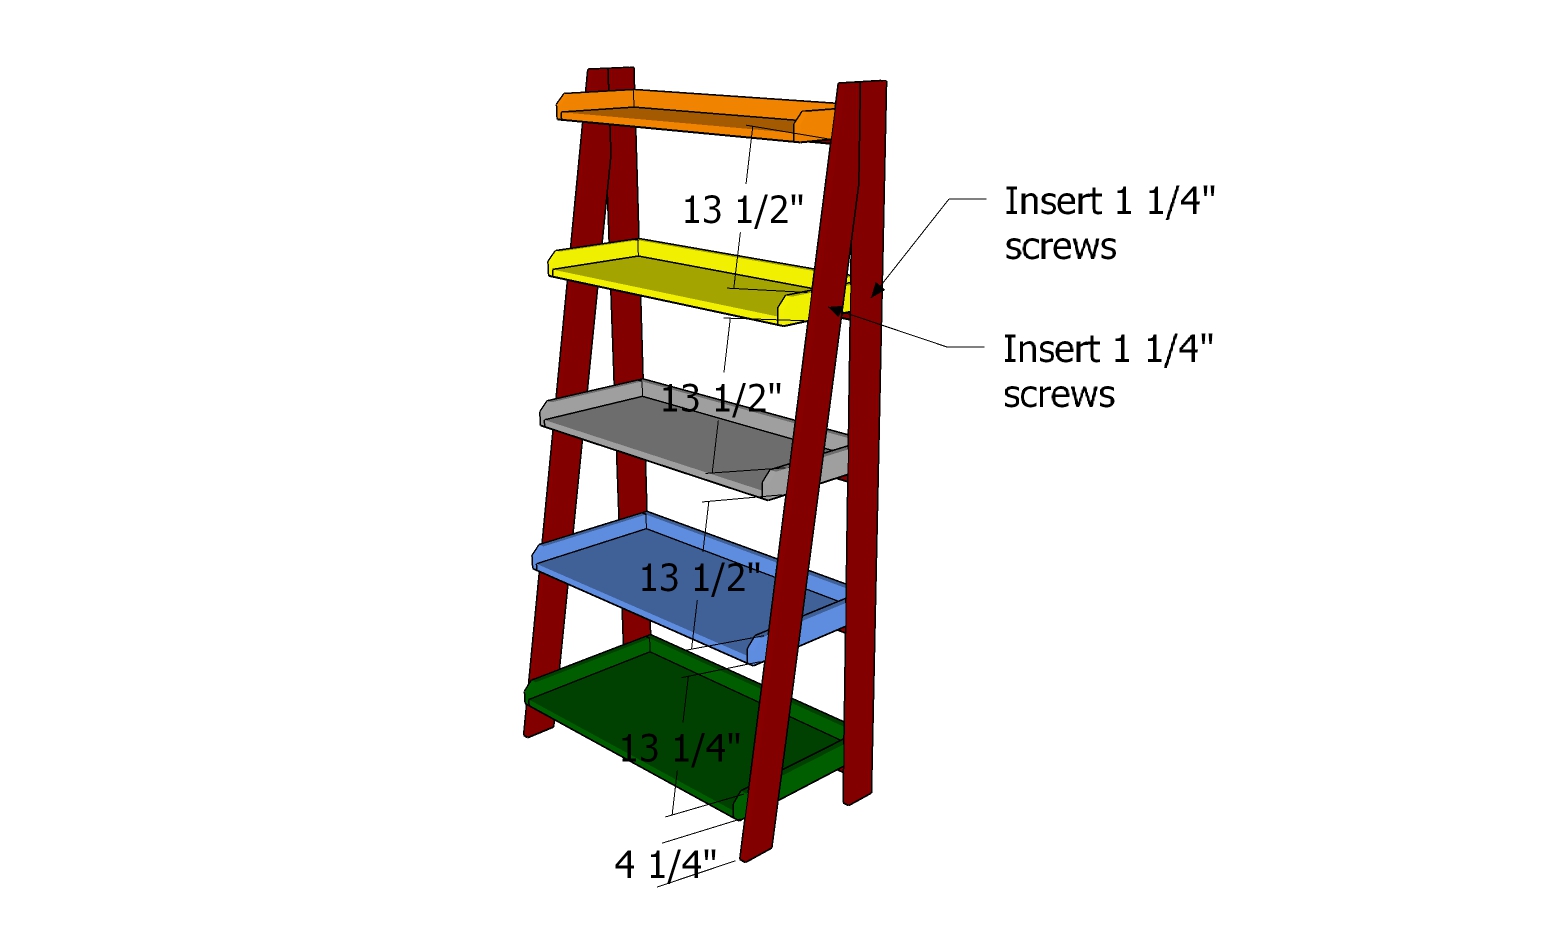
Attaching Shelves
Place the shelves inside the frame at your desired heights. Fix them firmly to support weight.
Here is a checklist for attaching shelves:
- Mark shelf positions on frame
- Use brackets or screws for support
- Ensure shelves are level before fixing
- Double-check all attachments for safety

Credit: www.youtube.com
Finishing Touches
Adding finishing touches gives your shelving unit a polished look. These final steps protect the wood and make the unit sturdy. Focus on sanding, painting or staining, and securing the shelves.
Each step requires care to ensure the shelving unit lasts and looks great. Follow the instructions carefully for the best results.
Sanding And Smoothing
Start by sanding all surfaces to remove rough spots and splinters. Use medium-grit sandpaper first, then fine-grit for a smooth finish. Wipe dust off with a clean cloth before moving on.
- Sand edges and corners carefully
- Sand along the wood grain
- Check for any uneven areas
- Remove all sanding dust
Painting Or Staining
Choose paint or stain to match your style. Paint covers the wood completely, while stain highlights the grain. Apply thin, even coats and let each dry fully before adding the next.
| Finish Type | Effect | Drying Time | Tip |
|---|---|---|---|
| Paint | Solid color | 2-4 hours | Use primer for better coverage |
| Stain | Natural wood look | 1-3 hours | Apply with cloth or brush |
| Clear Sealer | Protects wood | 2-3 hours | Use after paint or stain |
Installing And Securing
Attach the shelves to the frame and secure them to the wall if needed. Use screws and brackets for stability. Check that everything is level and tightly fastened.
- Use a level to align shelves
- Pre-drill holes to avoid splitting
- Use appropriate screws and anchors
- Attach brackets under heavy shelves
- Double-check all connections
Frequently Asked Questions
What Materials Do I Need To Build A Shelving Unit?
You need wood boards, screws, a drill, a saw, sandpaper, and brackets. Choose wood type based on weight support and style preference. Ensure tools are suitable for cutting and assembling your materials safely and accurately.
How Long Does It Take To Create A Shelving Unit?
Building a shelving unit usually takes 2 to 4 hours. Time depends on design complexity and your experience level. Simple units with basic tools can be completed faster, while detailed projects may require more time for precision.
What Tools Are Essential For Shelving Unit Construction?
Essential tools include a saw, drill, screwdriver, measuring tape, and level. These tools help cut, assemble, and ensure the shelves are straight. Having the right tools improves accuracy and speeds up the building process.
How Do I Ensure My Shelving Unit Is Sturdy?
Use strong wood, secure all joints tightly, and add brackets for extra support. Make sure shelves are evenly spaced and level. Proper assembly and quality materials prevent wobbling and increase durability.
Conclusion
Building a shelving unit can be simple and rewarding. Follow the steps carefully to avoid mistakes. Use the right tools and materials for best results. Take your time to measure and cut precisely. Enjoy creating a useful piece for your home.
Each shelf adds value and style to your space. You can customize it to fit your needs. Keep practicing to improve your DIY skills. Shelving units bring order and charm to any room. Start your project today and see the difference.


