
Are you ready to create the perfect spot for your baby’s diaper changes? Building your own baby changing table gives you control over the size, style, and storage—tailored exactly to your needs.
Imagine having a sturdy, safe space right at your fingertips that fits perfectly in your nursery. In this guide, you’ll discover simple steps to build a baby changing table that saves you money and adds a personal touch to your home.
Keep reading, and you’ll find out how easy it can be to make something both practical and beautiful for your little one.
Choosing The Right Materials
Building a baby changing table needs careful material choices. Safety and durability are key.
Picking the right wood and tools helps create a sturdy and safe table for your baby.
Selecting Safe Wood Types
Choose wood that is strong and free from harmful chemicals. Avoid woods with strong smells or toxins.
Hardwoods like maple and birch work well. They last long and have a smooth surface.
- Maple: Durable and smooth finish
- Birch: Strong and easy to work with
- Poplar: Affordable and safe for paint
- Avoid treated or soft woods that may splinter
Essential Tools And Supplies
Use the right tools to cut, assemble, and finish the wood safely. This ensures a quality build.
Gather these tools before starting to save time and avoid mistakes.
- Measuring tape for accurate cuts
- Handsaw or circular saw for wood cutting
- Drill with screwdriver bits for assembly
- Sandpaper or electric sander for smooth edges
- Clamps to hold pieces while working
- Non-toxic wood glue and baby-safe paint or finish

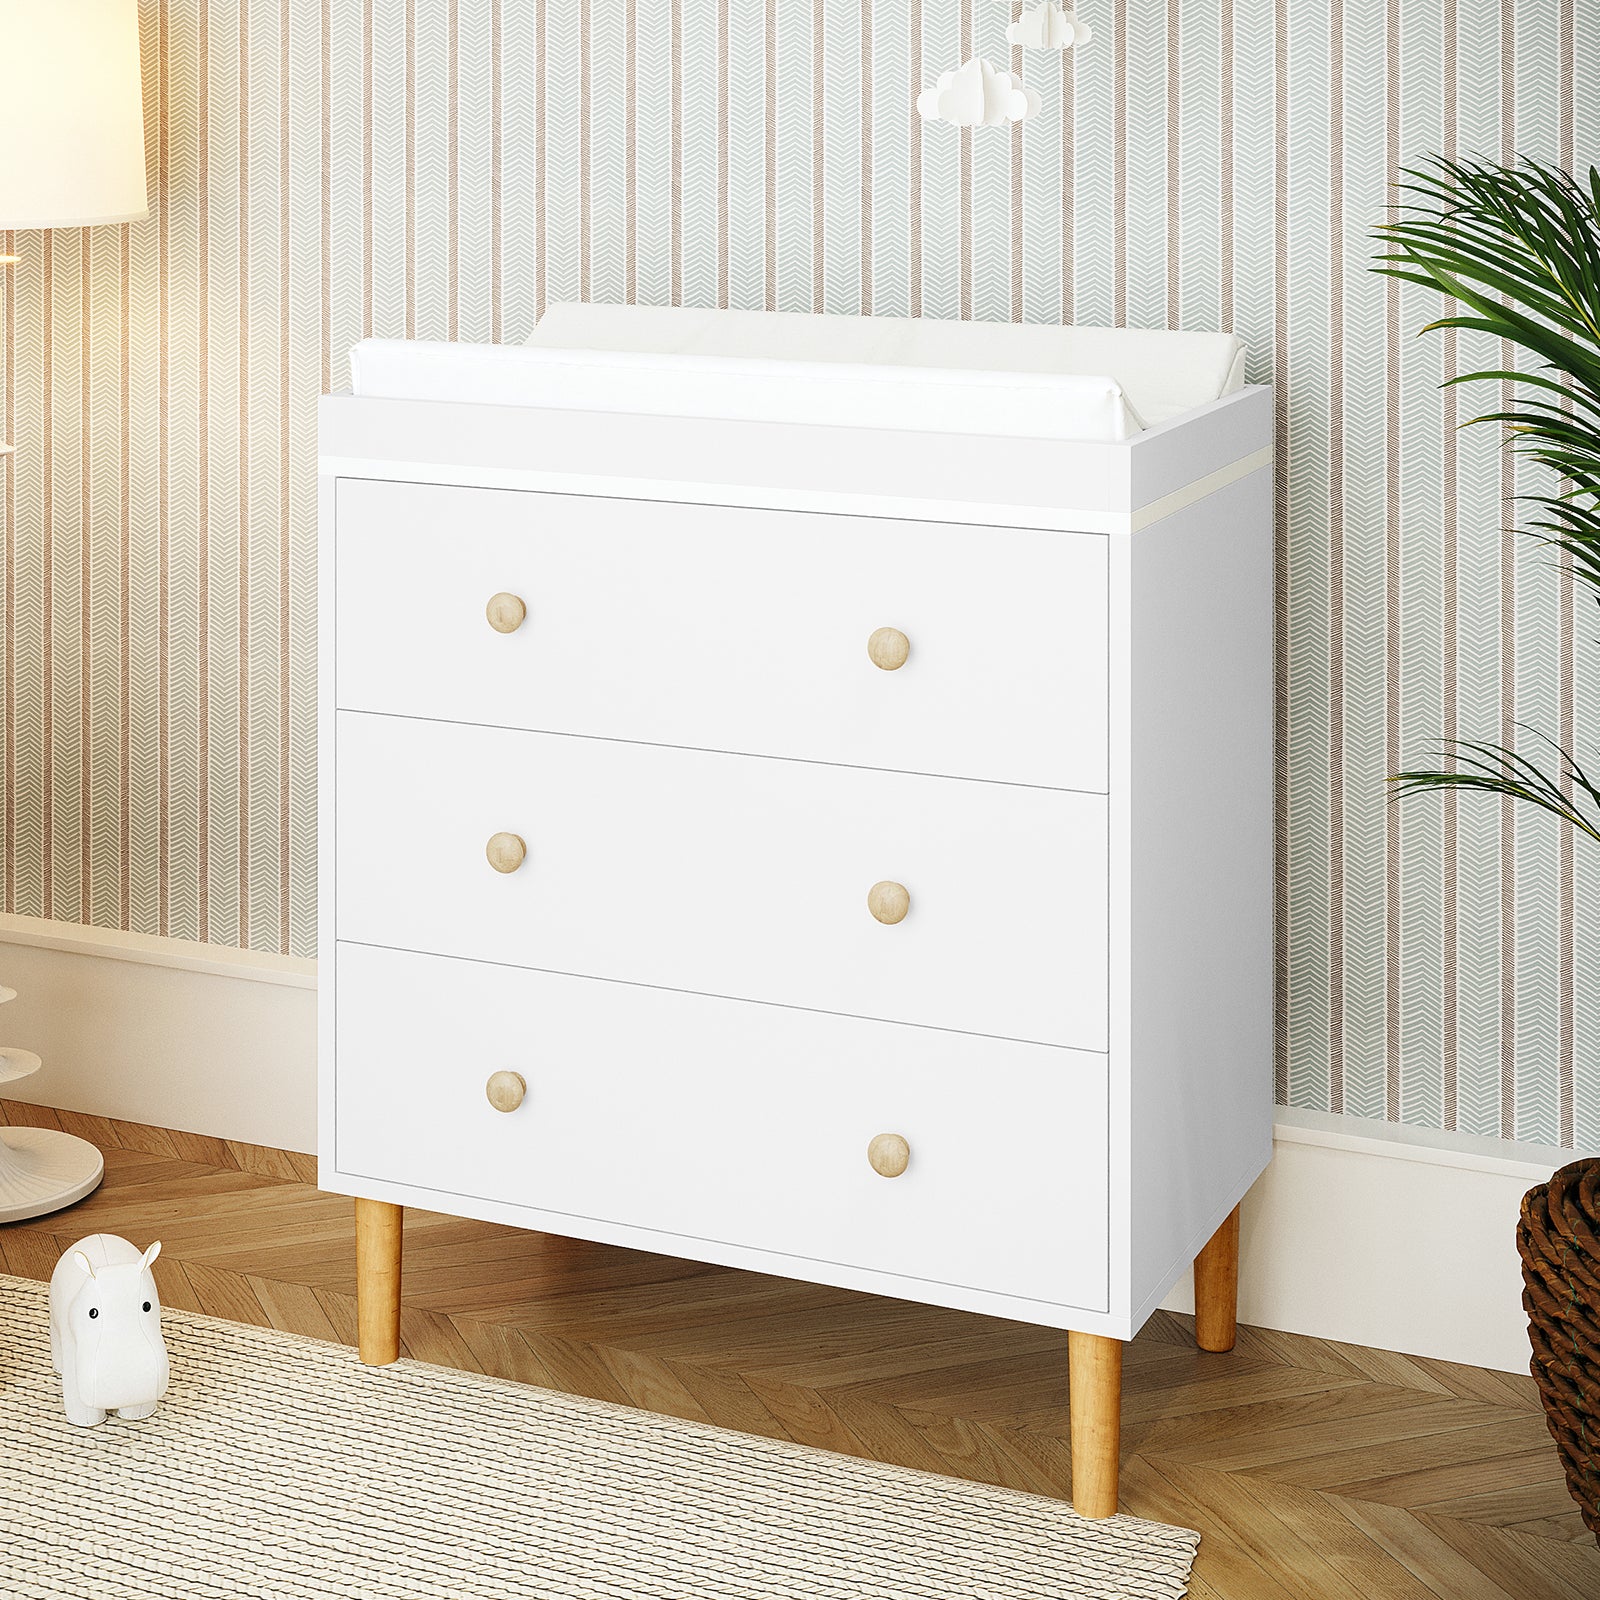
Credit: www.diy.com
Designing Your Changing Table
Designing a baby changing table requires careful planning. It should be safe and comfortable for both you and your baby.
Consider the space you have and the storage needs you anticipate. A well-designed table can make diaper changes easier.
Determining Size And Height
The size and height of the changing table are crucial. Ensure it fits in your nursery and is comfortable for you to use.
- Measure the space where you want to place the table.
- Consider your own height to avoid back strain.
- Ensure the table height is convenient for easy access.
Incorporating Storage Options
Storage options are important for keeping all essentials within reach. They help in organizing diapers, wipes, and creams.
Think about adding shelves or drawers for better organization.
- Open shelves for quick access to diapers.
- Drawers for storing creams and lotions.
- Hooks on the side for hanging towels.
Step-by-step Assembly
Building a baby changing table is a simple project you can do at home. Follow these easy steps to create a safe and sturdy table for your baby.
This guide covers cutting wood, assembling the frame, and adding shelves with safety features.
Cutting And Preparing Wood Pieces
Start by selecting quality wood and cutting it to the right sizes. Sand all edges to avoid splinters and make the surface smooth.
- Measure and mark the wood pieces according to your plan.
- Cut the wood pieces using a saw, following your marks carefully.
- Sand each piece to smooth the surfaces and edges.
- Check that all pieces fit well before assembly.
Assembling The Frame
Next, join the wood pieces to build the frame. Use screws and wood glue for strong joints. Check the frame for stability as you work.
| Frame Part | Material | Size (inches) |
| Side Panels | Pine Wood | 36 x 24 |
| Top Frame | Pine Wood | 36 x 20 |
| Bottom Support | Pine Wood | 32 x 18 |
| Legs | Pine Wood | 30 x 3 x 3 |
Adding Shelves And Safety Features
Attach shelves to hold baby supplies. Add safety rails and smooth corners to protect your baby during changing time.
- Install two shelves below the changing surface for storage.
- Fix safety rails on all sides of the top surface.
- Use corner guards or sand corners to round them.
- Check all screws and joints for tightness before use.
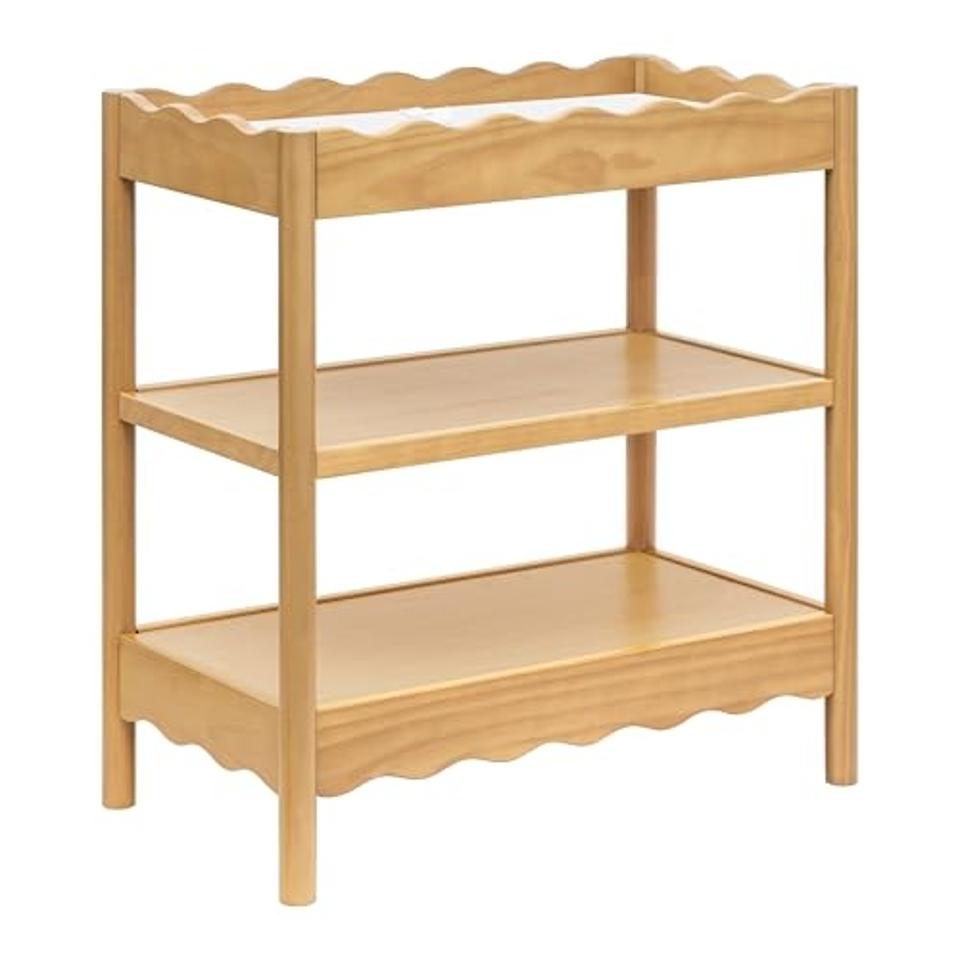
Credit: www.luxoliving.com.au
Finishing Touches
Finishing touches make your baby changing table safe and nice. They help protect the wood and create a smooth surface.
Adding the right pad and accessories makes the table comfortable and practical for daily use.
Sanding And Painting
Sanding removes rough spots and splinters from the wood. Use fine sandpaper for a smooth finish.
Painting or staining protects the wood and adds color. Choose a non-toxic paint safe for babies.
- Sand all surfaces evenly
- Clean dust with a cloth
- Apply primer if needed
- Use at least two coats of paint or stain
- Let paint dry fully between coats
Installing Changing Pad And Accessories
Place a changing pad that fits your table size. Secure it to prevent slipping during use.
Add useful accessories like storage bins, hooks, or safety straps to keep things organized and safe.
- Use straps to hold the pad firmly
- Attach storage baskets for diapers and wipes
- Install hooks for hanging towels or clothes
- Check all attachments for safety and strength
Credit: www.forbes.com
Frequently Asked Questions
What Materials Are Needed To Build A Baby Changing Table?
You need plywood, wood screws, sandpaper, paint, and hinges. Choose non-toxic paint for baby safety. Also, gather measuring tools and a saw for precise cuts.
How Do I Ensure The Changing Table Is Safe?
Use sturdy, high-quality wood and secure all joints tightly. Add guardrails to prevent falls. Ensure the table height is comfortable for adults to avoid strain.
What Is The Ideal Height For A Baby Changing Table?
The ideal height is between 36 to 42 inches. This range reduces back strain while allowing easy access to the baby. Adjust based on your comfort and space.
How Can I Add Storage To My Changing Table?
Include shelves or drawers below the changing surface. Use baskets or bins to organize diapers and wipes. This keeps essentials within arm’s reach and maintains a tidy area.
Conclusion
Building a baby changing table can be simple and fun. Choose safe materials and plan your design well. Measure carefully to fit your space. Use basic tools and take your time. A sturdy table keeps your baby safe and comfortable.
Personalize it with paint or decorations if you like. This project saves money and adds a special touch to your nursery. Enjoy the process and feel proud of your work. Your baby will benefit from a cozy, organized changing spot.


