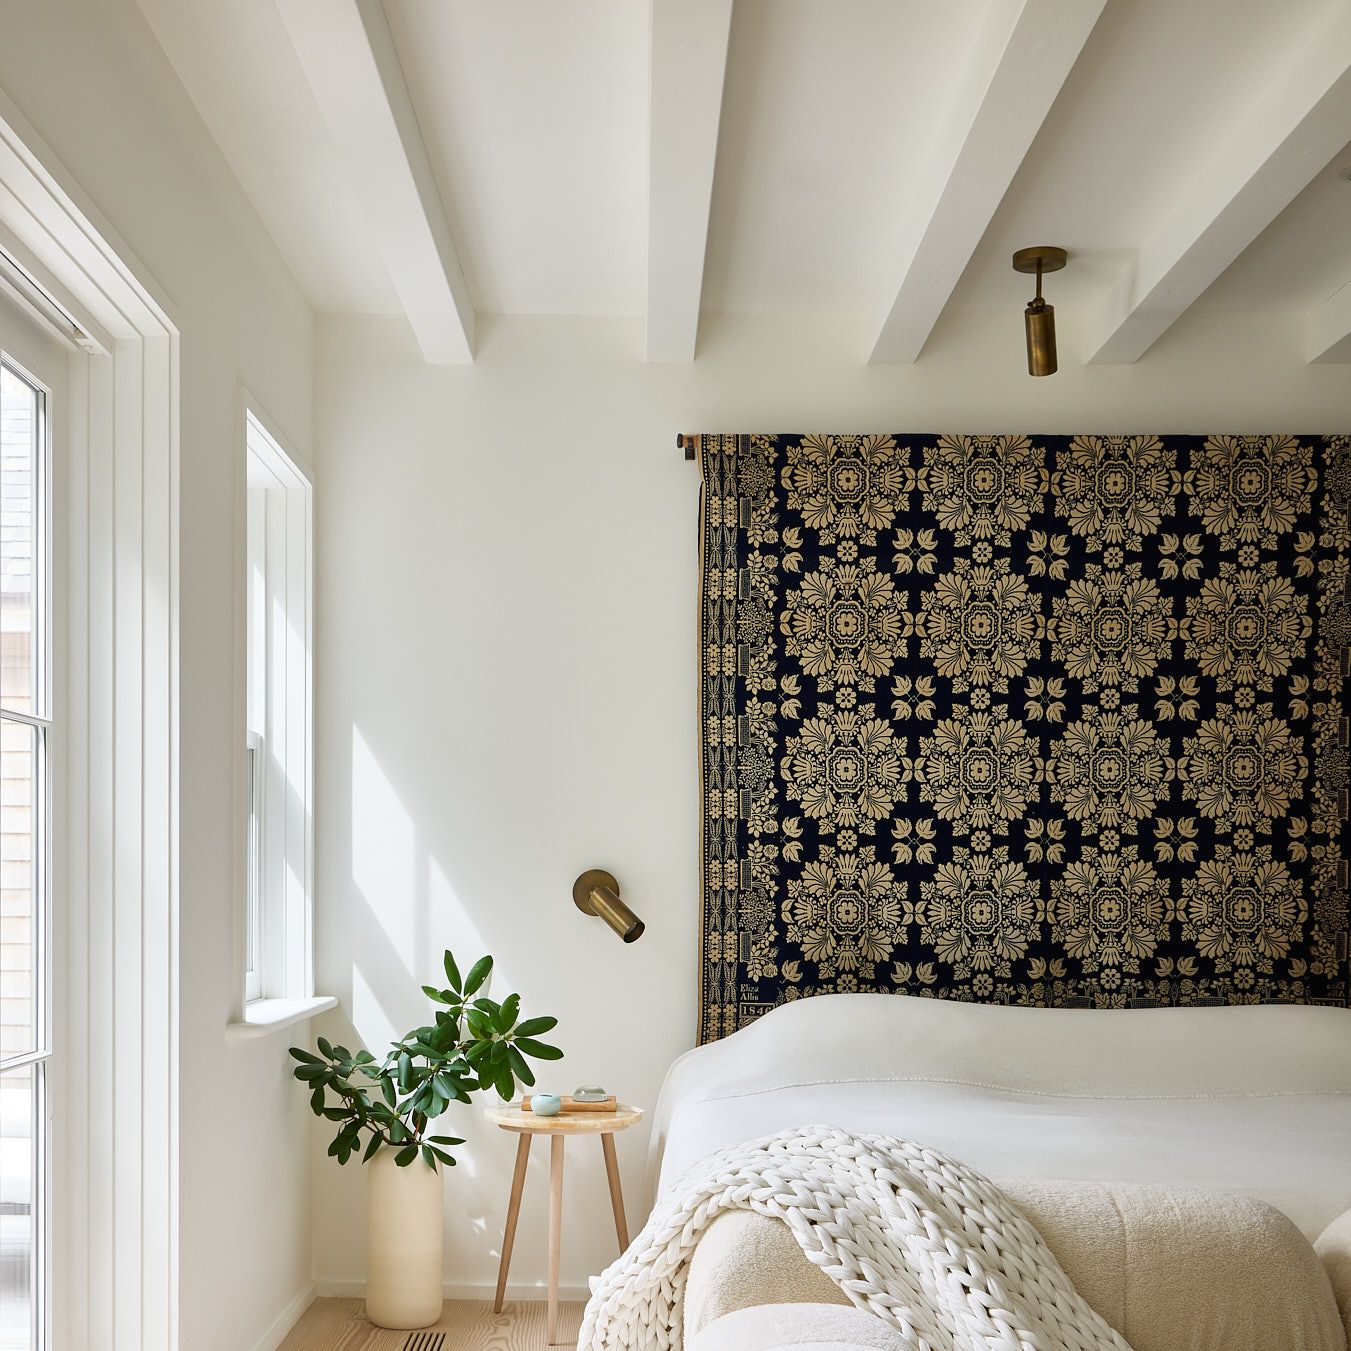
Have you ever walked into your bedroom and felt like something was missing? A headboard might be just what you need to transform your space into a personal oasis.
Creating your own headboard isn’t just about saving money; it’s about infusing your bedroom with your unique style and personality. Imagine the satisfaction of lying back against a headboard you crafted with your own hands. As you read on, you’ll discover simple steps and tips that make the process not only manageable but enjoyable.
Let’s unlock the secrets to a stunning headboard that will elevate your bedroom’s look and feel. Ready to get started?
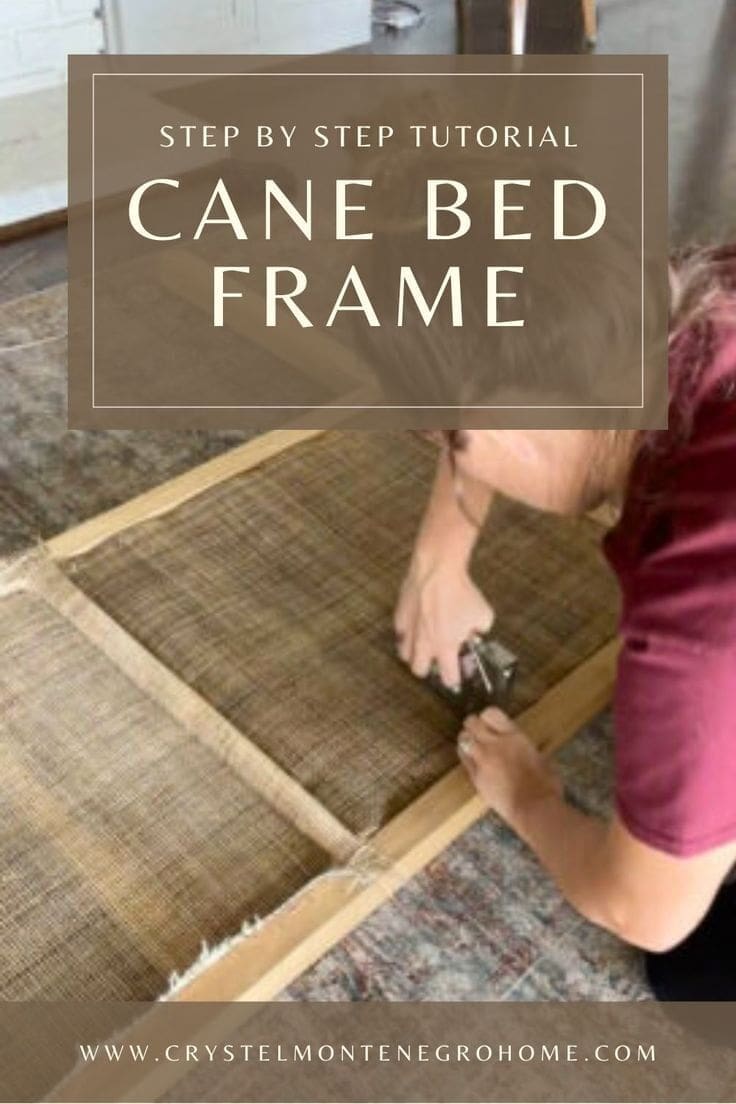
Credit: crystelmontenegrohome.com
Materials And Tools Needed
Before you start building your headboard, gathering the right materials and tools is crucial. Having everything ready makes the process smoother and helps you avoid frustrating trips to the hardware store. The materials and tools you choose will also affect the durability and look of your finished piece.
Choosing The Right Wood
The type of wood you pick sets the tone for your headboard’s style and strength. Pine is affordable and easy to work with, perfect for beginners. If you want something sturdier with a rich look, oak or maple are great options.
Think about the finish you want. Softwoods like cedar offer a rustic feel, while hardwoods give a polished, timeless appearance. Don’t forget to check the wood for any knots or cracks that might weaken your structure.
Essential Tools List
Having the right tools saves time and ensures your headboard is built accurately. At minimum, you’ll need:
- Measuring tape and pencil for precise markings
- Power drill and drill bits for making holes and driving screws
- Handsaw or circular saw to cut the wood pieces
- Sander or sandpaper to smooth rough edges
- Clamps to hold pieces steady while you work
Do you have these tools at home, or will you need to borrow or buy them? Sometimes investing in good-quality tools pays off in future projects.
Optional Decorative Items
You can add personality to your headboard with some extra decorative touches. Upholstery foam and fabric bring softness and color, turning a plain wood frame into a cozy focal point. Decorative trims, stencils, or paint can also create unique patterns or textures.
Consider hardware like decorative nails or handles if you want a vintage or industrial look. Adding these extras is fun and lets you tailor the headboard to your personal style. What kind of vibe do you want your bedroom to have?
Step-by-step Construction
Building your own headboard can be a rewarding project that adds a personal touch to your bedroom. The process breaks down into clear, manageable tasks that anyone can handle with a bit of patience and the right tools. Let’s walk through the key steps that bring your headboard from idea to reality.
Measuring And Cutting
Start by measuring the width of your bed frame to ensure the headboard fits perfectly. Add a few inches on each side if you want the headboard to extend beyond the mattress. Also, decide on the height based on your room’s proportions and your personal style.
Once you have your dimensions, transfer them onto your chosen wood or plywood. Use a straight edge and pencil for accurate lines. Cutting with a circular saw or handsaw should follow these marks carefully. Have you checked twice to avoid cutting errors? It saves a lot of frustration later.
Assembling The Frame
With your pieces cut, it’s time to join them together. Lay out the frame on a flat surface and align the edges. Use wood screws or brackets to secure the joints firmly.
If you want extra support, add vertical slats or crossbars in the middle. This not only strengthens the frame but also helps when attaching upholstery later. Does your frame feel sturdy when you apply pressure? That’s a good sign it’s well assembled.
Adding Upholstery Or Paint
Now, decide if you want a soft, upholstered look or a sleek painted finish. For upholstery, start by attaching foam padding to the front of the frame using spray adhesive. Cover the foam with fabric, pulling it tight and stapling it neatly on the back.
If painting is more your style, sand the wood to smooth out any rough spots. Apply a primer first, then finish with your choice of paint color. Multiple thin coats work better than one thick coat for a polished look.
Which finish matches your room’s vibe and your DIY skills best? Both options allow you to customize your headboard exactly how you want it.
Mounting And Finishing Touches
Mounting your headboard securely and adding the right finishing touches can transform a simple piece into the star of your bedroom. It’s not just about attaching it to the bed frame; it’s about creating a look that feels intentional and polished. Let’s break down how to make your headboard both stable and stylish.
Attaching The Headboard To The Bed
Start by aligning the headboard with the bed frame’s mounting holes. If your frame doesn’t have pre-drilled holes, you’ll need to measure carefully and drill them yourself. Use bolts and washers for a tight fit, ensuring the headboard sits flush against the wall.
Don’t forget to double-check the height before fully tightening the bolts—your headboard should be comfortably positioned to lean against. This simple step can save you from uncomfortable nights or awkward gaps.
Securing For Stability
Once attached, test the headboard’s stability by giving it a gentle shake. If it wobbles, add extra support by installing L-brackets between the headboard and the wall. These brackets are inexpensive and make a huge difference in preventing movement.
Consider adding rubber pads or felt strips where the headboard touches the floor or wall. This not only protects surfaces but also reduces noise when the bed moves. Stability isn’t just about strength—it’s about creating a quiet, sturdy setup you’ll appreciate every night.
Final Decoration Ideas
Now for the fun part: personalizing your headboard. You could add fabric panels for softness, paint a bold color, or use stencils to create patterns that reflect your style. Lighting is another way to add flair—think about installing LED strips or small clip-on reading lamps.
Do you want a rustic look? Try adding reclaimed wood accents or metal hardware. Looking for something modern? A sleek, high-gloss finish might be the right choice. What’s your bedroom’s story, and how can your headboard tell it better?
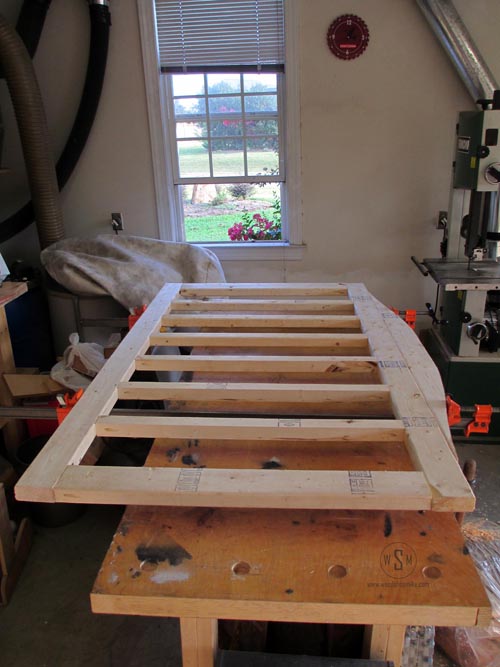
Credit: woodshopmike.com
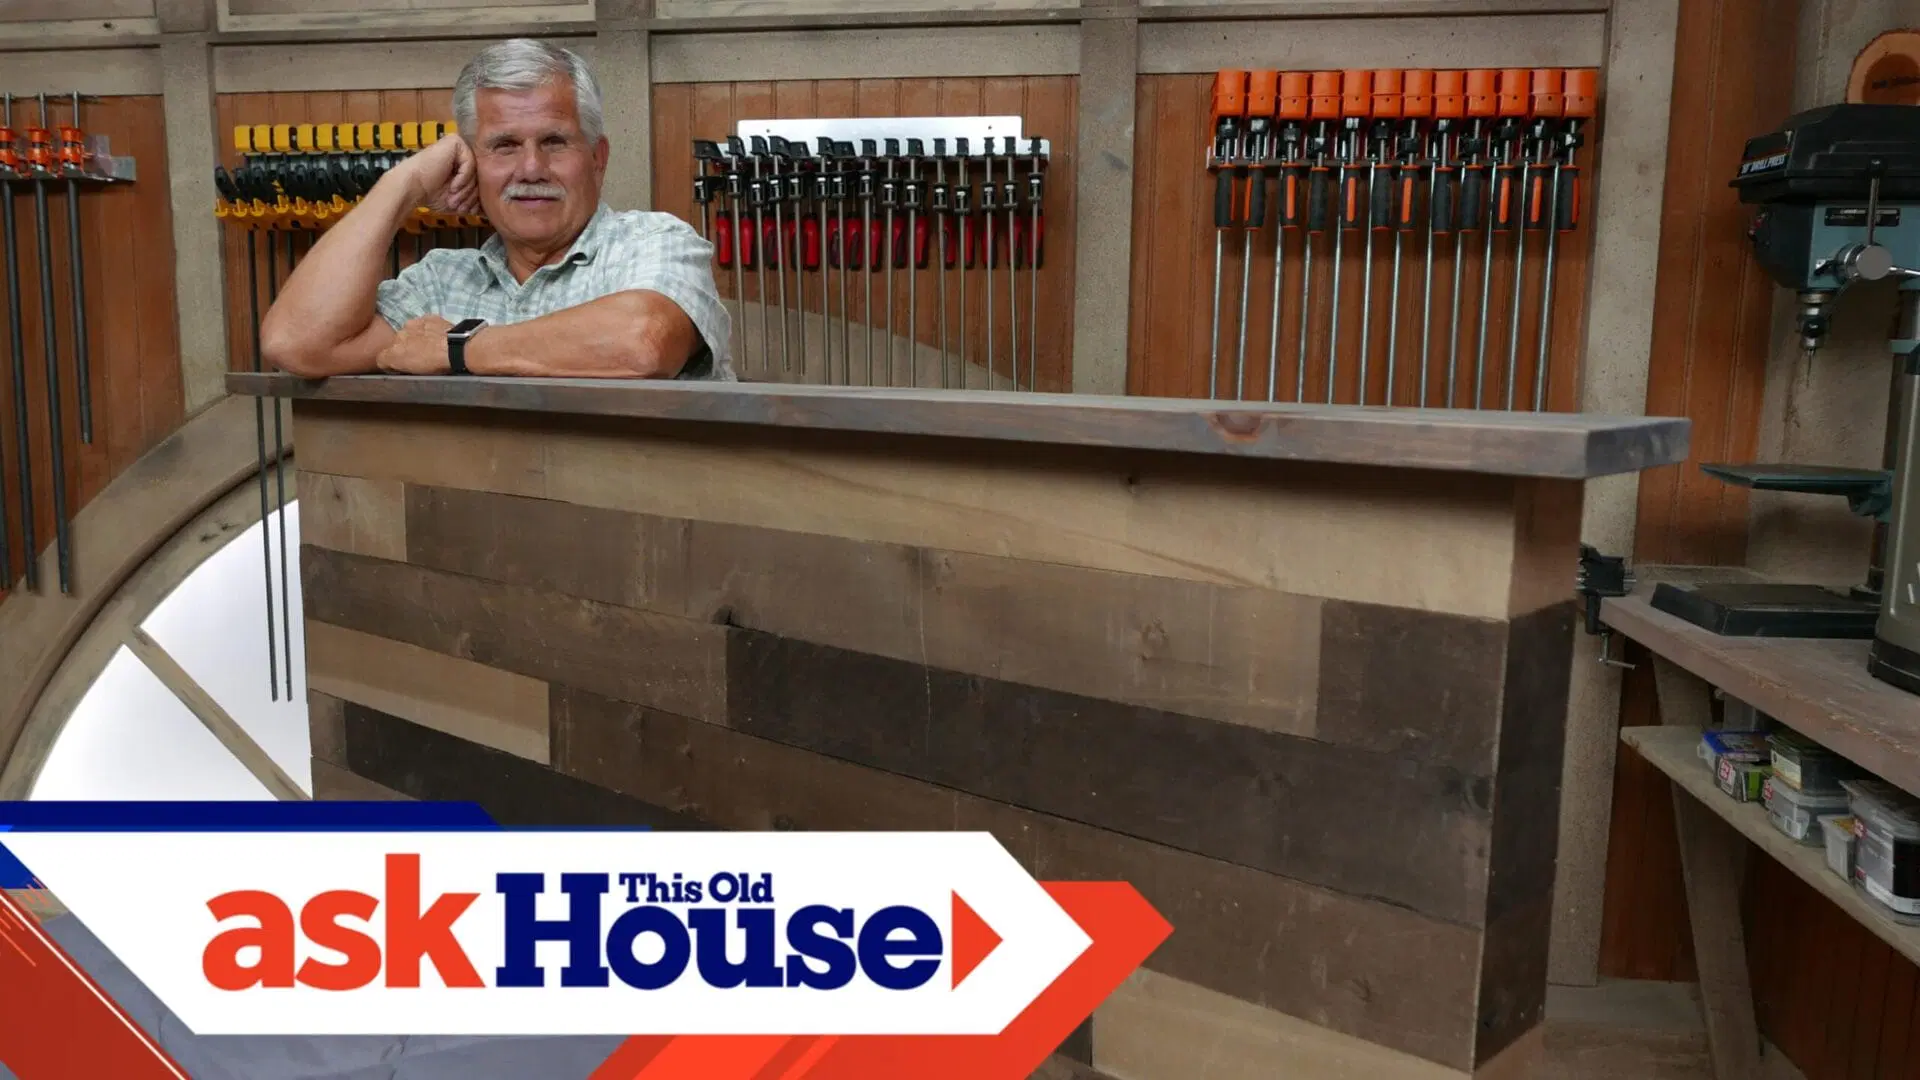
Credit: www.thisoldhouse.com
Frequently Asked Questions
What Materials Are Best For Building A Headboard?
Wood is the most popular and versatile material for headboards. Plywood, pine, or reclaimed wood work well. Upholstered headboards use fabric and foam for comfort. Choose materials based on style, budget, and durability to suit your bedroom decor.
How Long Does It Take To Build A Headboard?
Building a simple wooden headboard typically takes 2 to 4 hours. More complex designs or upholstery may take a full day or weekend. Preparation, cutting, assembling, and finishing all affect the total time required.
Can I Build A Headboard Without Professional Tools?
Yes, basic tools like a saw, drill, measuring tape, and screws are enough. Many DIY headboard projects use simple hand tools. Renting or borrowing power tools can also help complete the project efficiently.
What Are The Cost Estimates For Diy Headboards?
DIY headboards usually cost between $50 to $200, depending on materials and design. Using reclaimed wood or fabric scraps can reduce costs. Pre-made kits may cost more but save time and effort.
Conclusion
Building a headboard can be a fun and rewarding project. You only need basic tools and some patience. Choose materials that fit your style and space. Follow clear steps to create a strong and beautiful headboard. This simple addition can change your bedroom’s look.
Enjoy the satisfaction of making something with your own hands. Try it and see how it transforms your room. Small projects like this make a big difference. Start today and bring new life to your bed.


