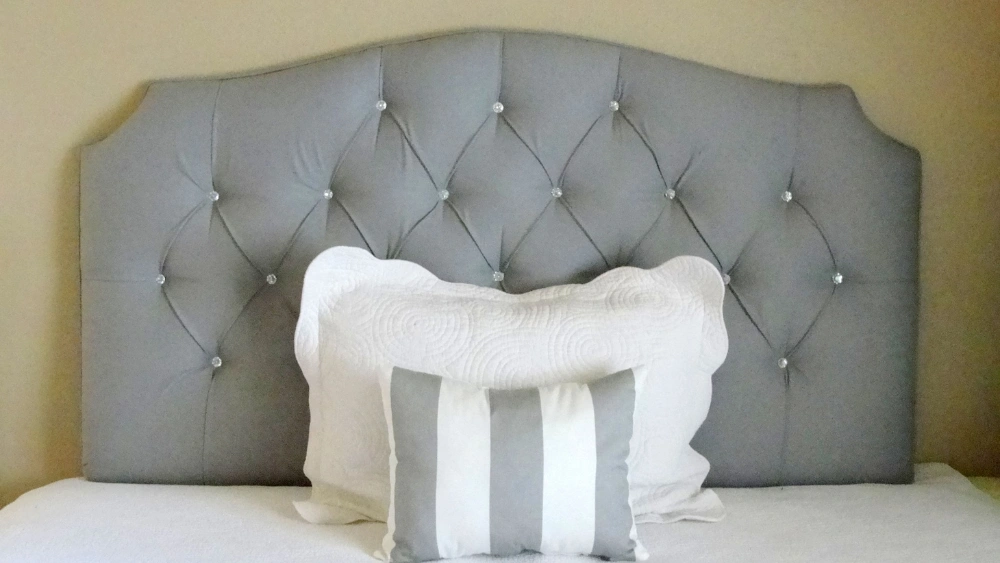
Are you tired of waking up to a crooked headboard or having it shift every time you turn over in bed? Mounting your headboard to the wall could be the solution you’ve been searching for.
Not only does it provide stability, but it also adds a polished look to your bedroom. Imagine the peace of mind knowing your headboard is securely attached, making your space feel more organized and stylish. In this guide, you’ll discover simple, step-by-step instructions on how to mount your headboard to the wall with ease.
Stay with us, and by the end of this article, you’ll transform your bedroom into a serene and chic retreat.

Credit: www.amazon.com
Choose The Right Headboard And Wall
Choosing the right headboard and wall is the first key step to ensure a secure and stylish setup. The fit between your headboard and the wall determines both the safety and the overall look of your bedroom. Taking a moment to assess these elements saves you from damage and frustration later.
Measure Headboard And Wall Space
Start by measuring the width and height of your headboard. Write down these numbers clearly so you don’t forget. Then, measure the available wall space where you want to mount it.
Does the wall space comfortably fit the headboard’s dimensions? Leave some extra room around the edges to avoid a cramped appearance. Double-checking measurements helps you avoid buying the wrong size or damaging your wall.
Select Suitable Wall Material
Not all walls can hold a headboard the same way. Drywall, plaster, brick, and concrete each require different mounting hardware. Knowing your wall type guides you in choosing the right screws, anchors, or brackets.
If you’re unsure what your wall is made of, tap on it and listen for a hollow or solid sound. Hollow walls need special anchors to hold weight without crumbling. Using the wrong hardware can cause the headboard to fall, risking injury or damage.
Check For Studs And Support
Studs are the wooden frames behind your wall that provide the strongest support. Use a stud finder to locate them before drilling. Mounting your headboard on studs ensures it stays firmly in place.
If your headboard doesn’t align with studs, don’t force it. Instead, use heavy-duty wall anchors designed for your wall type. Ask yourself: Is the mounting point secure enough to hold the weight and daily use? This check will keep your headboard safe and stable for years.
Gather Tools And Materials
Gathering the right tools and materials is the foundation for mounting your headboard securely and safely. Without proper preparation, you might find yourself frustrated or even damaging your wall. Taking time to collect everything beforehand ensures the process goes smoothly and your headboard stays in place for years.
Essential Tools List
- Power drill:A cordless drill makes drilling pilot holes and driving screws faster and easier.
- Stud finder:This helps you locate wall studs for a strong mount.
- Measuring tape:Accurate measurements keep your headboard centered and level.
- Level:Ensures your headboard doesn’t tilt to one side.
- Pencil:Marks drill points and guidelines on the wall.
- Screwdriver:Useful for tightening screws if you prefer manual control.
Think about where you’ll mount the headboard. Can you easily access studs with your stud finder? Having these tools ready will save you trips back and forth.
Recommended Fasteners
- Lag bolts:Ideal for heavy headboards; they anchor securely into studs.
- Toggle bolts:Great for drywall installations when studs aren’t available.
- Wall anchors:Suitable for medium-weight headboards and provide extra grip.
- Washers:Use them with bolts to distribute pressure and prevent damage.
Choosing the right fasteners depends on your wall type and headboard weight. Have you checked if your wall is drywall or plaster? Matching fasteners to your wall will keep everything safe and stable.
Safety Gear To Use
- Safety glasses:Protect your eyes from dust and debris while drilling.
- Work gloves:Shield your hands from sharp tools and rough surfaces.
- Dust mask:Useful if you’re drilling into old walls that might release dust or particles.
Safety is often overlooked but essential. You don’t want a small accident to ruin your progress. What’s your current approach to safety when handling tools? Adding simple gear can make a big difference.
Step-by-step Mounting Process
Mounting a headboard to the wall might seem tricky, but breaking it down into clear steps makes the task manageable. Carefully following each part of the process ensures your headboard stays secure and looks great. Let’s walk through the main actions you’ll take to get it done right.
Mark Placement On Wall
Start by deciding exactly where you want your headboard to sit. Use a tape measure to find the center of your bed and mark it lightly on the wall with a pencil. Don’t forget to measure the height—consider how much of the headboard you want visible above the mattress.
Hold the headboard against the wall in your chosen spot. Have someone help you keep it steady while you mark the screw holes directly onto the wall. These marks will guide your drilling, so take your time to get them precise.
Drill Holes And Insert Anchors
Use a drill bit that matches the size of your wall anchors. Drilling the right hole size is key to a secure fit. If your wall is drywall, anchors are essential to prevent screws from pulling out.
After drilling, gently tap the anchors into the holes until they’re flush with the wall surface. This step might feel a bit tedious, but it’s what keeps your headboard stable over time. Have you checked that the anchors you chose support the headboard’s weight?
Attach Headboard Securely
Now, align the headboard with the wall marks and anchors. Insert screws through the headboard mounting holes into the anchors. Use a screwdriver or drill to tighten them firmly, but avoid over-tightening, which can damage the wall or headboard.
It helps to have someone hold the headboard steady while you work. This teamwork minimizes the risk of misalignment and makes the process smoother. Does your headboard feel solid against the wall now?
Final Adjustments And Checks
Once the headboard is mounted, step back and check if it’s level. Use a spirit level for accuracy. Small shifts can make a big difference in appearance and stability.
Give the headboard a gentle shake to test its security. If it moves, tighten the screws a little more or check the anchors. Taking these final moments ensures your headboard stays put and adds comfort to your bedroom setup.

Credit: www.reddit.com

Credit: www.youtube.com
Frequently Asked Questions
How Do I Securely Mount A Headboard To Drywall?
Use wall anchors designed for drywall to ensure a secure hold. Locate studs for added stability. Attach mounting brackets to the headboard and wall. Use a level to keep the headboard straight during installation.
What Tools Are Needed To Mount A Headboard?
You will need a drill, screws, wall anchors, a stud finder, a level, and a measuring tape. These tools help ensure precise placement and secure mounting of the headboard to the wall.
Can I Mount A Headboard Without Studs?
Yes, but use heavy-duty wall anchors rated for the headboard’s weight. Drywall anchors provide support where studs aren’t available. Avoid using only screws in drywall to prevent damage and instability.
How High Should A Headboard Be Mounted?
Mount the headboard so its bottom edge is just above the mattress top. Typically, this is 2 to 6 inches above the mattress. Adjust height for comfort and room aesthetics.
Conclusion
Mounting a headboard to the wall adds style and saves space. Follow the steps carefully for a safe hold. Use the right tools and measure twice. Secure the headboard firmly to avoid accidents. Enjoy the fresh look and sturdy support.
A well-mounted headboard can change your room’s feel. Try it yourself and see the difference. Keep safety in mind and take your time. Simple work, great results.