
Looking for a simple way to organize your coats and keep your space tidy? Building a freestanding coat rack might be exactly what you need.
Imagine having a stylish, sturdy rack that fits perfectly in your entryway, holding all your jackets without clutter. This isn’t just about storage—it’s about making your daily routine smoother and your home more inviting. In this guide, you’ll discover easy steps to create your own coat rack, even if you’ve never built anything before.
Ready to add both function and charm to your space? Let’s get started!
Materials And Tools Needed
Building a freestanding coat rack needs a few simple materials and tools. Start with wooden boardsfor the base and upright poles. Use hooks or pegsto hang coats. Screws and wood glue help keep parts strong and steady.
Essential tools include a sawto cut wood, a drillfor holes, and a screwdriver. Sandpaper smooths rough edges. A tape measure ensures correct sizes. Safety gear like gloves and goggles protect while working.
| Materials | Tools |
|---|---|
| Wooden boards | Saw |
| Hooks or pegs | Drill |
| Screws | Screwdriver |
| Wood glue | Sandpaper |
| Tape measure | |
| Gloves and goggles |

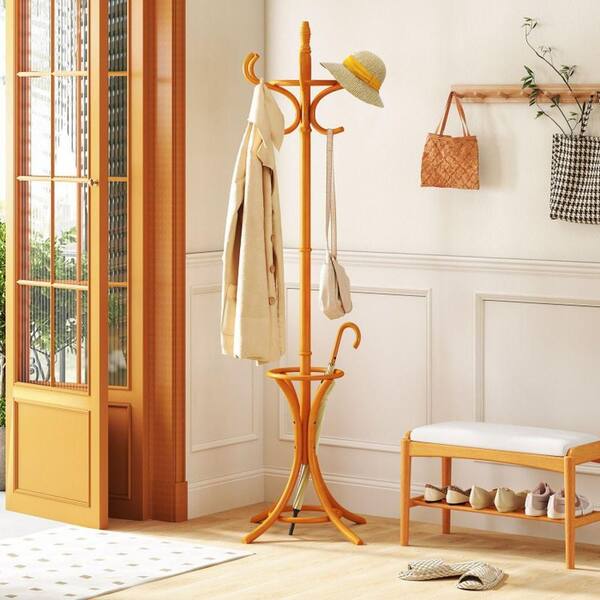
Credit: www.independent.co.uk
Step-by-step Assembly
Gather all parts and tools before starting. This saves time and avoids frustration.
Lay out the base pieces on a flat surface. Attach the legs securely using screws.
Connect the central pole to the base. Make sure it is straight and tight.
Attach the hooks or arms at the top. Space them evenly for balance and use.
Tighten all screws and bolts firmly. Check for wobbling to ensure stability.
Place the coat rack upright. Test it by hanging light items first.
- Use a screwdriver or drill for fast assembly.
- Keep screws in a small container to avoid losing them.
- Work on a soft surface to protect the parts from scratches.
Finishing Touches And Maintenance
After building your freestanding coat rack, focus on the finishing touchesto enhance its look. Sand all surfaces smoothly to avoid splinters. Apply a clear coat or paint for protection and style. Use a brush or spray for even coverage.
Regular maintenancekeeps the rack sturdy and clean. Wipe dust and dirt with a soft cloth often. Check screws and joints every few months. Tighten loose parts to ensure safety.
- Use mild soap and water for cleaning.
- Avoid harsh chemicals that can damage the wood.
- Place the rack away from direct sunlight to prevent fading.
- Keep it dry to avoid wood warping or rust on hooks.
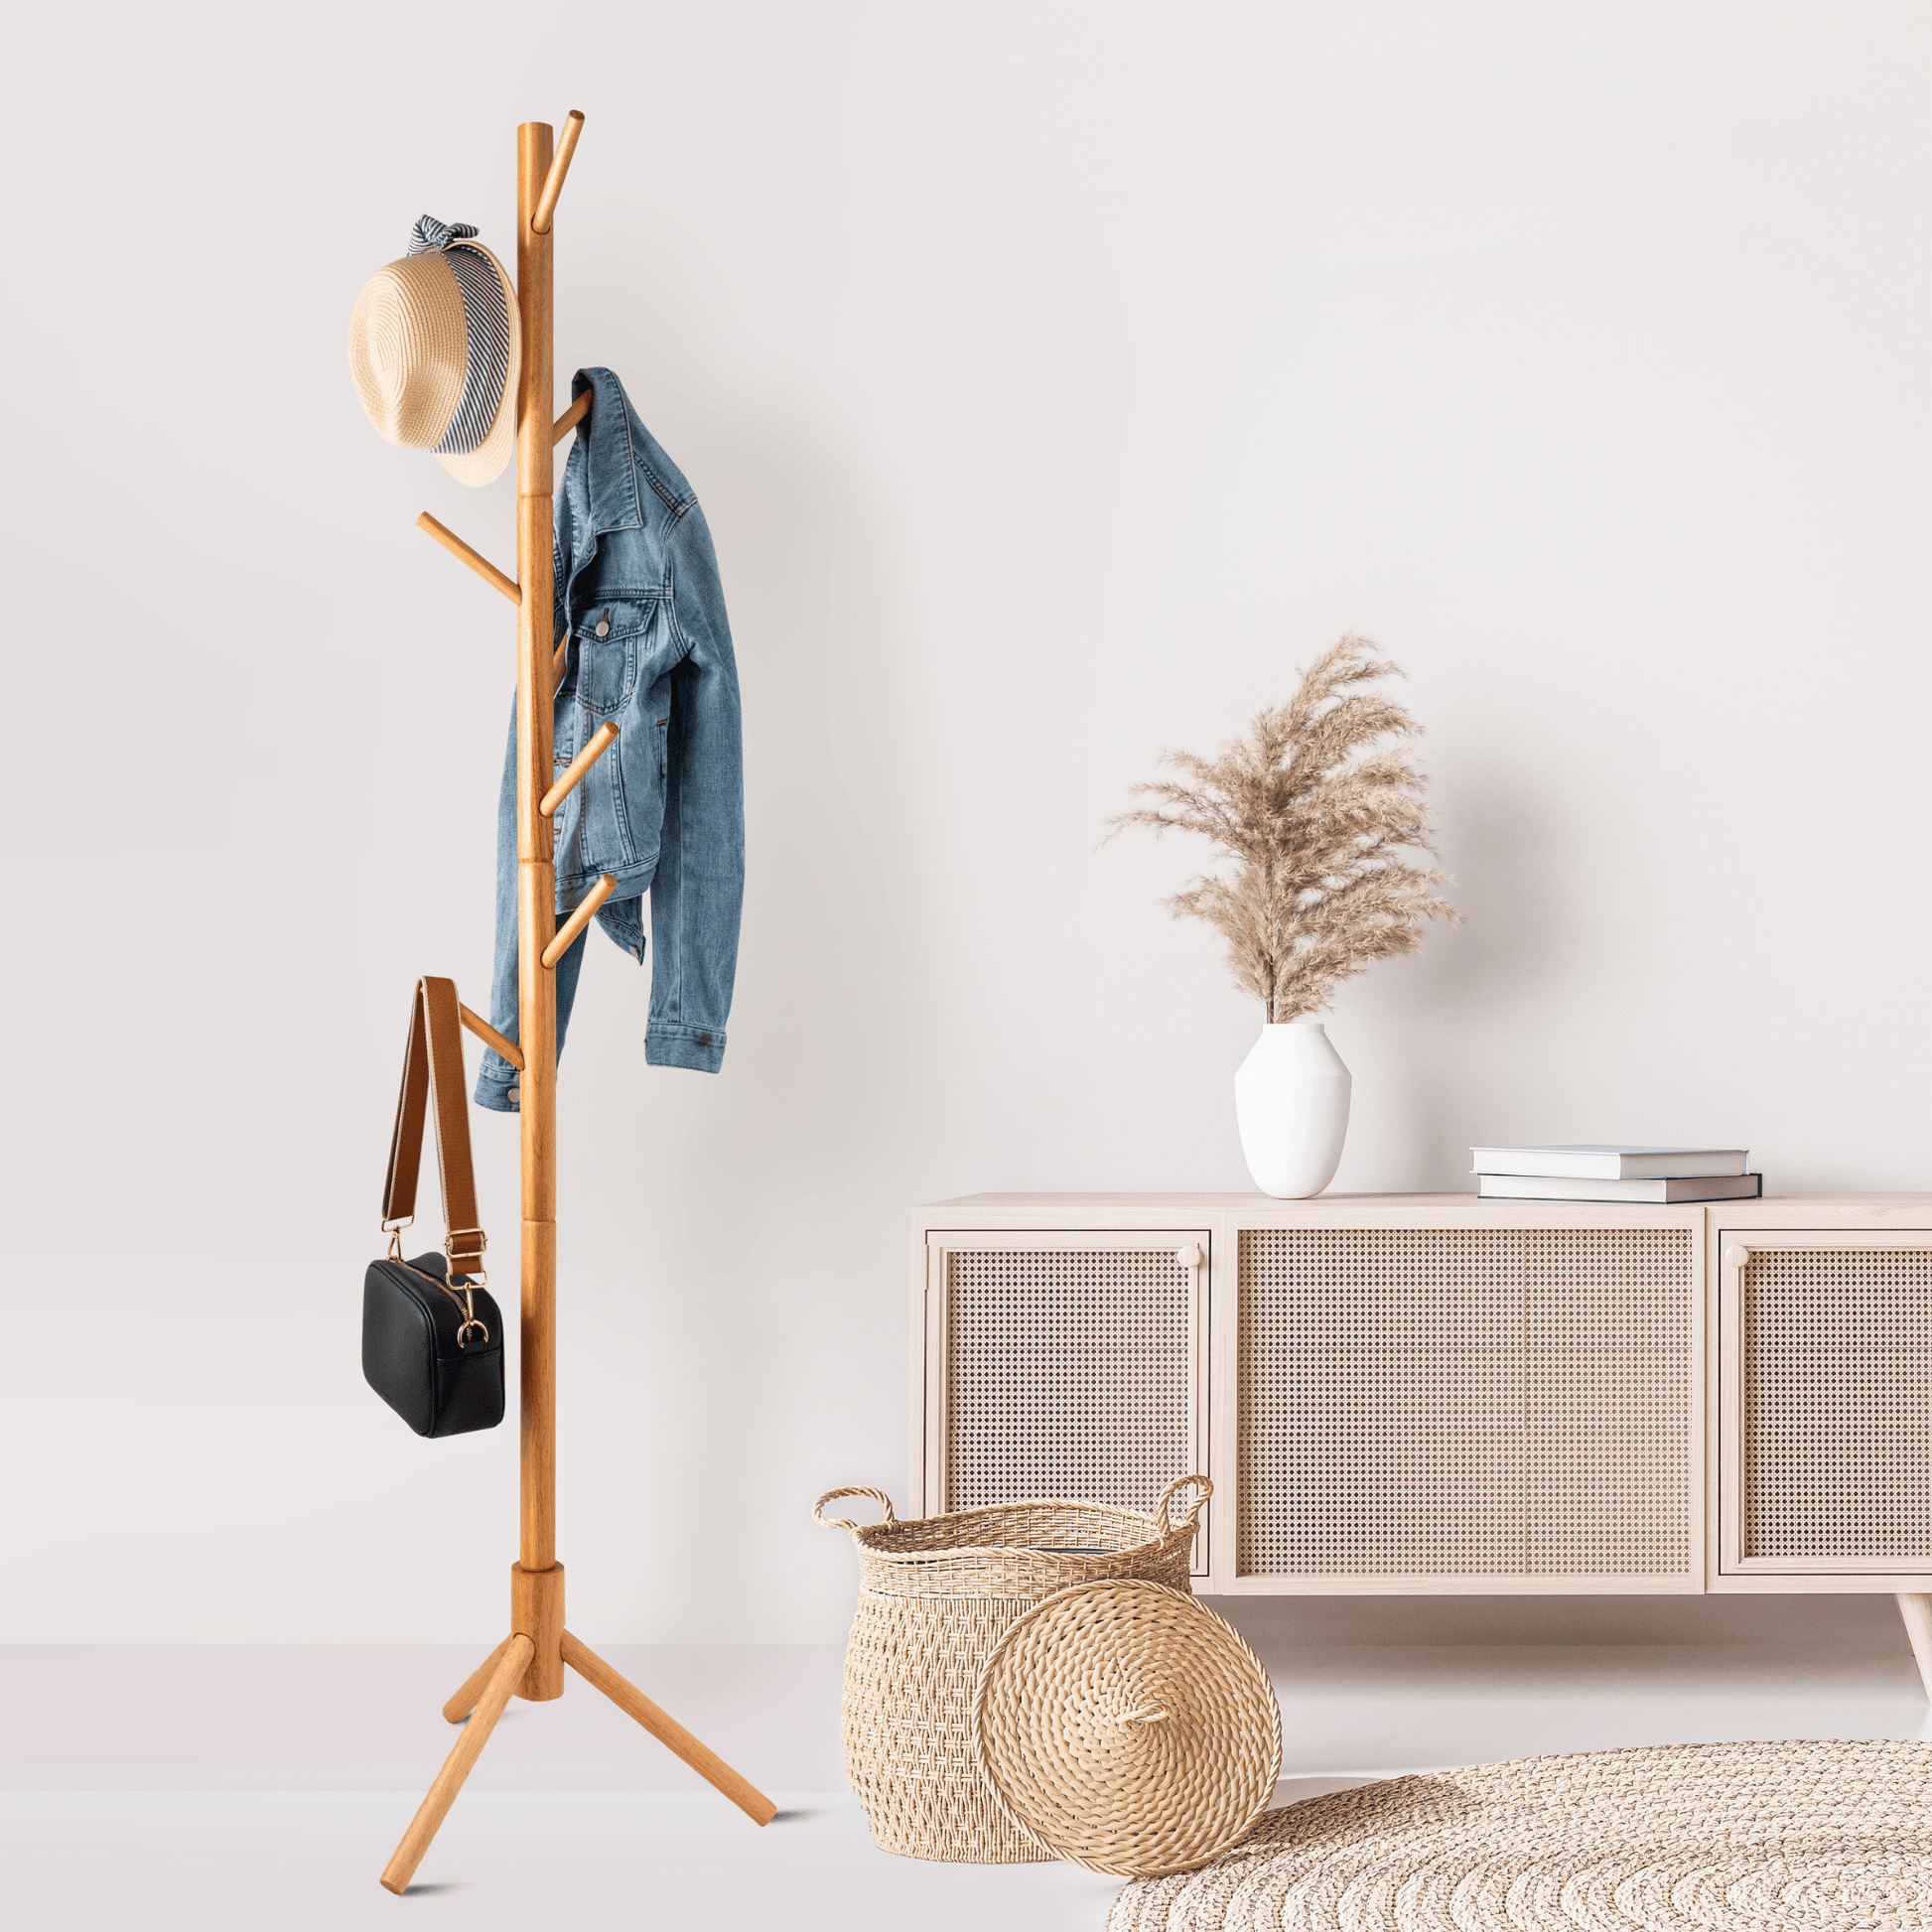
Credit: www.homedepot.com
Credit: ta.doa.gov.lk
Frequently Asked Questions
What Materials Are Needed To Build A Freestanding Coat Rack?
You need wood, screws, nails, hooks, a drill, sandpaper, and paint or stain. Choose sturdy wood like pine or oak for durability. Quality materials ensure your coat rack lasts longer and holds heavy coats securely.
How Long Does It Take To Build A Coat Rack?
Building a freestanding coat rack usually takes 2 to 4 hours. Time varies based on design complexity and your skill level. Allow extra time for drying paint or stain to achieve the best finish.
Can I Customize The Design Of My Coat Rack?
Yes, you can customize height, number of hooks, and color. Personalize it to fit your space and style preferences. Adding decorative elements enhances both function and aesthetics.
Is It Necessary To Use Power Tools For Building?
Power tools make the process faster and more precise. However, basic hand tools can also work for simple designs. Choose tools based on your comfort and project complexity.
Conclusion
Building a freestanding coat rack is simple and rewarding. With basic tools, you can craft a functional piece. Personalize it with color and design for a unique touch. This project is perfect for beginners and saves space at home. Plus, it adds style to any room.
Practice your skills and enjoy the process. Your coat rack will be useful and admired by guests. Start today and create something practical. Enjoy your new home addition!


