
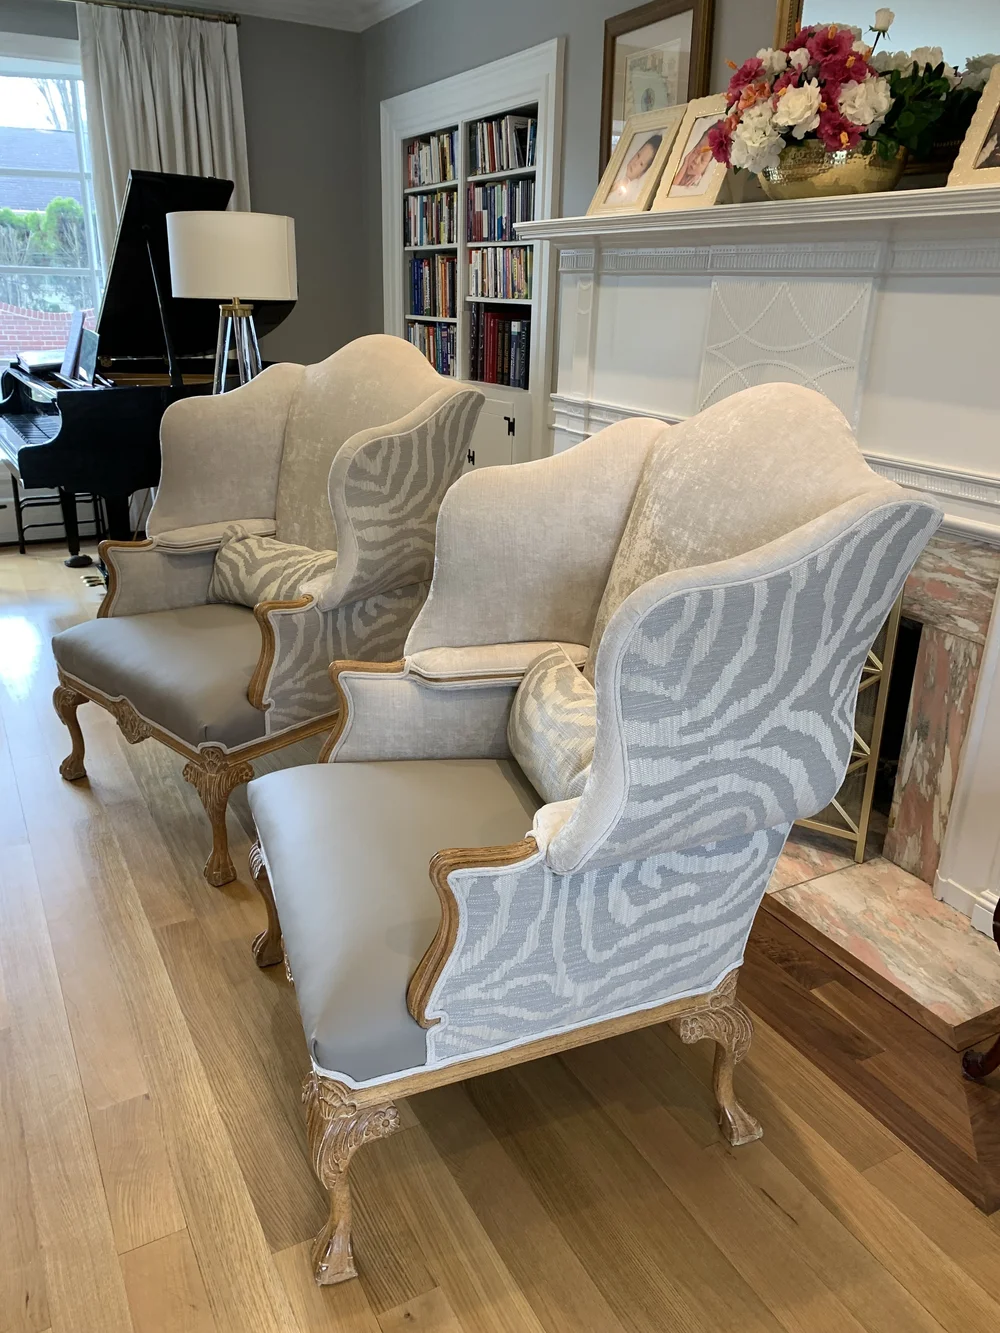
Have you ever looked at your old wingback armchair and wished it could look brand new again? Reupholstering that classic piece might seem tough, but it’s easier than you think—and the results can be amazing.
Imagine transforming your chair with fabric you love, matching your style perfectly. In this guide, you’ll discover simple steps to bring your wingback armchair back to life. Ready to give your furniture a fresh, personalized touch? Keep reading, and you’ll learn how to do it yourself, saving money and adding charm to your home.
Tools And Materials Needed
Reupholstering a wingback armchair takes the right tools and materials. These help you work safely and get good results.
Gather everything before starting. It saves time and makes the process smooth.
Fabric
Choose a strong fabric that fits your style. Upholstery fabric lasts longer and handles wear well.
- Cotton duck
- Linen blends
- Microfiber
- Leather or faux leather
Staple Gun And Staples
A staple gun secures fabric tightly to the chair frame. Use staples made for upholstery work.
- Electric or manual staple gun
- 1/4 inch to 3/8 inch staples
Scissors And Utility Knife
Sharp scissors cut fabric cleanly. A utility knife trims foam and batting with control.
- Heavy-duty fabric scissors
- Sharp utility knife with extra blades
Pliers
Pliers help remove old staples and tacks. Use needle-nose or slip-joint pliers for better grip.
- Needle-nose pliers
- Slip-joint pliers
Foam And Batting
Foam adds comfort and shape to the chair. Batting smooths the surface under the fabric.
- High-density foam (1 to 2 inches thick)
- Polyester batting (wraps foam)
Measuring Tape And Chalk
Measure parts of the chair to cut fabric accurately. Tailor’s chalk marks fabric without damage.
- Measuring tape (at least 60 inches)
- Tailor’s chalk or fabric marker
Screwdriver And Hammer
Use a screwdriver to remove chair parts. A hammer helps with tacks and minor adjustments.
- Flathead and Phillips screwdrivers
- Small hammer or tack hammer
Credit: www.jhconklin.net
Removing Old Fabric
Reupholstering a wingback armchair starts with removing the old fabric. This process is key to ensuring a smooth finish with the new material.
Take your time to carefully detach the existing fabric to avoid damaging the chair structure. Gather all necessary tools before you begin.
Gather Your Tools
Having the right tools makes the job easier and more efficient. Collect them before you start to save time.
- Staple remover
- Flathead screwdriver
- Pliers
- Scissors
- Marker
Removing Staples
Staples hold the fabric in place. Carefully remove them to free the material without tearing the wood.
Detaching The Fabric
Once the staples are out, you can begin to remove the fabric. Work slowly to ensure you don’t rip it, as it can serve as a pattern for the new fabric.
| Step | Action |
| 1 | Start from the bottom |
| 2 | Move to the sides |
| 3 | Finish with the back |
Cutting And Attaching New Fabric
Cutting and attaching fabric are key steps in reupholstering a wingback armchair. Careful cutting ensures the fabric fits well. Attaching it securely keeps the fabric tight and smooth.
Use the old fabric pieces as a pattern to cut the new fabric. Take your time to align patterns or stripes. Attach the fabric with a staple gun or upholstery tacks.
Measuring And Cutting The Fabric
First, measure each part of the chair carefully. Use the old fabric pieces as guides. Leave extra fabric around the edges for stapling.
Cut the fabric on a flat surface. Use sharp scissors to get clean edges. Keep the fabric smooth and avoid wrinkles as you cut.
- Measure the chair parts accurately
- Use old fabric pieces as patterns
- Leave 2-3 inches extra for stapling
- Cut fabric on a clean, flat surface
- Use sharp scissors for clean cuts
Attaching The Fabric To The Frame
Start attaching fabric from the center of each section. Pull the fabric tight but do not stretch it too much. Secure it with staples or tacks along the edges.
Smooth out wrinkles as you go. Fold corners neatly to avoid bulk. Work slowly to keep the fabric even and tight.
- Attach fabric at the center first
- Pull fabric tight, avoid stretching
- Use a staple gun or upholstery tacks
- Smooth wrinkles before stapling
- Fold corners neatly for a clean look
Finishing Touches
Trim any excess fabric after stapling. Check all edges to make sure the fabric is secure. Add decorative trims or piping if desired.
Press the fabric gently with your hands to settle it. Let the chair sit for a while to relax the fabric. Recheck the tightness before use.
- Trim excess fabric carefully
- Check all staples or tacks
- Add trims or piping for style
- Press fabric to settle it
- Let fabric relax before use

Credit: www.addicted2decorating.com
Finishing Touches And Tips
After reupholstering your wingback armchair, some final steps will make it look great and last longer. These finishing touches help protect the fabric and improve comfort.
Simple tips can save you time and keep your chair looking fresh. Follow these ideas to complete your project with care.
Trim Excess Fabric Neatly
Cut away extra fabric close to the staples or tacks. Leave a small margin to avoid fraying but keep it tidy. Use sharp scissors for clean cuts.
Secure Loose Edges
Check all edges for any loose spots. Add extra staples or tacks to keep fabric tight. This will prevent wrinkles and wear over time.
- Press fabric flat before stapling
- Staple every 1 to 2 inches on curves
- Use a hammer to secure tacks firmly
Add Decorative Trim Or Piping
Adding trim or piping can hide staples and add style. Choose colors that match or contrast with your fabric. Attach it carefully with a glue gun or small nails.
Protect Fabric With A Fabric Guard
Spray a fabric protector to resist stains and spills. Test it first on a small area. This step keeps your chair cleaner for a longer time.
Check Cushion Fit And Comfort
Make sure the cushions fit well and feel comfortable. Adjust stuffing or padding if needed. Reattach cushions securely to avoid slipping.
Regular Care Tips
- Vacuum your chair weekly to remove dust
- Spot clean spills right away with a damp cloth
- Rotate cushions to prevent uneven wear
- Avoid direct sunlight to stop fading

Credit: www.youtube.com
Frequently Asked Questions
How Long Does Reupholstering A Wingback Chair Take?
Reupholstering a wingback chair typically takes 8 to 12 hours. This depends on your skill level and the chair’s condition. Complex patterns or added cushioning may extend the time. Proper preparation and tools speed up the process.
What Materials Are Needed For Reupholstering?
You need fabric, foam padding, batting, a staple gun, scissors, and upholstery tacks. Also, have pliers and a screwdriver for removing old fabric. Choose durable fabric designed for upholstery. Quality tools ensure a smooth and lasting finish.
Can I Reupholster A Wingback Chair Myself?
Yes, DIY reupholstering is possible with patience and basic skills. Follow step-by-step guides and use the right tools. Start with simpler chairs if you are a beginner. This saves money and customizes your furniture uniquely.
How Do I Choose Fabric For Reupholstering?
Select fabric that is durable, stain-resistant, and complements your decor. Consider texture, color, and pattern to match your style. Upholstery-grade fabrics last longer and withstand wear. Always order extra fabric for mistakes or future repairs.
Conclusion
Reupholstering a wingback armchair is a rewarding task. It brings new life to old furniture. You save money and add personal style. The process takes patience and care. Each step builds your skill and confidence. Your chair will look fresh and unique.
Enjoy the comfort of your renewed armchair. Try different fabrics for a new look. This project can become a fun hobby. Keep practicing, and your work will improve. Your home will feel cozier and more inviting.


