
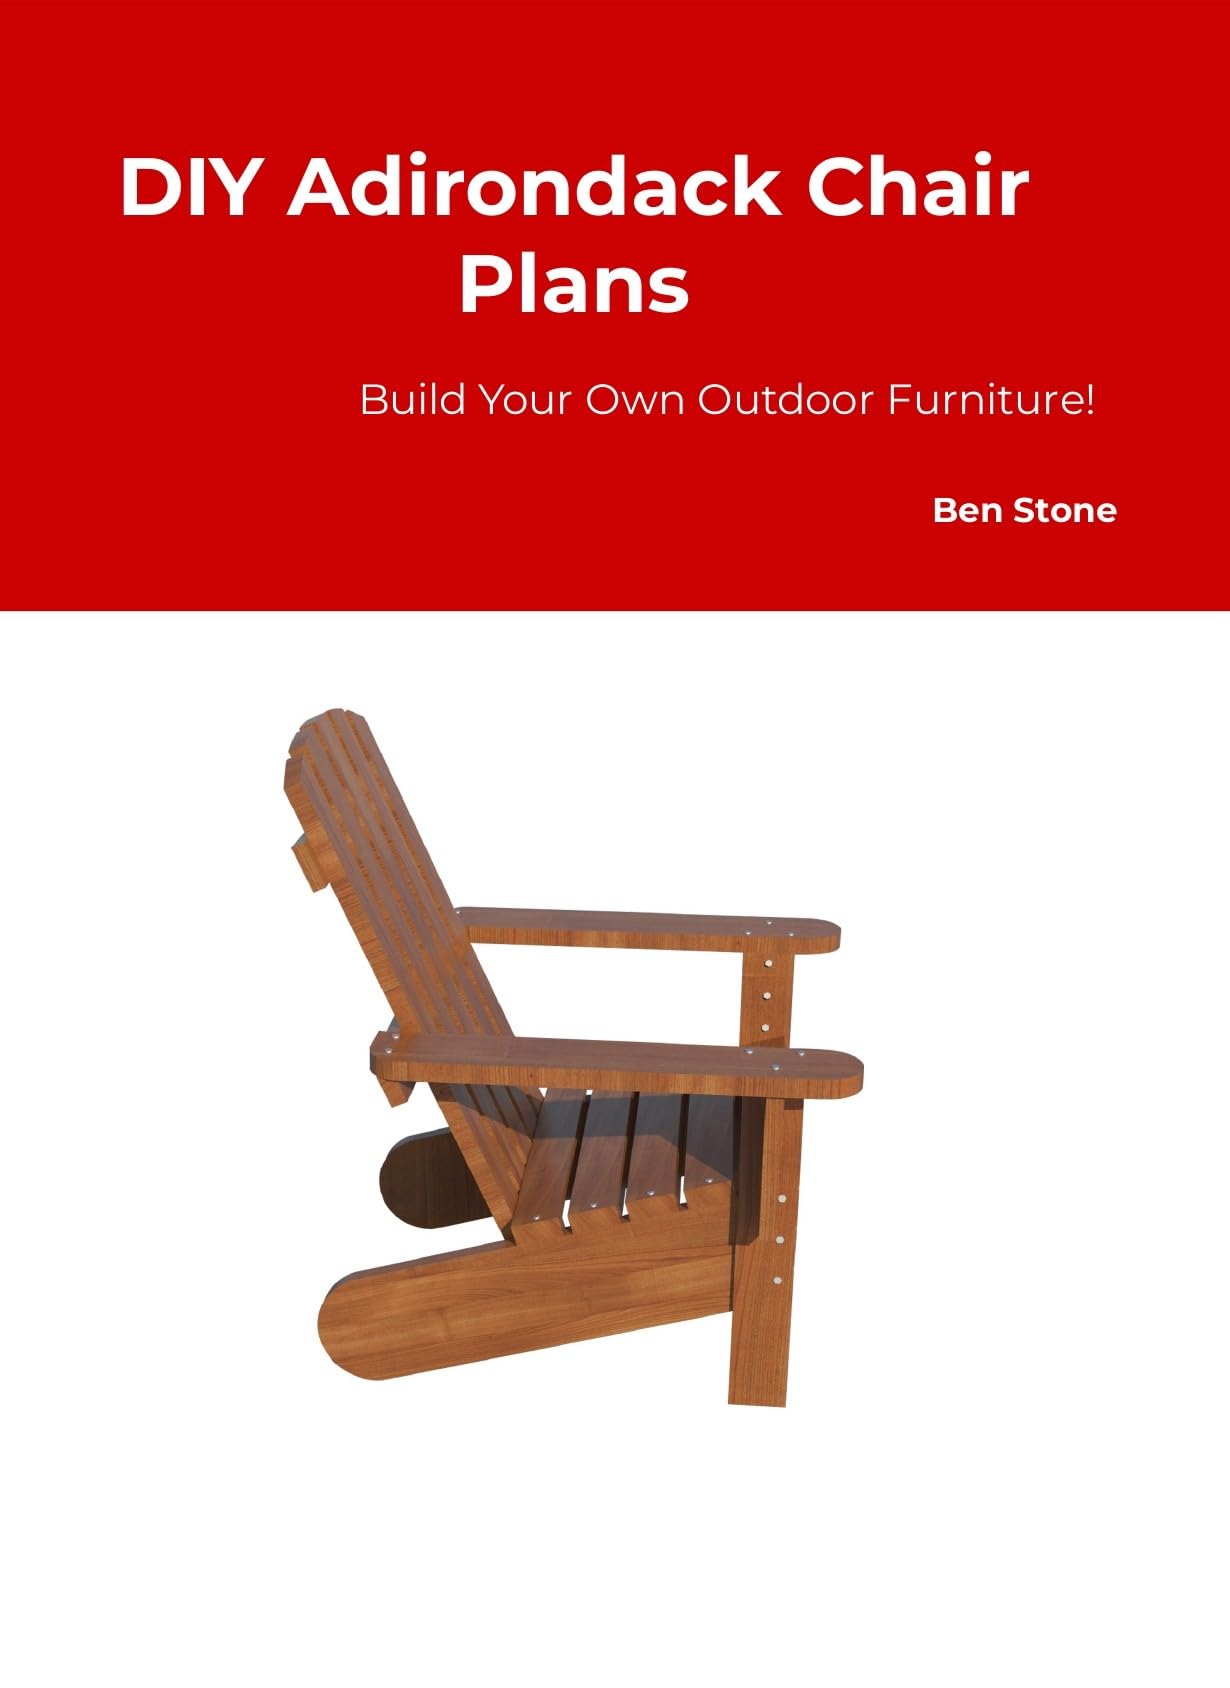
Imagine sinking into a chair that you built yourself—one that perfectly fits your style and comfort. Making your own Adirondack chair isn’t just a fun project; it’s a chance to create something unique for your outdoor space.
You don’t need to be a woodworking expert to do this. With simple steps and easy-to-find materials, you can craft a sturdy, beautiful chair that will last for years. Ready to turn your backyard into a cozy retreat? Keep reading, and I’ll show you exactly how to make your own Adirondack chair from start to finish.
Credit: www.amazon.com
Materials And Tools Needed
Making your own Adirondack chair is a fun and rewarding project. You need the right materials and tools to build a sturdy chair.
This guide covers the wood to choose and the essential tools you will need. Let’s start with picking the right wood.
Choosing The Right Wood
Choose wood that is strong and weather-resistant. Your Adirondack chair will be outside, so it must last through rain and sun.
Cedar and redwood are good choices because they resist rot and insects. Pine is cheaper but needs a good finish to protect it.
- Cedar – durable and weather-resistant
- Redwood – strong and looks nice
- Pine – affordable but needs sealing
- Teak – very durable but expensive
Essential Tools List
You need some basic tools to cut and assemble the wood. These tools make the work easier and more accurate.
Having the right tools helps you build a safe and comfortable chair. Here is a list of essential tools.
- Measuring tape for accurate cuts
- Pencil to mark wood pieces
- Circular saw or handsaw to cut wood
- Drill with drill bits and screwdriver bits
- Sandpaper or electric sander for smooth edges
- Clamps to hold wood while working
- Wood screws and screwdriver
- Wood glue for extra strength
- Safety glasses and gloves for protection
Credit: www.familyhandyman.com
Preparing The Wood Pieces
Building an Adirondack chair is a rewarding project. Preparing the wood pieces is the first step. It ensures your chair is strong and looks nice.
Good preparation makes the assembly easier. It also helps the chair last longer outdoors.
Measuring And Cutting
Start by gathering your tools. You will need a tape measure, saw, and pencil. Measure each piece carefully to make sure the chair parts fit well.
Cut the wood using a saw. Keep your hands safe by following safety rules. Double-check measurements before cutting to avoid mistakes.
- Measure twice, cut once
- Use a sharp saw for clean edges
- Wear safety goggles
Sanding And Smoothing
After cutting, sand the wood pieces. Sanding removes rough spots and makes the wood smooth. It is important for comfort when sitting.
Use sandpaper with a fine grit. Sand in the direction of the wood grain. This prevents scratches and keeps the wood looking nice.
- Start with coarse grit, finish with fine grit
- Sand edges and surfaces evenly
- Check for splinters and remove them
Assembling The Chair
Putting together your Adirondack chair is the key step. You will join the parts you cut and shaped. Take time to align everything well.
This guide shows how to build the frame, then attach the seat and backrest. Follow each part carefully for a strong chair.
Building The Frame
Start by assembling the base and arms. Use screws or bolts to hold pieces firmly. Check that all corners meet at right angles.
- Lay out the side panels on a flat surface.
- Attach the front and back supports between the sides.
- Secure the armrests on top of the side panels.
- Tighten all screws but avoid overdriving them.
- Make sure the frame feels solid and does not wobble.
Attaching The Seat And Backrest
Next, fix the seat slats across the frame. Then attach the backrest slats at an angle for comfort. Use screws that are long enough to hold tight.
| Component | Number of Slats | Fastening Type |
| Seat | 6 | Wood Screws 2.5″ |
| Backrest | 5 | Wood Screws 2.5″ |
Check each slat is straight before tightening screws. Sand any rough edges after assembly for a smooth finish.

Credit: www.youtube.com
Finishing Touches
Finishing touches make your Adirondack chair look great and last longer. They protect the wood and add comfort.
Choose the right finish and add soft features to enjoy your chair more. This guide helps you with these final steps.
Painting And Staining
Painting or staining protects your chair from weather damage. It also gives your chair a fresh look.
Use paint for bright colors or stain to show the wood grain. Apply a primer if you paint for better results.
- Sand the chair smooth before painting or staining
- Apply thin, even coats with a brush or spray
- Let each coat dry fully before adding another
- Use outdoor paint or stain for durability
- Seal with a clear protective topcoat if needed
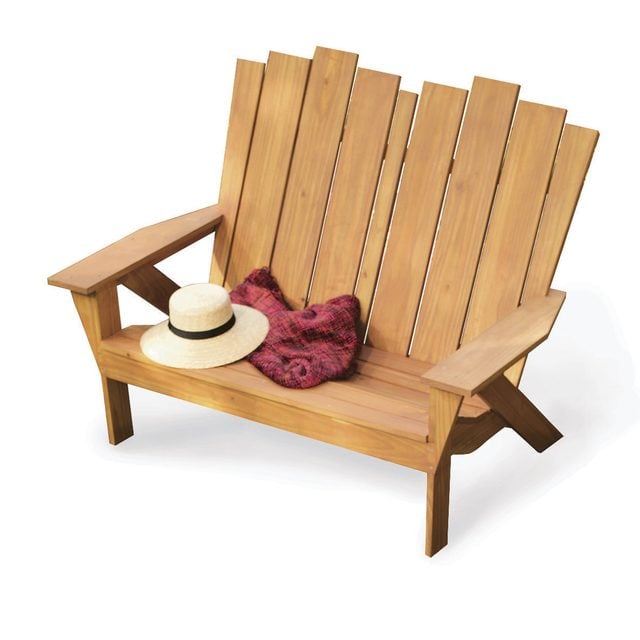
Adding Comfort Features
Comfort features make sitting in your Adirondack chair more relaxing. Add cushions or armrest pads for extra softness.
You can also attach a footrest or a small side table to hold drinks and books. These extras improve your chair’s use.
- Choose weather-resistant cushions for outdoor use
- Secure cushions with ties or non-slip backing
- Attach padded armrests with screws or adhesive
- Use a small side table for convenience
- Add a footrest that matches your chair’s style
Frequently Asked Questions
What Materials Do I Need For An Adirondack Chair?
You need quality wood like cedar or pine, screws, wood glue, sandpaper, paint or stain, and basic tools like a saw and drill. These materials ensure durability and comfort for your Adirondack chair project.
How Long Does It Take To Build An Adirondack Chair?
Building an Adirondack chair typically takes 4 to 6 hours. This depends on your skill level and the complexity of the design. Proper preparation and following step-by-step instructions speed up the process.
Can I Customize The Size Of My Adirondack Chair?
Yes, you can adjust dimensions to fit your space. Modify seat height, width, and backrest angle to increase comfort. Custom sizes make your chair unique and better suited to your needs.
What Finish Is Best For Outdoor Adirondack Chairs?
Use weather-resistant paint or outdoor wood stain for protection. These finishes prevent moisture damage and UV fading. Regular maintenance extends your chair’s life and keeps it looking great.
Conclusion
Building your own Adirondack chair is a rewarding project. It adds charm to your outdoor space. You control the design and materials used. The process teaches useful woodworking skills. Taking time to follow each step ensures success. Enjoy the comfort of a chair made by you.
This simple project brings pride and relaxation together. Start small, stay patient, and see your work take shape. Your handmade chair will last for many seasons. Give it a try and enjoy the results!


