
Are your kids’ toys scattered all over the floor, making your space look messy and chaotic? You’re not alone, and there’s a simple solution that can change everything: making your own toy storage shelves.
Imagine having a neat, organized area where every toy has its place—easy to find and put away. In this guide, you’ll discover step-by-step how to build sturdy, stylish shelves that fit perfectly in your home and match your needs. Ready to turn clutter into calm?
Keep reading, and by the end, you’ll have everything you need to create your own toy storage shelves with confidence.
Credit: www.hgtv.com
Choosing The Right Materials
Picking the correct materials is key to building sturdy toy storage shelves. Good materials make shelves last longer and look better. This guide helps you choose wood, tools, and safety tips.
Knowing what wood to use and having the right tools will make your project easier. Safety is also important to avoid injuries during building.
Wood Options And Their Benefits
Different woods have different strengths and looks. Choose wood that holds weight well and fits your budget.
| Wood Type | Benefits | Drawbacks |
| Pine | Affordable, easy to work with | Soft, dents easily |
| Oak | Strong, durable, attractive grain | More expensive, harder to cut |
| Birch | Hard, smooth surface, good finish | Can be costly, less resistant to moisture |
| Plywood | Stable, less likely to warp | Edges need finishing, can delaminate |
Essential Tools For Diy Shelves
- Measuring tape to get exact sizes
- Hand saw or power saw for cutting wood
- Drill for making holes and driving screws
- Screwdriver to fasten screws firmly
- Sandpaper for smooth edges and surfaces
- Level to keep shelves straight
Having these tools ready helps speed up building and ensures better results.
Safety Considerations
- Wear safety glasses to protect your eyes from dust and wood chips.
- Use ear protection when using loud power tools.
- Keep your work area clean and free of clutter.
- Handle sharp tools carefully and store them safely.
- Work in a well-ventilated area to avoid inhaling dust.
Following these safety steps reduces the risk of accidents during your project.
Designing Functional Shelves
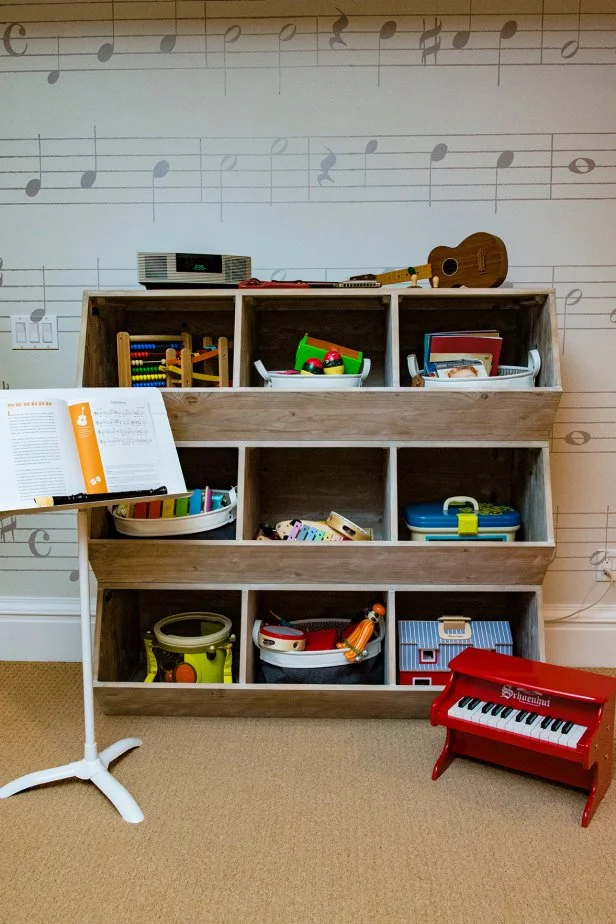
Creating toy storage shelves is a fun project. These shelves keep playrooms tidy and organized. Designing shelves that fit your space and needs is important.
Think about how the shelves will be used. Consider the types of toys and the space available. This helps in making the shelves both functional and stylish.
Maximizing Space In Playrooms
Use vertical space to keep the playroom open. Tall shelves save floor space and provide more storage.
Corner shelves fit snugly in corners. They use space that might otherwise be wasted. Arrange toys by size and type on the shelves.
- Place larger toys at the bottom.
- Use higher shelves for lightweight items.
- Leave room for future toys.
Incorporating Adjustable Shelves
Adjustable shelves are versatile. They can be moved to fit toys of different sizes.
As your child grows, their toy collection changes. Adjustable shelves accommodate these changes easily.
| Benefits of Adjustable Shelves |
| Customizable height |
| Easy to rearrange |
| Long-lasting use |
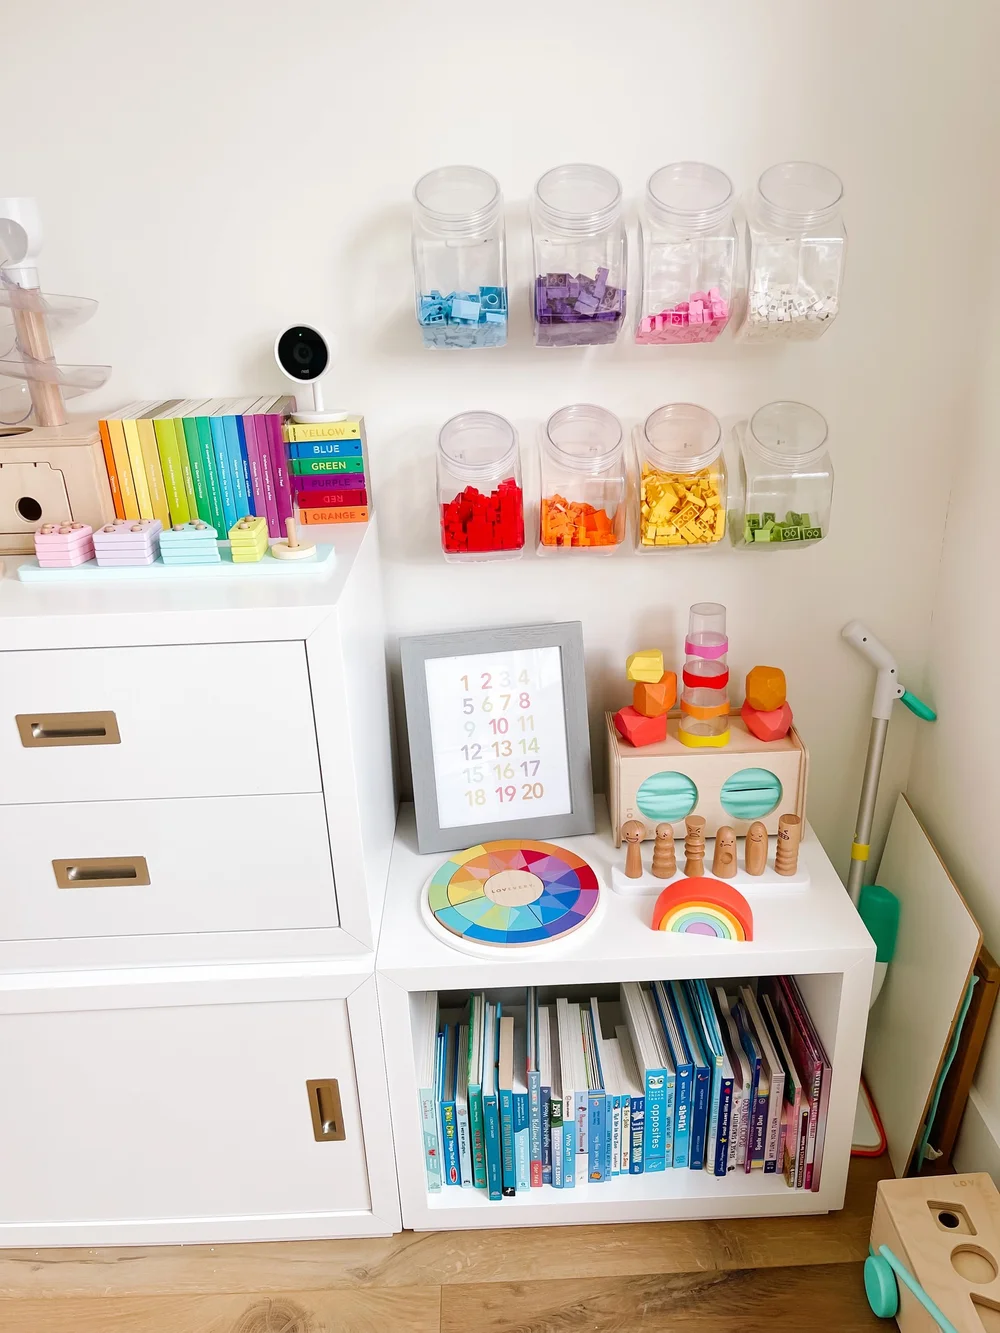
Adding Bins And Labels
Bins help in organizing small toys. They keep the shelves neat and tidy.
Labeling bins makes it easy for kids to find and put away toys. It teaches them organization skills.
- Use clear labels for easy identification.
- Color-coded bins add a playful touch.
- Ensure bins are within reach for kids.
Step-by-step Assembly Guide
Making toy storage shelves is a useful project. You will save space and keep toys organized. This guide shows clear steps for building sturdy shelves.
Follow these easy instructions to measure, assemble, and finish your shelves. Use simple tools and materials for best results.
Measuring And Cutting Wood
Start by measuring the wood pieces for your shelves. Accurate cuts make the assembly easier and the shelves stronger. Use a tape measure and pencil for marking.
- Measure the length and width needed for each shelf part.
- Mark the wood clearly with a pencil.
- Use a saw to cut along the marks carefully.
- Sand the edges to smooth rough spots.
Assembling The Frame
Put together the shelf frame using the cut wood pieces. Secure the parts with screws or nails to make a solid base for your shelves.
| Part | Quantity | Notes |
| Side panels | 2 | Vertical supports |
| Shelves | 3 or more | Horizontal boards |
| Back panel | 1 | Optional for extra strength |
| Screws | 12-20 | Use wood screws |
| Wood glue | As needed | For extra hold |
Attach side panels first, then fit shelves between them. Add the back panel for support if you want. Check the frame is square before tightening screws.
Finishing Touches And Painting
After assembly, sand the entire shelf to remove roughness. Paint or stain the wood to protect it and add color. Use child-safe paint for safety.
Here is a simple checklist for finishing your shelves:
- Sand all surfaces smooth
- Apply a primer coat if painting
- Use at least two coats of paint or stain
- Let each coat dry fully
- Seal with a clear varnish if desired
Credit: www.elbowlanecamp.com
Creative Storage Ideas
Making toy storage shelves can help keep playrooms neat. Creative ideas make storage fun and useful.
Using simple materials and clever designs saves space and keeps toys organized. Try these ideas to build shelves that fit your home.
Using Vertical Space
Vertical space is often unused in rooms. Shelves that go up walls hold many toys without taking floor space.
Mount shelves at different heights. This lets kids reach some toys and keeps others out of the way.
- Install tall shelves to store large bins
- Use wall hooks for hanging baskets
- Add floating shelves for books and small toys
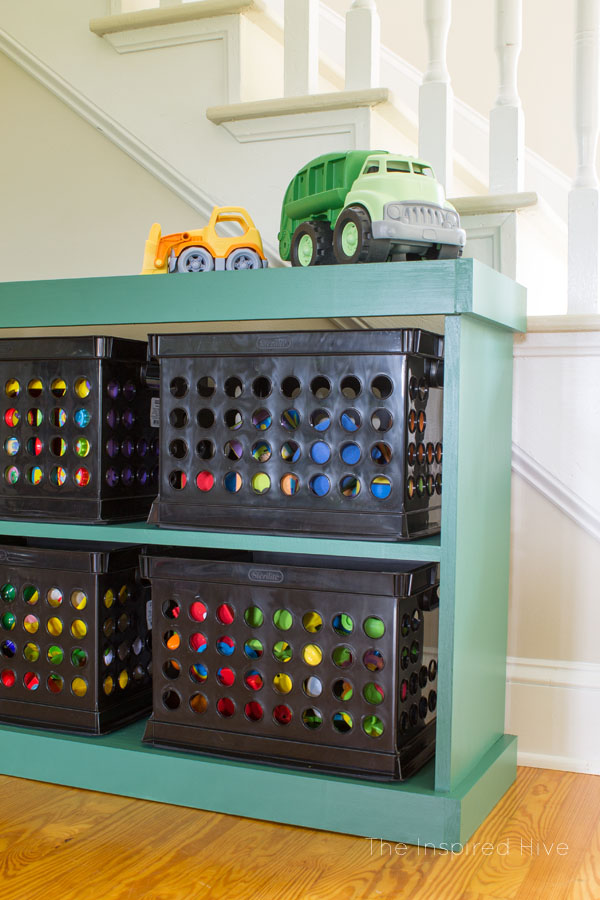
Repurposing Household Items
Old furniture and containers can become toy storage. This saves money and creates unique shelves.
Try using crates, drawers, or shoe racks to store toys in an organized way.
- Stack wooden crates for open shelves
- Turn old drawers into pull-out bins
- Use a shoe organizer for small toys
Personalizing Shelves For Kids
Kids love shelves that feel like theirs. Personal touches make storage fun and encourage cleanup.
Decorate shelves with names, colors, or themes that match your child’s interests.
- Paint shelves in favorite colors
- Add labels with pictures or words
- Use themed stickers or decals
Credit: www.goodnightfox.com
Frequently Asked Questions
What Materials Are Needed For Toy Storage Shelves?
You need plywood or MDF boards, screws, brackets, paint, and sandpaper. These materials ensure sturdy, safe, and attractive shelves for toys.
How Do I Customize Toy Storage Shelves For Kids?
Choose bright colors, adjustable shelves, and easy-to-reach compartments. Personalizing shelves makes storage fun and accessible for children.
Can I Build Toy Storage Shelves Without Professional Tools?
Yes, basic tools like a drill, screwdriver, measuring tape, and saw are enough. Simple designs keep the project beginner-friendly and manageable.
How To Ensure Toy Shelves Are Safe For Children?
Smooth edges, secure mounting, and non-toxic paint improve safety. Always check weight limits and avoid small detachable parts to prevent hazards.
Conclusion
Creating toy storage shelves helps keep play areas neat and safe. You can choose simple materials and tools to build your shelves. Organizing toys makes cleaning up faster and more fun. Kids learn to put things away by using their shelves.
Try adding labels or colors for easy sorting. Making your own shelves saves money and fits your space well. Start small and build more shelves as needed. Enjoy a tidy room and happy playtime every day.


