
Are you tired of shoes cluttering your entryway or bedroom? Imagine having a stylish spot where you can sit, store your shoes neatly, and keep your space organized—all in one piece of furniture.
Making your own shoe storage bench is easier than you think, and it’s a project that can transform your daily routine. In this guide, you’ll discover simple steps to create a bench that fits your style and needs perfectly. Ready to clear the mess and add a touch of charm to your home?
Let’s get started!
Materials And Tools Needed
Gather these materials and toolsbefore starting your shoe storage bench project.
- Wood boards:plywood or hardwood for the bench frame and shelves
- Screws and nails:for assembly
- Wood glue:to strengthen joints
- Sandpaper:smooth rough edges
- Paint or stain:to finish the wood
- Measuring tape:for accurate dimensions
- Saw:to cut wood pieces
- Drill:to make holes and drive screws
- Paintbrush or roller:for applying paint or stain
- Screwdriver:to tighten screws
Having all these ready makes your building process smoother and faster.

Credit: www.extraspace.com
Step-by-step Assembly
Gather all materials: wood panels, screws, hinges, and paint. Prepare tools like a drill, screwdriver, and measuring tape. Measure and cut wood pieces to fit your space. Attach side panels to the base securely. Fix the back panel to add strength. Install the top bench piece carefully on the frame. Use screws to fasten all parts tightly. Attach hinges if the top opens for storage inside. Sand the edges to make them smooth. Paint or stain the bench to match your room. Let the paint dry fully before use. Place your shoe storage bench in the desired spot. Keep shoes organized and your room tidy.
Finishing Touches And Maintenance
Apply a clear coator paint to protect the bench from scratches. Let it dry fully before use.
Use soft clothand mild soap to clean the bench. Avoid harsh chemicals that can damage the finish.
- Check screws and bolts regularly; tighten if loose.
- Keep the bench away from direct sunlight to prevent fading.
- Place felt pads under the legs to protect floors.
- Store shoes clean and dry to avoid stains inside the bench.
Wipe spills immediately to prevent water damage. Reapply finish every year for long-lasting protection.
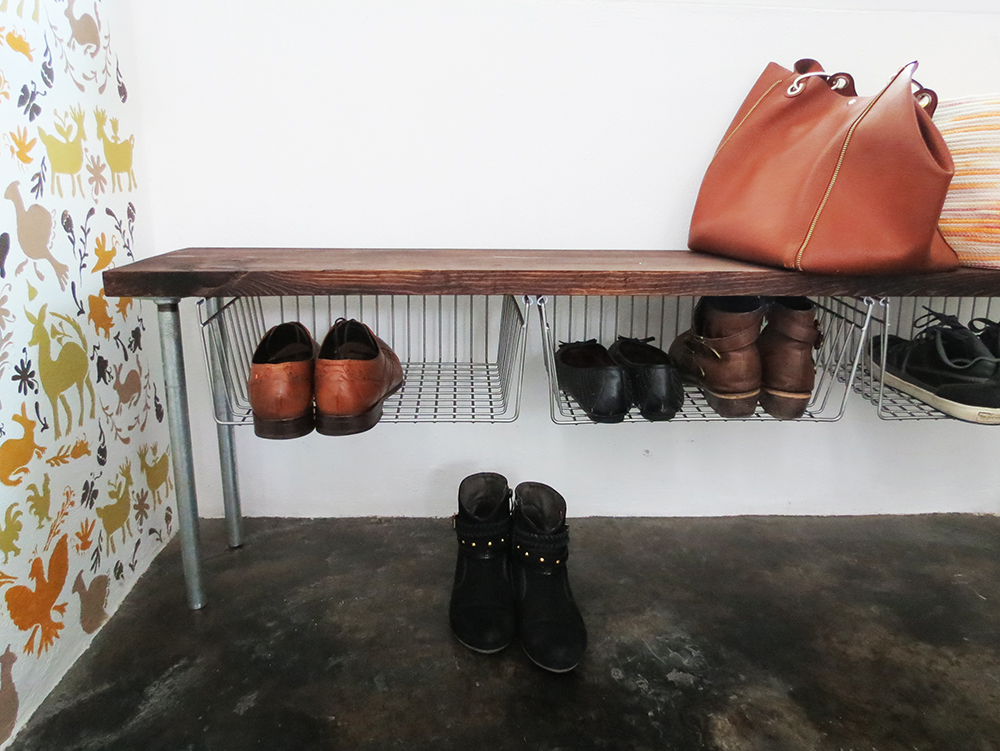
Credit: www.ohohdeco.com

Credit: projectreclaim.co.uk
Frequently Asked Questions
What Materials Do I Need To Make A Shoe Storage Bench?
You need wood, screws, hinges, paint, sandpaper, and a cushion. Optional tools include a saw, drill, screwdriver, and measuring tape. Quality materials ensure durability and a polished look.
How Long Does It Take To Build A Shoe Storage Bench?
Building a shoe storage bench typically takes 3 to 5 hours. Time varies based on skill level and bench complexity. Proper planning can speed up the process.
Can I Customize The Shoe Storage Bench Design?
Yes, you can customize size, color, and storage compartments. Personalizing makes the bench fit your space and style. Consider adding shelves or baskets for extra storage.
Is It Hard To Build A Shoe Storage Bench?
No, it’s a beginner-friendly woodworking project with simple steps. Following instructions carefully ensures success. Basic tools and some patience are all you need.
Conclusion
Creating your own shoe storage bench is a rewarding project. It helps organize your space efficiently. You can customize it to suit your style and needs. With a few materials and tools, you build something practical. A tidy entryway makes a great first impression.
Plus, you save money by doing it yourself. Enjoy your neat and stylish home. It’s amazing what a simple bench can do. Start your project today. Discover the joy of crafting functional furniture. Feel proud of your handiwork. A shoe storage bench can transform your space.
Happy building!


