
Are you looking for a fun and rewarding project that you can create with your own hands? Making a kid rocking chair is a fantastic way to add charm to your home and give your little one a special place to relax and play.
Imagine watching your child giggle while gently rocking back and forth on a chair you built just for them. In this guide, you’ll discover simple steps and tips that make the process easy and enjoyable, even if you’re new to woodworking.
Ready to turn a few pieces of wood into a treasured keepsake? Let’s get started!

Credit: true-routes.com
Materials And Tools Needed
Making a kid rocking chair needs some basic materials and tools. These help you build a safe and fun chair.
Gathering the right items before starting makes the project easier and faster.
Wood
Wood is the main material for the chair. Choose a strong but smooth type to keep the chair safe.
- Pine wood is easy to cut and shape
- Oak wood is very strong but heavier
- Birch wood has a smooth finish
- Avoid wood with cracks or knots
Screws And Nails
Screws and nails hold the chair parts together. Use sizes that fit the wood thickness.
- Wood screws for strong joints
- Finishing nails for small parts
- Use rust-resistant types
Sandpaper
Sandpaper smooths the wood edges and surface. This stops splinters and makes the chair safe.
- Use medium grit (80-120) for rough areas
- Use fine grit (180-220) for finishing
Wood Glue
Wood glue adds extra strength to joints. Apply it before screwing parts together.
- Choose non-toxic glue safe for kids
- Apply evenly for a strong bond
Paint Or Wood Finish
Paint or finish protects the wood and makes the chair look nice. Pick kid-safe, non-toxic options.
- Water-based paints dry fast
- Clear wood finishes keep natural look
- Use a brush or spray for applying
Saw
You need a saw to cut wood pieces to size. A handsaw or jigsaw works well for this project.
- Handsaw is simple and safe for beginners
- Jigsaw cuts curves easily
- Always cut carefully and slowly
Drill
A drill makes holes for screws. It also helps to join parts tightly without splitting the wood.
- Use a drill bit size matching screws
- Electric drills speed up the work
- Drill pilot holes to avoid cracks
Measuring Tape And Pencil
Measuring tape and pencil help you mark wood before cutting. Accurate marks make the chair fit well.
- Measure twice to avoid mistakes
- Use a sharp pencil for clear lines
Clamps
Clamps hold wood pieces together while glue dries. They keep parts from moving and ensure strong joints.
- Use small clamps for easy handling
- Check that clamps do not damage wood
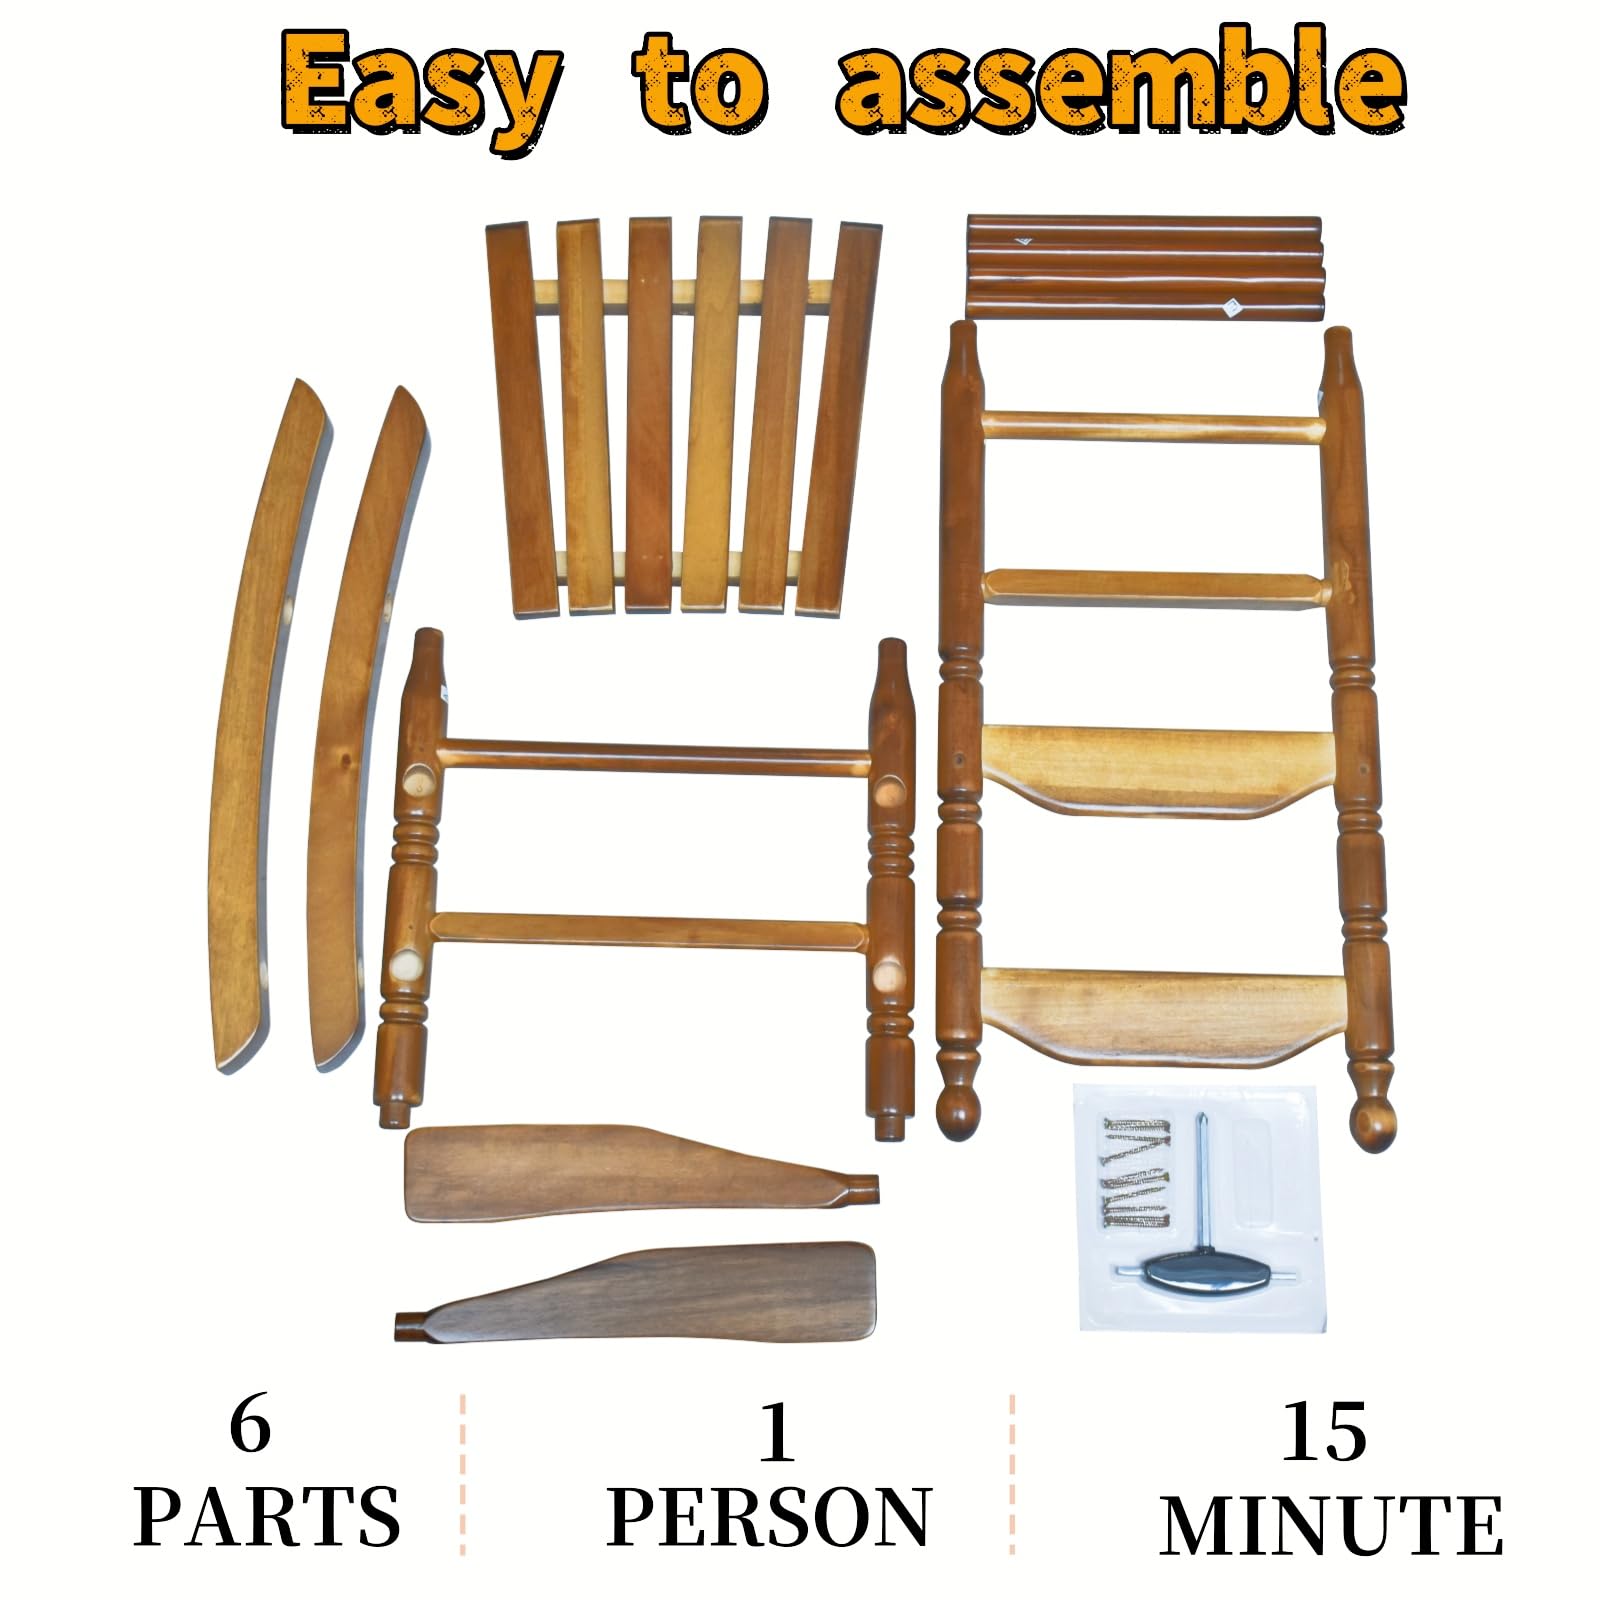
Step-by-step Assembly
Building a kid rocking chair is fun and rewarding. This guide shows you how to assemble it carefully.
Follow each part to make sure the chair is safe and strong for your child.
Prepare Your Materials
Gather all wood pieces, screws, glue, and tools before starting. Check that everything is clean and ready.
Cut And Sand Wood Pieces
Cut the wood to size for seat, back, legs, and rockers. Sand all edges to make them smooth and safe.
Assemble The Chair Frame
Connect the legs to the seat using wood glue and screws. Make sure the frame is level and sturdy.
- Apply wood glue on the joints
- Attach legs to seat with screws
- Check the frame is square and even
- Tighten all screws firmly
Attach The Backrest
Fix the backrest to the seat and legs. Use screws and glue for a strong hold. Ensure the backrest is straight.
Fix The Rockers
Attach the curved rockers under the legs. Check that they are aligned for smooth rocking motion.
| Part | Attach Method | Check |
| Legs to Seat | Glue and Screws | Level and Tight |
| Backrest | Glue and Screws | Straight and Secure |
| Rockers | Screws | Aligned and Smooth |
Final Sanding And Finishing
Sand the whole chair to remove rough spots. Apply child-safe paint or finish for protection and color.
Allow the paint or finish to dry completely before use. Check all screws once more for safety.
Sanding And Finishing Touches
After building your kid’s rocking chair, sanding is important. It ensures a smooth and safe surface.
Finishing touches give the chair a polished look. They also protect the wood from damage.
Choosing The Right Sandpaper
Sandpaper comes in different grits. Start with coarse grit to remove rough spots.
Move to finer grit for a smooth finish. This prepares the wood for staining or painting.
- 60-grit for rough areas
- 120-grit for smoothing
- 220-grit for final touches
Applying A Protective Finish
Choose a finish that suits your needs. Clear varnish shows natural wood beauty.
Paint adds color and creativity. Both protect the wood from scratches and stains.
- Varnish for a natural look
- Paint for vibrant colors
- Wax for a soft sheen
Sanding Between Coats
Sanding between coats helps the finish adhere. Use a fine grit to avoid scratches.
Wipe off dust with a damp cloth. This ensures a smooth and even final coat.
- Use 320-grit sandpaper
- Sand lightly between coats
- Clean with a damp cloth
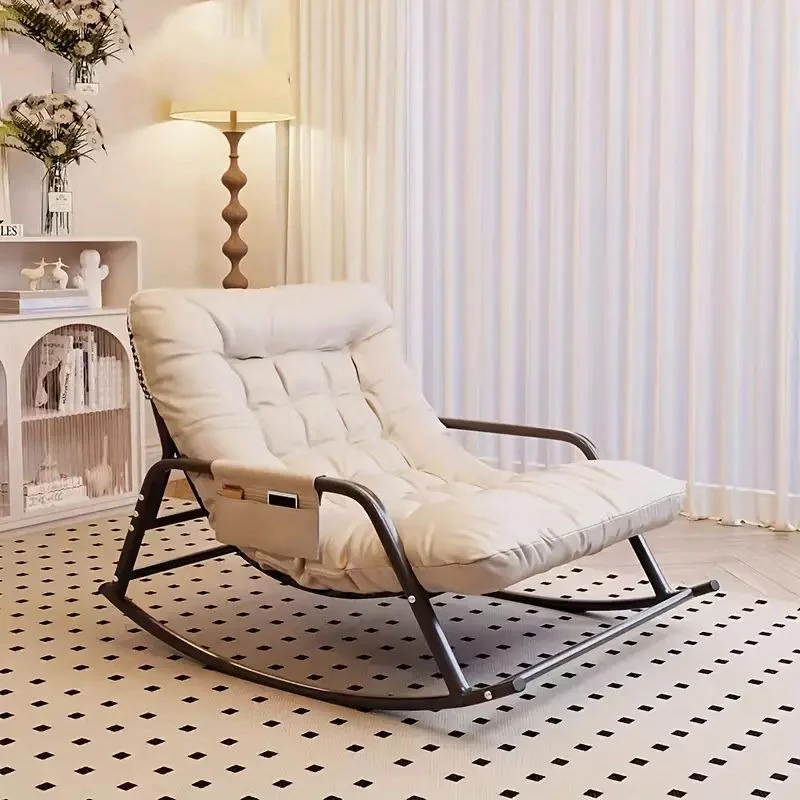
Credit: us.amazon.com
Safety Tips And Maintenance
Building a kid rocking chair is fun and rewarding. Keeping it safe and well-maintained is important. This ensures children can enjoy it for a long time without harm.
Follow simple safety tips and maintenance routines to protect kids and keep the chair sturdy and smooth.
Safety Tips
Check the chair for sharp edges or splinters. Sand all surfaces smooth before use. Make sure all screws and nails are fully inside the wood. Avoid loose parts that can pinch or trap fingers.
- Use non-toxic paint or finish
- Secure all joints tightly
- Keep the rocking base stable and balanced
- Avoid small parts that can break off
- Place the chair on a flat surface
Maintenance
Regular maintenance keeps the chair safe and looking good. Check for loose screws or cracks every few months. Sand rough spots and apply finish as needed.
| Maintenance Task | Frequency | Details |
| Check screws and joints | Every 3 months | Tighten or replace any loose parts |
| Sand rough edges | As needed | Use fine sandpaper for smoothness |
| Apply protective finish | Once a year | Use child-safe varnish or paint |
| Clean the chair | Monthly | Wipe with a damp cloth to remove dust |
Credit: www.rvgas.pe
Frequently Asked Questions
What Materials Are Needed To Make A Kid Rocking Chair?
To make a kid rocking chair, you need wood, screws, sandpaper, wood glue, paint, and varnish. Choose lightweight yet sturdy wood like pine. Ensure all materials are child-safe and non-toxic for a safe and durable chair.
How Long Does It Take To Build A Kid Rocking Chair?
Building a kid rocking chair takes about 4 to 6 hours. This includes cutting, assembling, sanding, and painting. Time may vary based on skill level and drying times for paint or varnish.
What Tools Are Required For Making A Rocking Chair?
Essential tools include a saw, drill, screwdriver, measuring tape, clamps, and sander. These tools help cut, assemble, and finish the wood pieces accurately and safely.
How Can I Make The Rocking Chair Safe For Kids?
Ensure all edges are smooth and rounded by sanding thoroughly. Use non-toxic paint and secure all screws tightly. Avoid small detachable parts to prevent choking hazards.
Conclusion
Building a kid rocking chair can be fun and rewarding. You only need simple tools and clear steps. Take your time and follow the guide carefully. This project brings joy and a special gift for any child. Enjoy crafting something safe and comfy for little ones.
Give it a try and see how proud you feel. A handmade rocking chair lasts for years and memories. Keep safety in mind and choose good materials. Start today and create a chair that kids will love.


