
Imagine walking into your home and instantly feeling a sense of order and warmth. A hall tree storage bench can be your secret weapon in achieving that seamless blend of function and style.
Not only does it offer a cozy spot to sit and tie your shoes, but it also provides the perfect place to store coats, bags, and more. If you’ve ever found yourself battling clutter or wishing for a more organized entryway, you’re in the right place.
You’ll learn how to make your very own hall tree storage bench, transforming your space while showcasing your personal style. Get ready to embrace a tidier, more inviting home. Are you excited to get started? Let’s dive in!
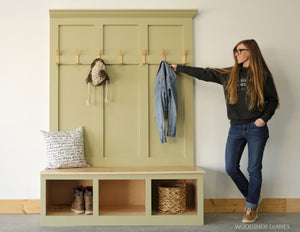
Credit: woodshop-diaries.myshopify.com
Materials And Tools Needed
To build a hall tree storage bench, gather these key materials and tools. Choose solid woodlike pine or oak for durability. You will also need plywood sheetsfor backing and shelves. For hardware, get screws, wood glue, and hingesfor the bench lid. Hooks for hanging coats and a handle for the bench add function.
Essential tools include a measuring tapeand a pencilfor marking. Use a circular sawor hand sawto cut wood pieces. A drillis needed to make holes for screws. Sandpaper or an electric sandersmooths rough edges. A screwdriverhelps with assembly. A clampholds wood while glue dries.

Credit: www.myrepurposedlife.com
Step-by-step Building Process
Start by cutting all wood pieces to the right size. Use a saw and measure carefully. Sand the edges smooth to avoid splinters. Prepare all parts before assembling for an easier build.
Next, join the frame pieces using screws or nails. Make sure the frame is square and stable. Attach the bench seat securely on top. Check for any loose parts and tighten them.
Finally, add storage space under the bench, like a box or cubbies. Attach hooks to the back panel for hanging coats and bags. Paint or stain the wood to protect it and add color.
Finishing Touches And Tips
Start by sanding the hall tree bench with fine-grit sandpaper for a smooth surface. Remove all dust using a clean cloth. Choose paint or stain that matches your room’s style. Use a brush or roller for an even coat. Allow each coat to dry fully before adding another. For extra protection, apply a clear sealant once paint dries. This helps resist scratches and moisture.
Keep your bench looking good by wiping it regularly with a soft, damp cloth. Avoid harsh chemicals that can damage the finish. Tighten screws and check hooks often to keep everything sturdy. Place felt pads under the legs to protect floors. Store the bench away from direct sunlight to prevent color fading. Small care steps help your bench last longer and stay beautiful.
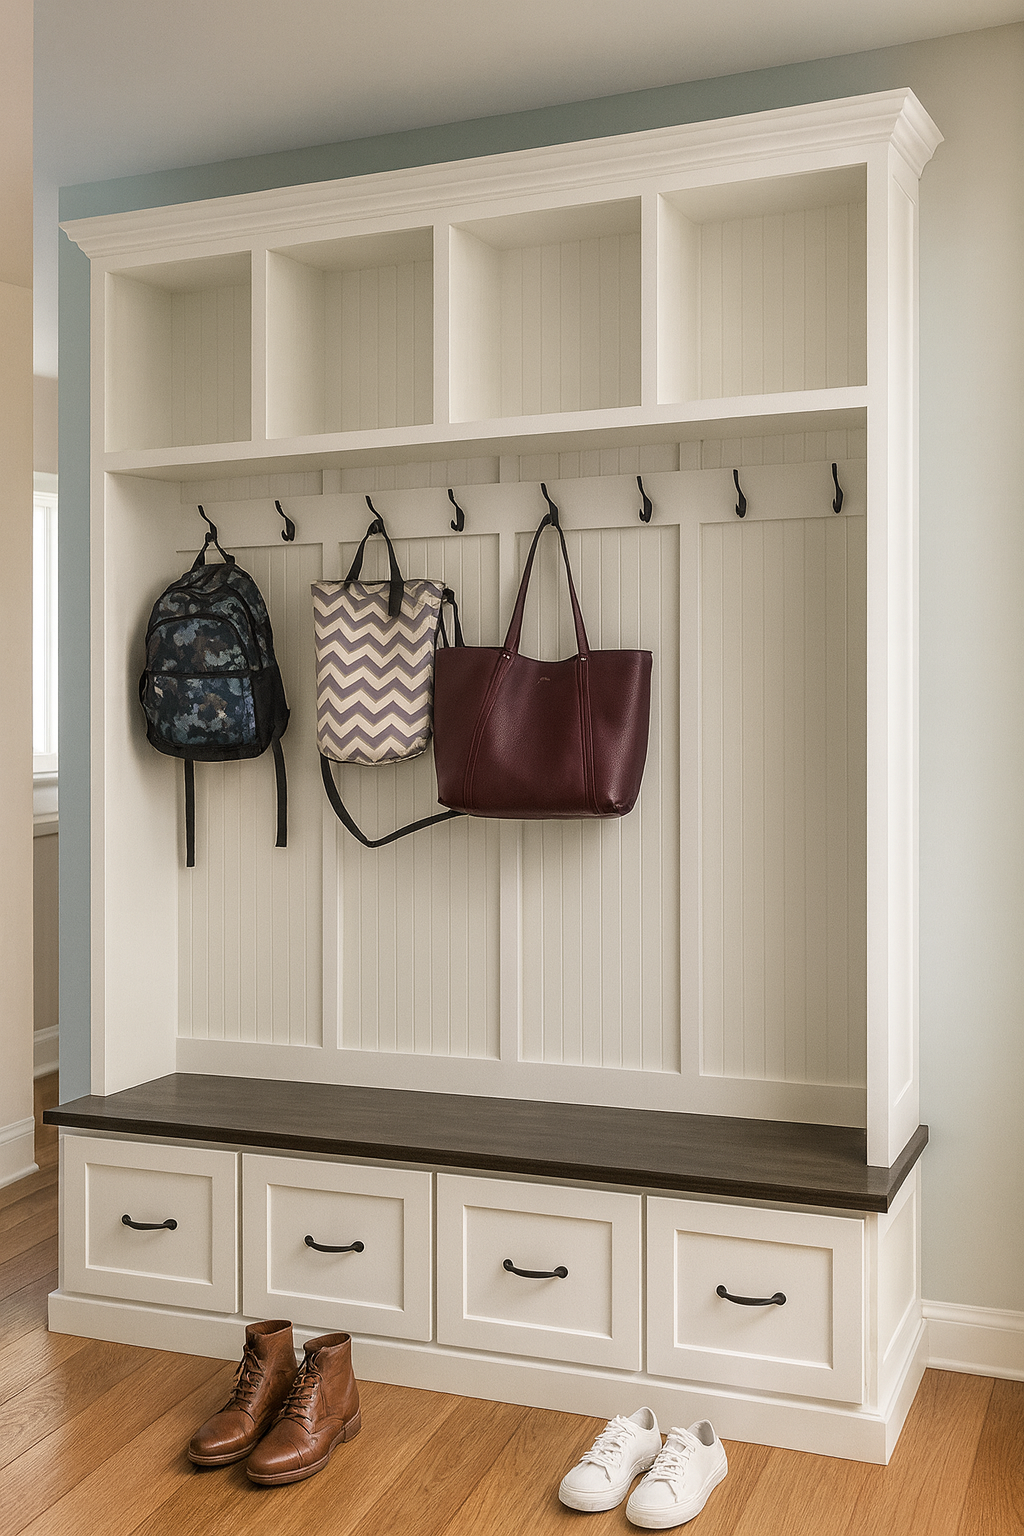
Credit: griffinfurniture.net
Frequently Asked Questions
What Materials Are Needed For A Hall Tree Storage Bench?
You need wood panels, screws, hinges, hooks, a bench cushion, and paint or stain. Tools include a saw, drill, screwdriver, and measuring tape. Choose durable materials for strength and longevity.
How Long Does It Take To Build A Hall Tree Bench?
Building usually takes 4 to 6 hours for beginners. Experienced DIYers may finish in 2 to 3 hours. Time varies based on design complexity and drying time for paint or stain.
Can I Customize The Size Of The Hall Tree Bench?
Yes, customize dimensions to fit your space. Measure your entryway before starting. Adjust height, width, and depth for comfort and storage needs.
What Is The Best Wood For Making A Hall Tree Bench?
Pine, oak, or plywood are popular choices. Pine is affordable and easy to work with. Oak offers durability and a classic look. Plywood is cost-effective and stable.
Conclusion
Building a hall tree storage bench adds charm and function to any space. It keeps shoes, coats, and bags organized in one place. The project is simple and fun, even for beginners. Use basic tools and materials you can find easily.
Your entryway will look neat and welcoming. Plus, you save money by making it yourself. Enjoy your new bench every day. Ready to start? Grab your tools and create something useful today!


