
Are you tired of cluttered entryways and misplaced coats? Imagine walking into your home and being greeted by a stylish, organized space.
You can achieve this by creating your very own hall tree coat rack using crates. Not only is this project a fantastic way to keep your space tidy, but it’s also an opportunity to unleash your creativity and add a personal touch to your home decor.
Plus, there’s something incredibly satisfying about building something with your own hands. You’ll discover a step-by-step guide that will transform ordinary crates into a functional and eye-catching piece. Get ready to impress your guests and enjoy a clutter-free home. Ready to dive in? Let’s get started!
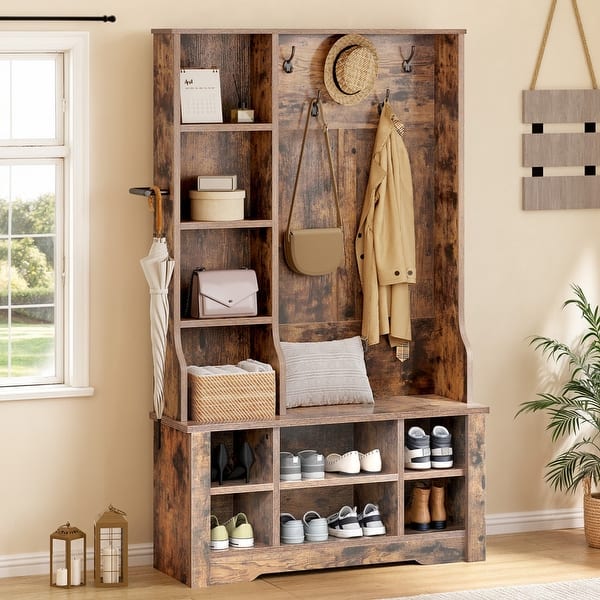
Credit: www.bedbathandbeyond.com
Materials And Tools Needed
Choose crates that are sturdy and not too heavy. Wood crates work well for a strong frame. Make sure the crates have smooth edges to avoid splinters. Size matters; pick crates that fit your space and needs. Larger crates can hold bigger items, while smaller ones are good for shoes or hats.
| Tool | Purpose |
|---|---|
| Drill | To join crates securely |
| Screwdriver | For tightening screws |
| Sandpaper | To smooth rough crate surfaces |
| Measuring tape | To measure space and crates |
| Paintbrush | For painting or staining crates |
| Screws and hooks | To attach crates and hang coats |
Step-by-step Assembly
Start by cleaning the crates well. Remove any dirt or rough spots. Sand the crates to make surfaces smooth. This helps paint or stain stick better. Choose crates that are sturdy and uniform in size for a neat look.
Arrange the crates to form the shape you want. Secure them with screws or nails. Use a drill for strong connections. Make sure the frame stands firm. Check that all crates align properly before fixing.
Pick hooks that fit your style and need. Screw hooks into the frame at even spaces. Add small bumpers or pads under the hooks to protect walls. Finish with paint or stain to protect wood and give a nice look.
Customization And Maintenance
Painting crates allows you to match the coat rack with your room’s style. Use chalk paintfor a matte, vintage look. Bright colors can make the rack stand out, while soft tones blend with walls. Adding stencilsor decalscreates fun patterns or designs. A coat of clear sealantprotects the paint from chips and moisture.
Keep the hall tree clean by dusting regularly with a soft cloth. Wipe spills immediately to prevent stains. Use a mild soap solution for deeper cleaning, then dry with a towel. Check hooks and screws often to ensure they stay tight and secure.

Credit: www.ana-white.com

Credit: www.bedbathandbeyond.com
Frequently Asked Questions
What Materials Do I Need For A Hall Tree Coat Rack?
You need wooden crates, coat hooks, screws, sandpaper, wood glue, paint or stain, and a drill. These materials ensure a sturdy and functional hall tree.
How Do I Assemble Crates For The Coat Rack?
Stack crates vertically or horizontally, then secure them with screws and wood glue. This method creates a stable structure for your hall tree.
Can I Customize The Coat Rack’s Size And Color?
Yes, you can adjust crate numbers to fit your space. Use any paint or stain to match your decor style perfectly.
How Do I Attach Coat Hooks To The Hall Tree?
Mark hook positions on the crate surface and screw them in firmly. Proper placement ensures easy access and balanced weight distribution.
Conclusion
Creating a hall tree coat rack with crates is simple and fun. You can organize your space while adding style. This project saves money and uses easy-to-find materials. It fits well in any hallway or entryway. You can paint or stain the crates to match your decor.
Try adding hooks for coats and baskets for shoes. This DIY rack makes your home neat and welcoming. Give it a try and enjoy your new storage solution.


