
Imagine turning your cluttered playroom into a fun, eye-catching space where every toy has its own special spot. What if you could build a giant Ferris wheel that not only looks amazing but also keeps your toys organized and easy to find?
In this guide, you’ll discover simple steps to create a toy storage solution that’s both creative and practical. Ready to transform your toy chaos into a playful masterpiece? Let’s get started!
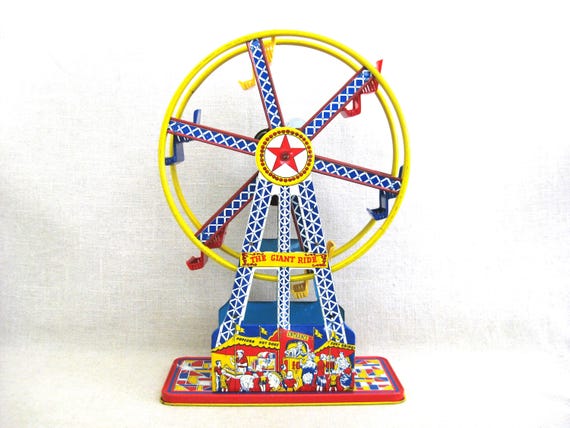
Credit: www.etsy.com
Materials Needed
Building a giant Ferris wheel for toy storage is a fun project. You need the right materials to make it strong and safe.
These materials will help you create a durable and attractive storage wheel for toys.
Wooden Boards
Wooden boards form the main structure of the Ferris wheel. Choose strong, smooth boards that are easy to work with.
Plywood or pine boards are good options because they are sturdy and lightweight.
Wood Glue And Screws
Wood glue helps hold parts together firmly. Screws provide extra strength and keep the pieces fixed in place.
Use screws that are the right length for your wood thickness to avoid splitting.
Paint And Brushes
Paint makes your Ferris wheel look colorful and fun. Choose non-toxic paint safe for children’s toys.
Brushes or small rollers help you apply paint evenly on all surfaces.
Wooden Dowels Or Rods
Dowels or rods act as axles for the Ferris wheel to spin. Pick smooth, round dowels that fit your wheel size.
Make sure they are strong enough to hold the weight of the toy storage compartments.
Storage Bins Or Buckets
Bins or buckets hold the toys inside the Ferris wheel. Choose lightweight containers with handles for easy use.
- Plastic bins with lids
- Small buckets
- Fabric storage bags
Sandpaper
Sandpaper smooths rough edges on wood. Use medium and fine grit to prepare surfaces before painting.
Sanding helps prevent splinters and gives a clean finish.
Drill And Drill Bits
A drill makes holes for screws and dowels. Use drill bits that match the screw sizes and dowel diameters.
Drilling precise holes helps the Ferris wheel move smoothly and stay stable.

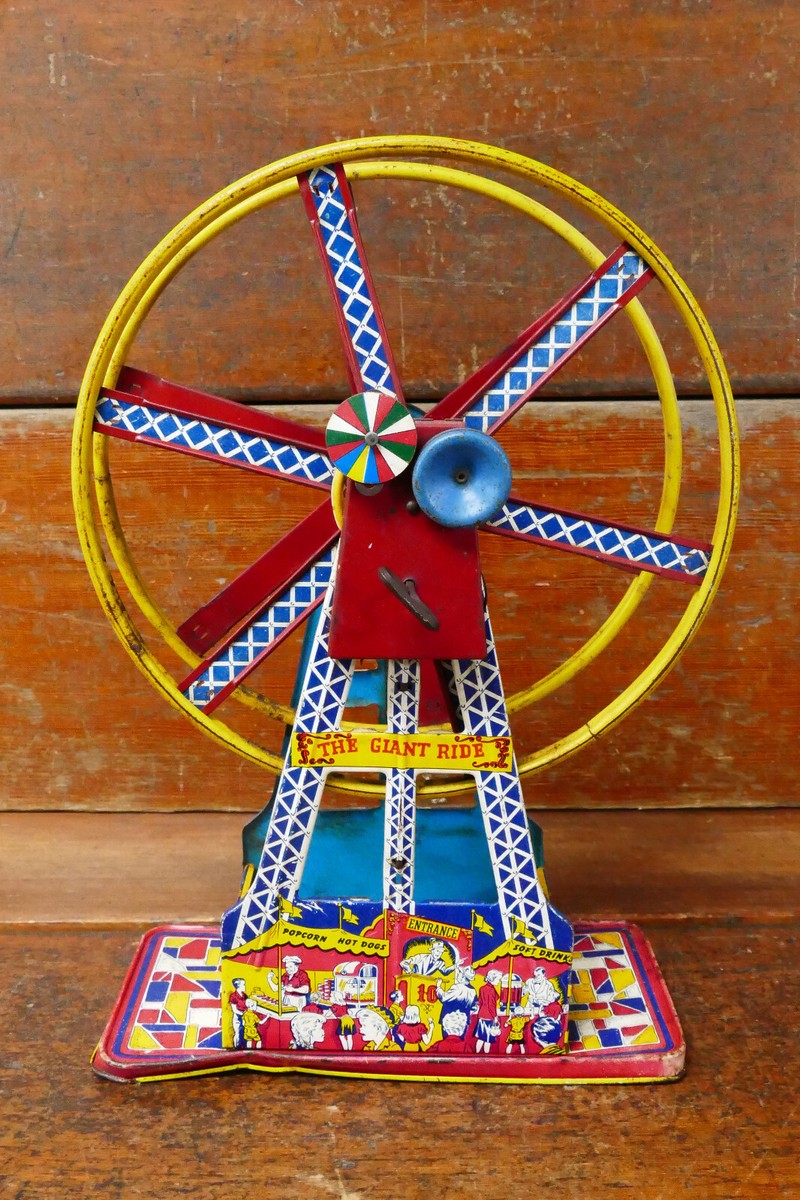
Credit: www.amazon.in
Building The Frame
Creating a giant Ferris wheel for toy storage is a fun project. It adds charm to any room while organizing toys efficiently.
The frame is crucial for stability. Let’s explore how to build it successfully.
Gather Materials
Start by collecting all necessary materials. You will need sturdy items to ensure the frame holds up well.
- Wooden planks or metal rods for the structure
- Screws and bolts for assembly
- Paint for finishing touches
Assemble The Base
The base supports the entire Ferris wheel. Make sure it is stable and well-built.
| Component | Quantity | Description |
| Base Planks | 4 | For sturdy support |
| Connecting Bolts | 8 | To join planks |
| Paint | 1 can | Color of choice |
Build The Wheel
Designing the wheel is the exciting part. It should be large enough to hold several toy storage bins.
Ensure the wheel is balanced. Test it by spinning before finalizing the assembly.
Creating Storage Compartments
Building a giant Ferris wheel for toy storage needs careful planning. The storage compartments must hold toys securely and look good.
Use sturdy materials and design compartments that fit well inside the Ferris wheel cabins. This keeps toys organized and easy to access.
Choosing The Right Materials
Select strong wood or plastic for the compartments. These materials hold weight and last long. Avoid materials that bend or break easily.
Designing The Compartments
Decide on the size and shape of each compartment. They should fit inside the Ferris wheel cabins without blocking rotation.
- Measure the cabin dimensions carefully.
- Make compartments deep enough to hold toys.
- Leave space for easy toy removal.
- Consider adding dividers for small toys.
Assembling The Compartments
Build each compartment using screws or strong glue. Check that all parts fit tightly. Loose parts can cause toys to fall out.
| Tool | Purpose |
|---|---|
| Screwdriver | Fasten screws securely |
| Wood Glue | Reinforce joints |
| Measuring Tape | Measure compartment size |
| Sandpaper | Smooth edges for safety |
Adding Safety Features
Make sure all edges are smooth to avoid splinters. Use non-toxic paint or varnish to protect the compartments.
Assembling And Finishing Touches
Building your giant Ferris wheel for toy storage is a fun and creative project. This guide helps you put all parts together and add the final details.
Follow each step carefully to make sure your Ferris wheel is strong and looks great. Let’s start assembling and finishing it.
Connecting The Main Frame
First, join the large circular frame pieces. Use screws or strong glue to hold the parts firmly. Check that the wheel spins smoothly after assembly.
Attaching The Storage Compartments
Secure the toy compartments evenly around the wheel. Make sure each seat is balanced to avoid tilting when the wheel turns.
- Align compartments before fixing them
- Use clamps to hold pieces during gluing
- Test the balance by spinning the wheel gently
Adding Support And Stability
Install the base supports firmly. Use screws to attach the legs to the frame. Check that the structure stands straight and steady on the floor.
| Support Part | Material | Attachment Method |
| Legs | Wood | Screws |
| Base Plate | Metal | Bolts |
| Cross Braces | Wood | Glue and Nails |
Painting And Decorating
Paint the Ferris wheel with bright colors to make it attractive. Use non-toxic paint safe for children’s toys. Add stickers or designs for a fun look.
Tip:Let paint dry completely before using the toy storage wheel.
Credit: www.ebay.com
Frequently Asked Questions
What Materials Are Best For Building A Giant Ferris Wheel?
Wood and sturdy plastic are ideal materials. They provide strength and durability. Choose lightweight, easy-to-cut wood like plywood. Use plastic containers for toy storage compartments. Avoid heavy metals to keep it safe and manageable for indoor use.
How Do I Ensure The Ferris Wheel Is Stable?
Use a wide base with cross supports for stability. Secure connections with screws or strong glue. Balance the weight evenly on all sides. Test the wheel’s rotation before adding toys. Stability is key to prevent tipping or wobbling.
Can This Ferris Wheel Store Different Toy Sizes?
Yes, design compartments of various sizes for versatility. Customize storage bins to fit small cars, blocks, or dolls. Adjustable dividers help organize toys efficiently. This flexibility makes it suitable for mixed toy collections.
How Long Does It Take To Build The Ferris Wheel?
It usually takes 4 to 6 hours depending on skill. Preparation like cutting and painting may add extra time. Planning and gathering materials beforehand speeds up the process. Patience ensures a safe, well-constructed toy storage solution.
Conclusion
Making a giant Ferris wheel for toy storage is fun and useful. It saves space and keeps toys neat. You only need simple materials and a bit of patience. Kids will enjoy helping build and use it. This project adds a playful touch to any room.
Try it yourself and see how easy it can be. Your toys will have a special new home. Give your space a fresh, creative look today.


