
Looking for a simple way to keep your entryway neat and organized? Hanging a wall coat rack might be just what you need.
It’s a quick project that transforms your space, giving you a stylish spot to hang coats, hats, and bags. You don’t need to be a DIY expert to do it, and once it’s up, you’ll wonder how you ever lived without it.
Keep reading, and you’ll discover easy steps to hang your wall coat rack perfectly—no stress, no mess. Let’s get started!
Credit: crystelmontenegrohome.com
Choose The Right Coat Rack
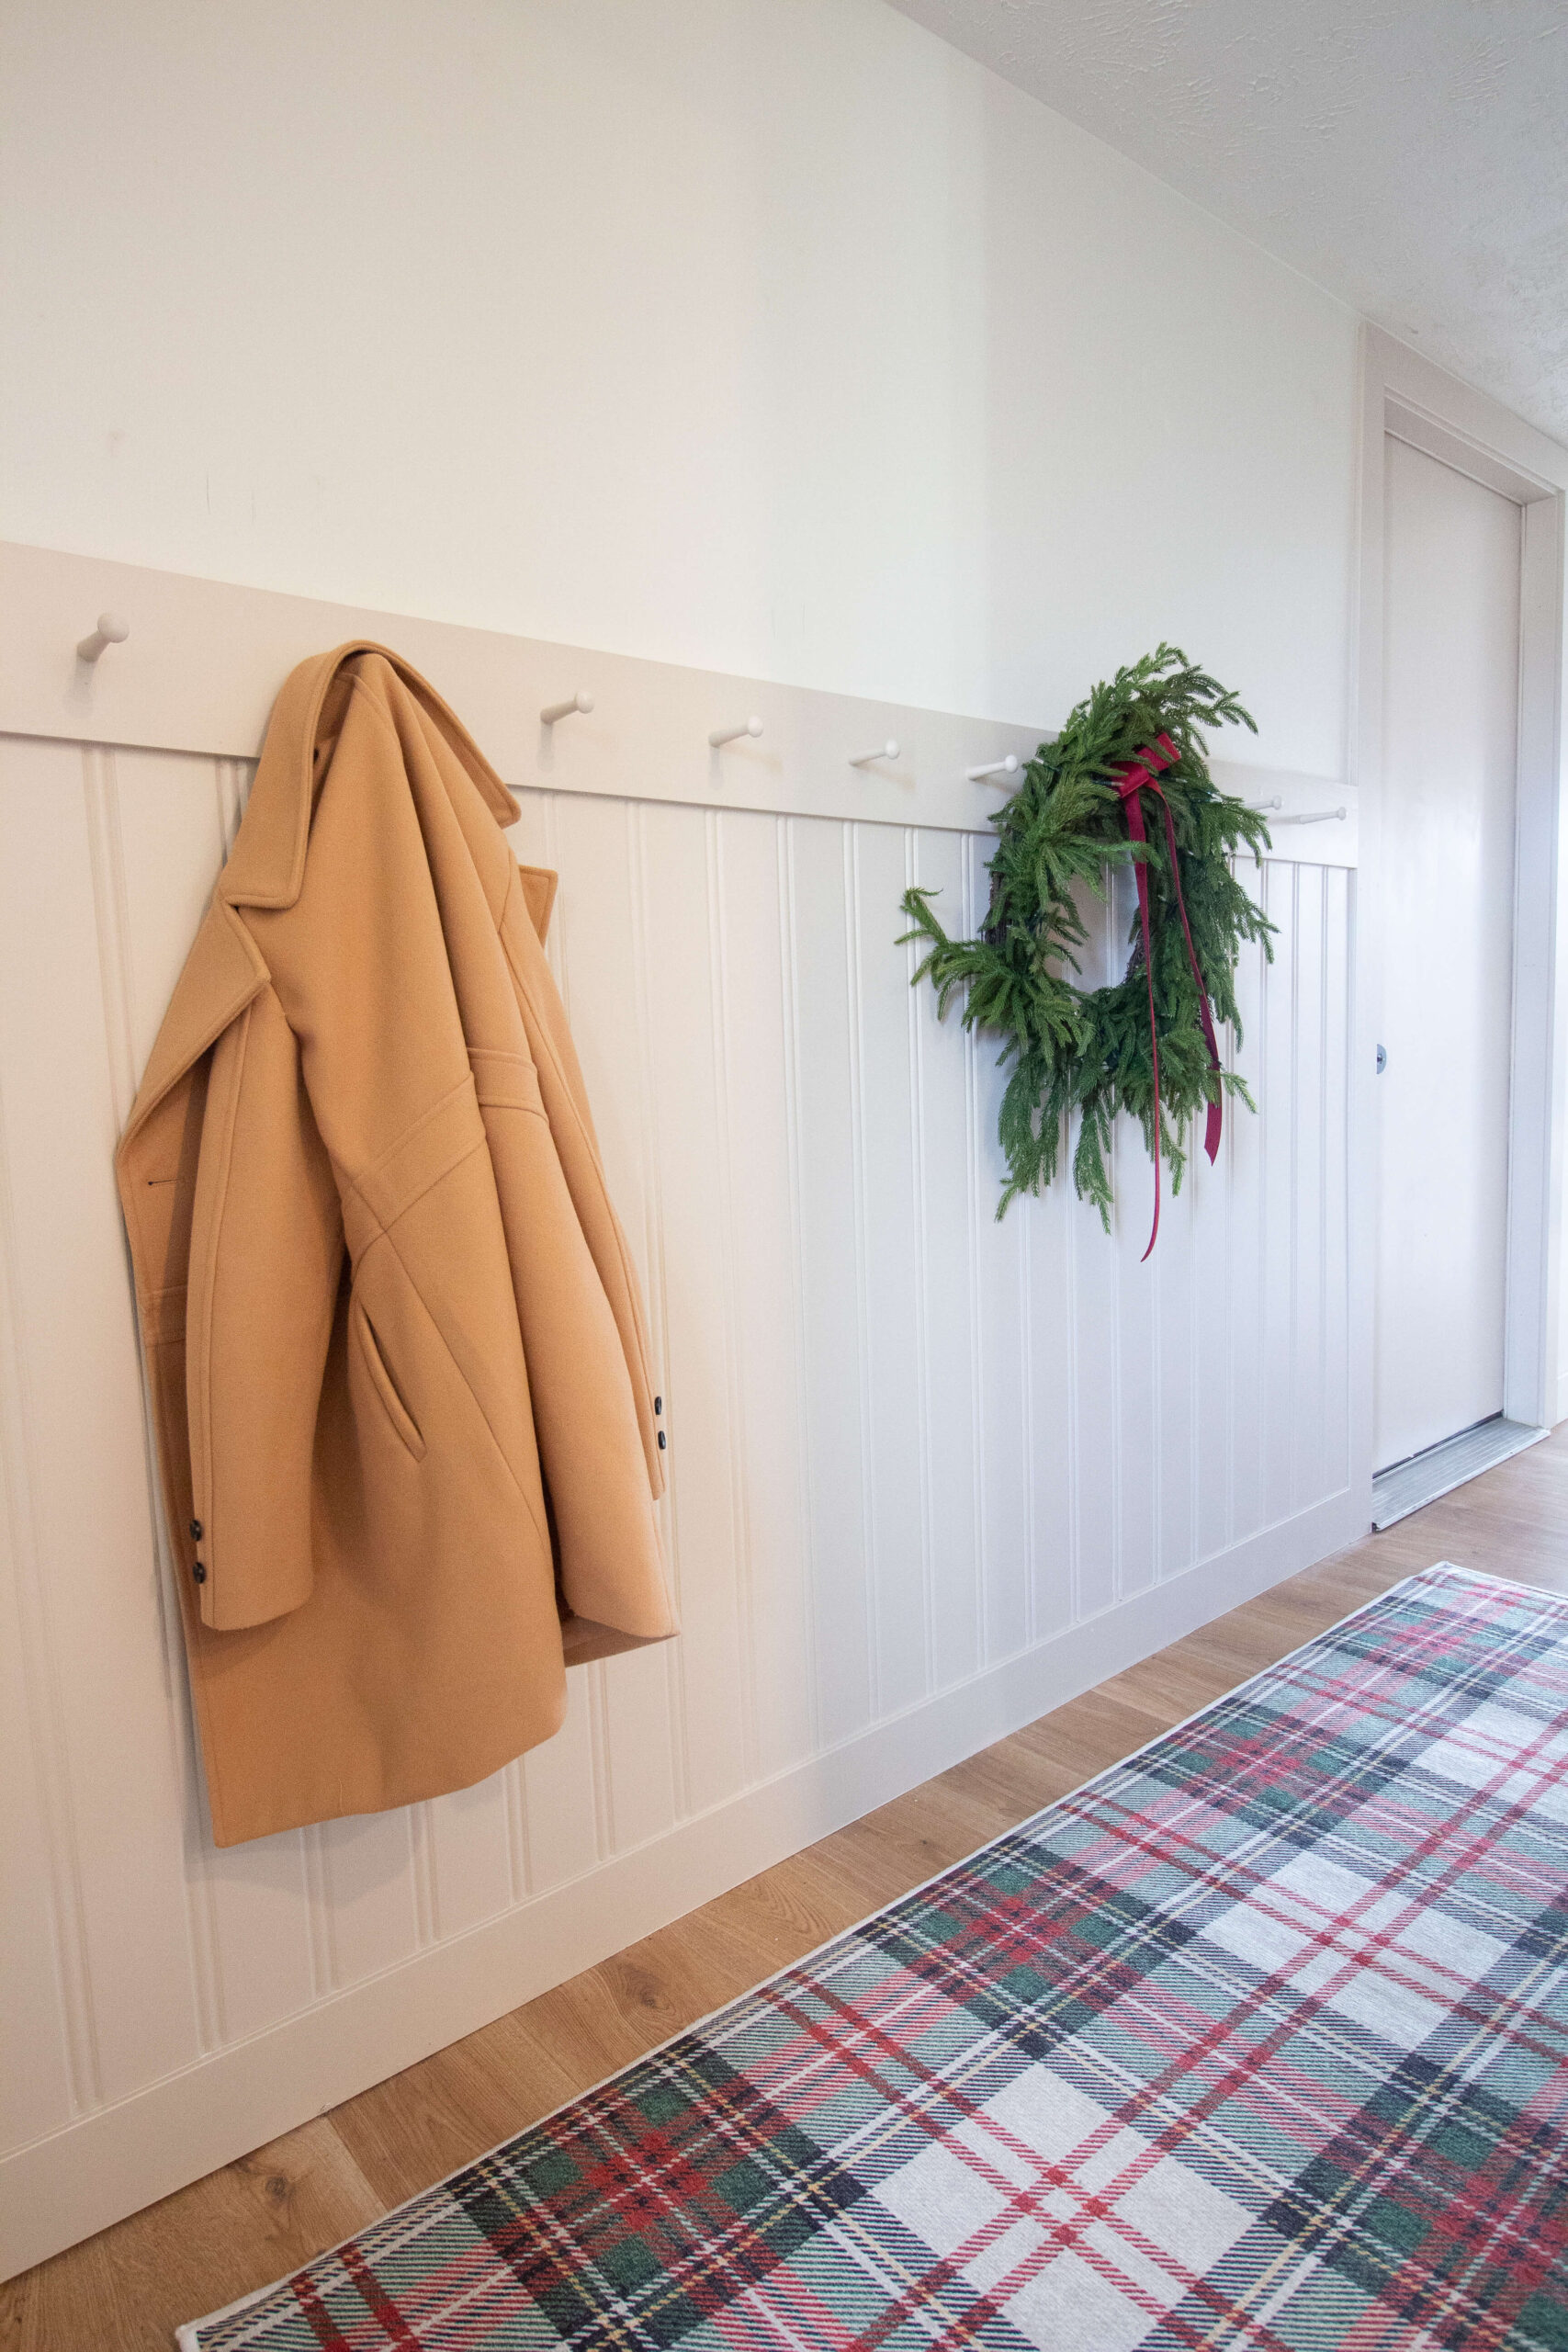
Choose a coat rack made from strong materialslike wood, metal, or plastic. Wood gives a warm, classic look, while metal offers modern styleand strength. Plastic racks are lightweightand easy to clean.
Pick a style that matches your room. Simple racks fit small spaces, while racks with shelves hold hats and gloves. Hooks can be single or doublefor more hanging space.
| Size | Weight Capacity | Best For |
|---|---|---|
| Small (12-18 inches) | Up to 10 lbs | Light jackets, scarves |
| Medium (18-24 inches) | Up to 25 lbs | Coats, hats, bags |
| Large (24+ inches) | Over 25 lbs | Heavy coats, multiple items |
Consider your wall’s strength before choosing size and weight. A heavy rack needs strong anchorsfor safety.

Credit: www.spryinterior.com
Prepare The Wall
Start by locating the studsin the wall for a strong hold. Use a stud finder or tap the wall to find solid spots. If no studs are where you want the rack, choose wall anchorsto support the weight.
Next, mark the placementof the coat rack on the wall. Measure carefully to keep the rack level and centered. Use a pencil to make small marks where the screws will go.
| Item | Purpose | Tip |
|---|---|---|
| Stud Finder | Locate studs behind drywall | Move slowly for best results |
| Wall Anchors | Support screws without studs | Choose anchors for your wall type |
| Measuring Tape | Mark exact screw locations | Double-check measurements |
| Pencil | Make light marks on wall | Easy to erase if needed |
Install The Coat Rack
Gather all the necessary toolsbefore starting. These usually include:
- A drill or screwdriver
- Screws and wall anchors
- A measuring tape
- A level to keep the rack straight
- A pencil to mark spots on the wall
Choose the right spot on the wall. Use the level to ensure the rack will be straight. Mark the drill points with the pencil.
Drill holes at the marks carefully. Insert wall anchors if needed for extra support.
Place the coat rack against the wall. Align holes on the rack with the drilled holes.
Secure the rack by tightening screws. Make sure it feels firm and does not wobble.
Test by hanging a coat to confirm stability.
Credit: crystelmontenegrohome.com
Frequently Asked Questions
How Do I Choose The Right Wall Coat Rack?
Select a coat rack based on wall space and weight capacity. Consider material, size, and hook number to suit your needs. Ensure it complements your room’s style for a cohesive look.
What Tools Are Needed To Hang A Coat Rack?
You need a drill, screws, wall anchors, a level, and a screwdriver. A stud finder helps secure heavy racks safely. Always use appropriate tools for stability and safety.
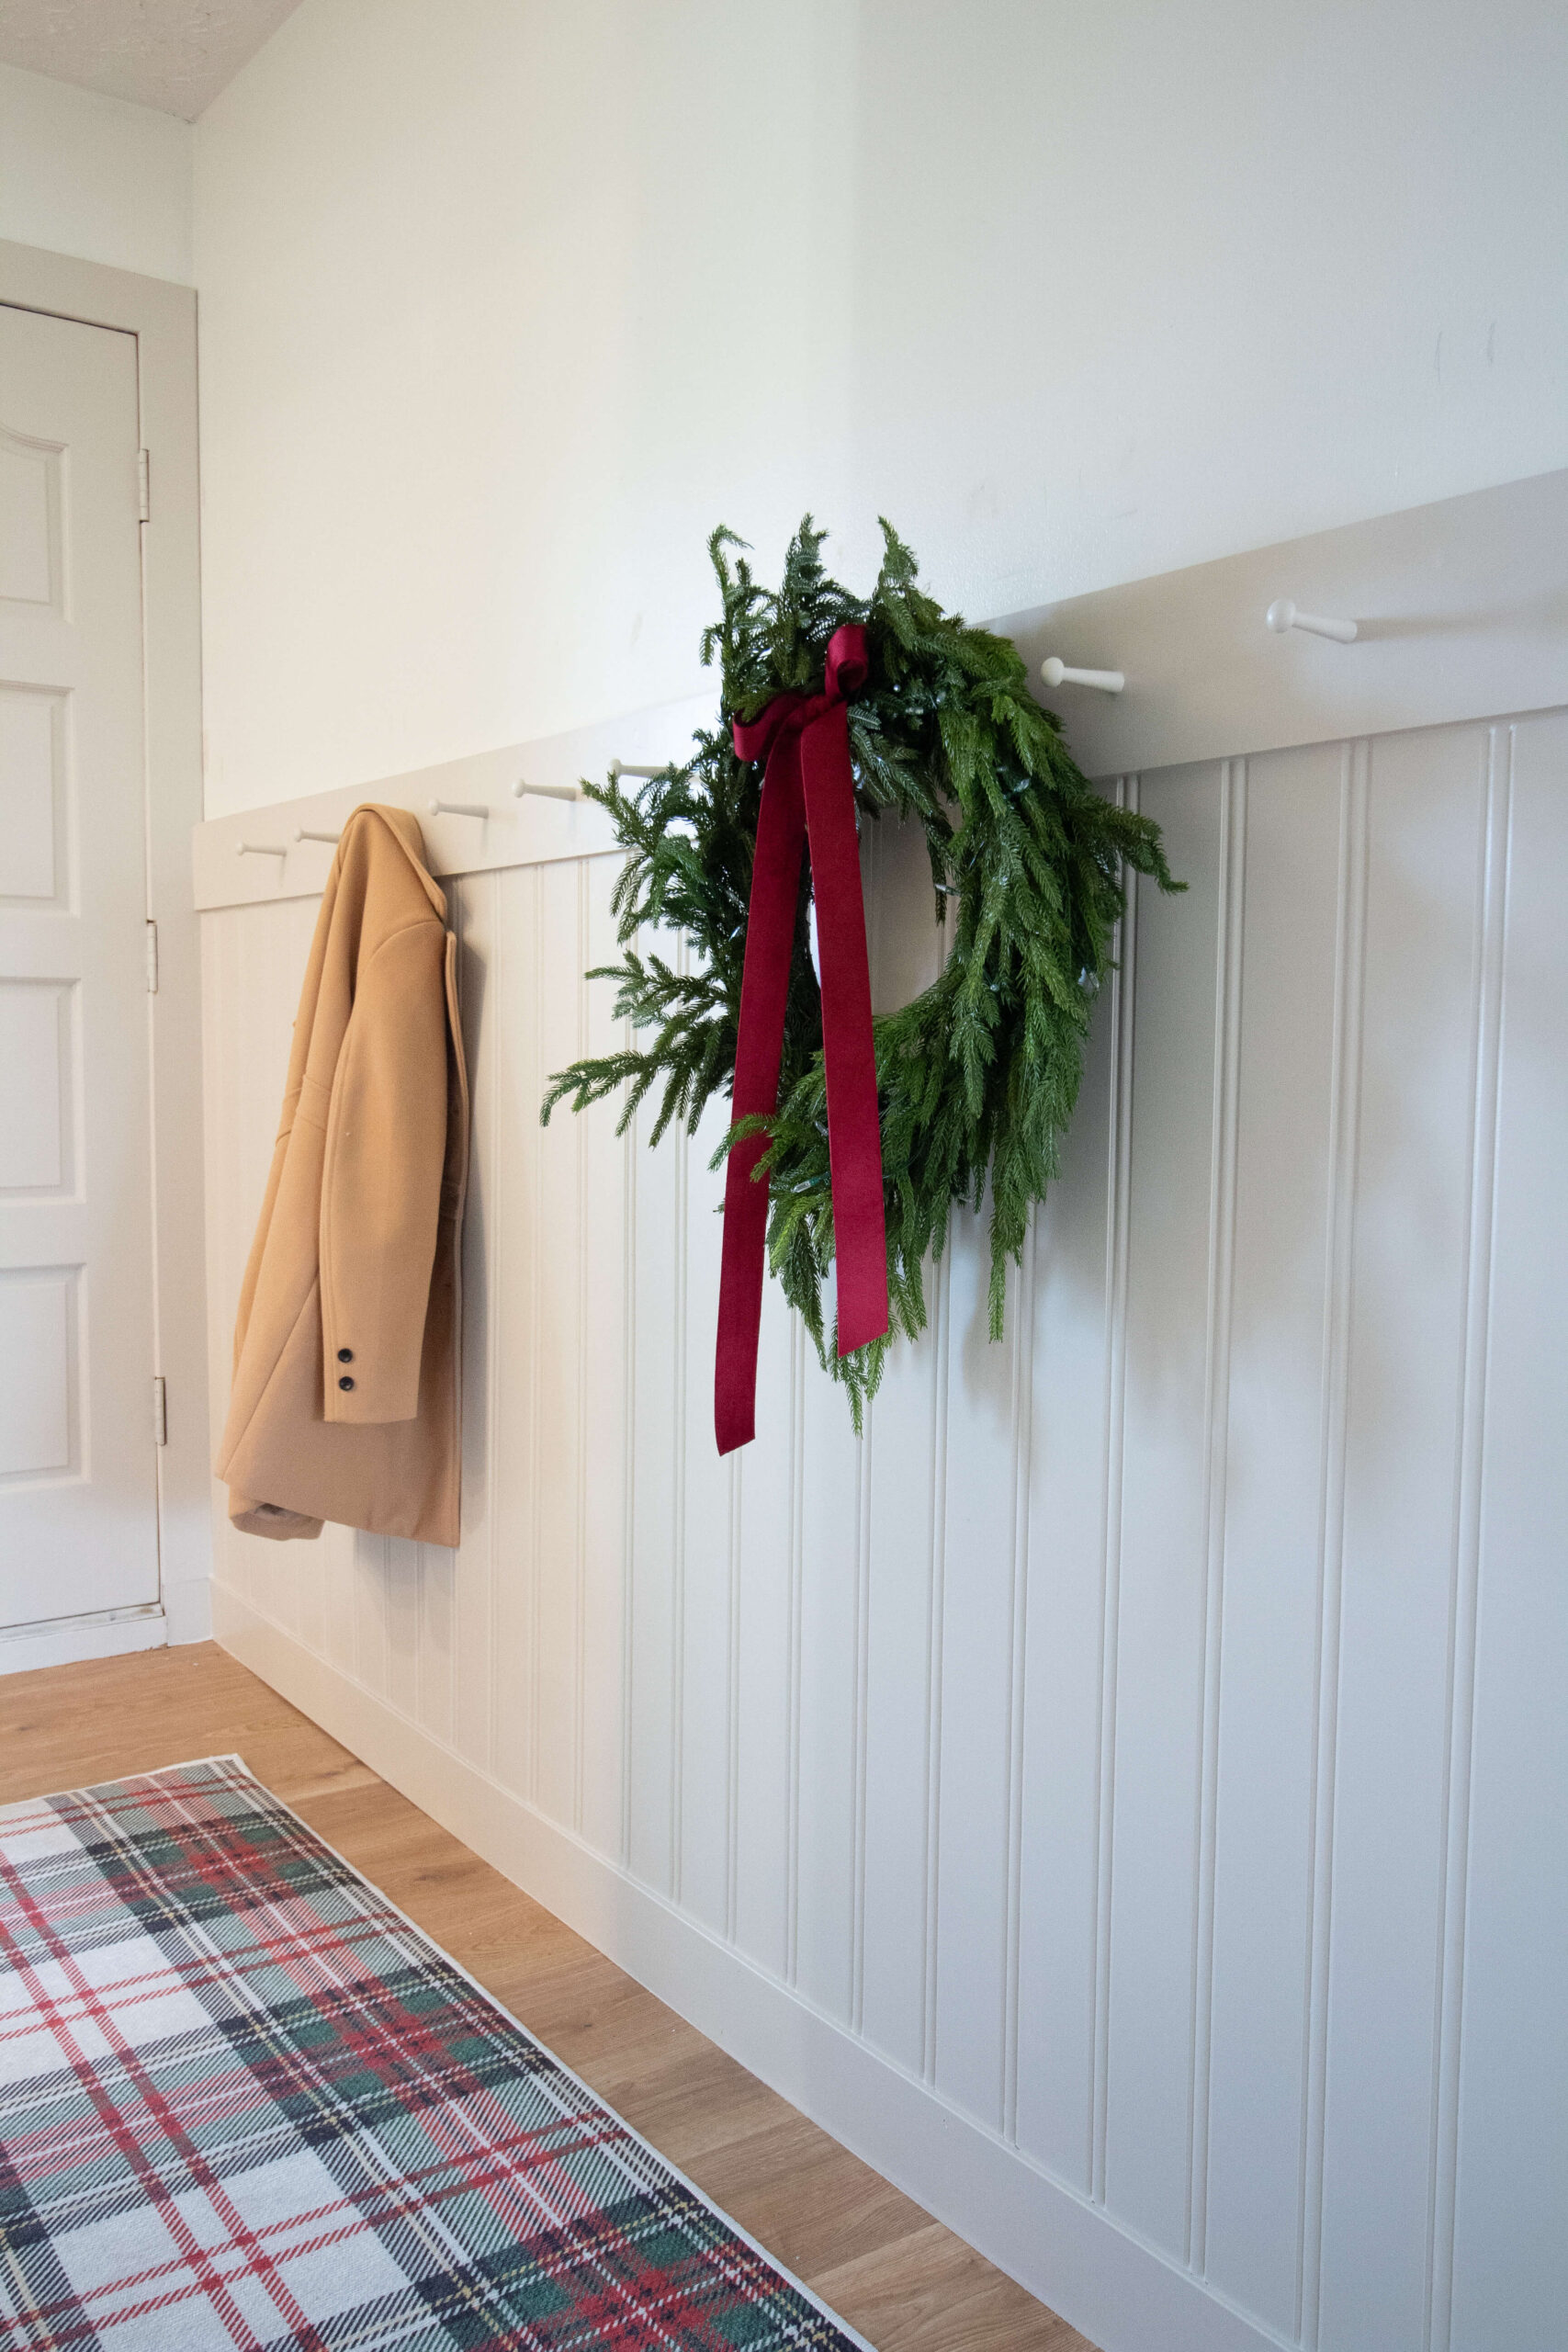
How High Should I Mount A Wall Coat Rack?
Mount the coat rack at about 5 to 6 feet high. This height suits most adults and keeps coats easily accessible. Adjust slightly for children or specific user needs.
Can I Hang A Coat Rack On Drywall Alone?
Yes, but use wall anchors or find studs for support. Drywall alone may not hold heavy coats securely. Proper mounting prevents damage and ensures durability.
Conclusion
Hanging a wall coat rack is simple and rewarding. Follow these steps for success. Choose the right spot. Gather your tools. Measure carefully. Drill holes accurately. Attach securely. Check for stability. Enjoy your organized space. A well-placed coat rack adds function and style.
It keeps your entryway tidy. Offers easy access to coats and hats. Impress guests with your DIY skills. You can do it! With patience and care, you’ll have a great result. Remember to clean up after. Keep your tools handy for next time.
Now, admire your work and stay organized.


