
Looking for an easy way to organize your entryway or add some style to your wall? Hanging a coat rack might be the perfect solution.
But if you’re unsure where to start or worried about making mistakes, don’t worry—you’re in the right place. In this guide, you’ll discover simple, step-by-step tips that make hanging a coat rack quick and stress-free. By the end, you’ll have a sturdy, attractive rack ready to hold your coats, hats, and bags.
Ready to transform your space and make your daily routine smoother? Let’s dive in!
Choosing The Right Spot
Choosing the right spot for a coat rack depends on the wall material. Drywall may need anchors for extra support. Wood walls allow easy screw placement. Brick or concrete walls require special drill bits and anchors.
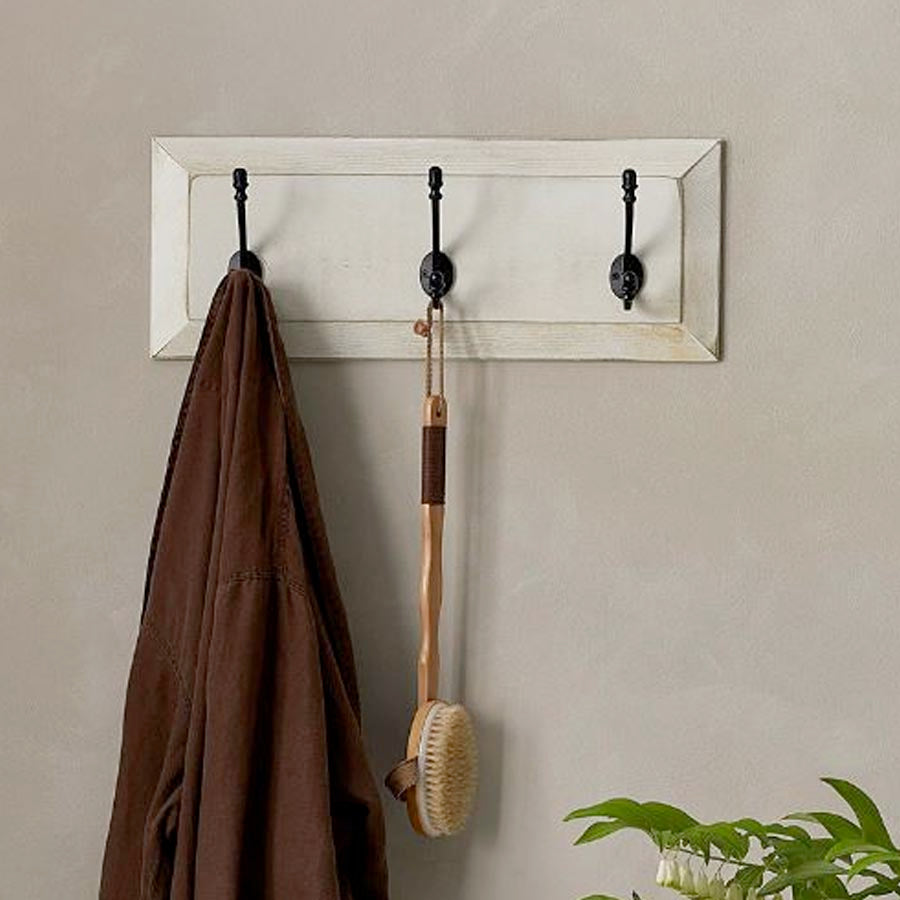
Measure the height to ensure easy accessfor everyone. About 5 to 6 feet from the floor works well for most people. Think about the space around the rack for hanging coats comfortably.
Check for studsbehind the wall. Studs provide strong support for heavy coats. Use a stud finder or tap the wall to find solid spots. Avoid hanging the rack on drywall alone to prevent it from falling.

Credit: www.spryinterior.com
Tools And Materials Needed
To hang a coat rack, gather essential toolslike a drill, screwdriver, measuring tape, and level. These tools make the job easier and ensure the rack is straight.
Select the right coat rackbased on space and style. Choose one with strong hooks and a sturdy back panel for better support.
Use safety gearsuch as gloves and safety glasses to protect your hands and eyes during installation. Safety is important to avoid accidents.
| Tools | Purpose |
|---|---|
| Drill | Make holes in the wall |
| Screwdriver | Tighten screws |
| Measuring Tape | Measure placement |
| Level | Ensure rack is straight |
| Safety Gloves | Protect hands |
| Safety Glasses | Protect eyes |
Step-by-step Installation
Begin by holding the coat rack against the wall at the desired height. Use a pencil to mark the spotswhere the screws will go. Check that the marks are levelto keep the rack straight.
Drill holes on the marked spots using a drill bit that fits the wall anchors. Insert the anchorsinto the holes to give the screws a strong hold, especially in drywall or plaster walls.
Place the coat rack against the wall, aligning the holes with the anchors. Use a screwdriver to secure the screwstightly. Make sure the rack feels stable and does not wobble.
Credit: logfurnitureandmore.ca

Credit: www.amazon.ca
Frequently Asked Questions
How Do I Choose The Right Wall For A Coat Rack?
Select a sturdy wall near your entryway for convenience. Avoid drywall without studs to ensure secure mounting. Use a stud finder to locate studs for strong support. This prevents damage and holds heavy coats safely.
What Tools Are Needed To Hang A Coat Rack?
You need a drill, screws, wall anchors, a level, and a screwdriver. A stud finder helps locate wall studs. Measuring tape ensures correct placement. These tools make installation precise and secure.
How High Should I Mount A Coat Rack?
Mount the coat rack 5 to 6 feet from the floor. This height suits most users and allows easy hanging. Adjust slightly for children or taller individuals to improve accessibility.
Can I Hang A Coat Rack On Drywall Alone?
Drywall alone is not strong enough for heavy coats. Use wall anchors designed for drywall to add support. For heavy loads, always attach to studs for safety and durability.
Conclusion
Hanging a coat rack is simple with the right steps. Measure your wall space carefully. Choose a sturdy rack that suits your style. Gather the necessary tools before starting. Use a level to ensure straight alignment. Secure the rack with strong screws or anchors.
Test the rack’s stability after installation. Now, enjoy the convenience and style your coat rack brings. Keep your space organized and clutter-free. With these easy steps, hanging a coat rack becomes a straightforward task. Happy organizing!


