
Are you tired of cluttered shelves and searching for the perfect storage solution? Building your own bookcases can transform your space, making it both organized and stylish.
Imagine having a custom piece that fits your room perfectly and showcases your favorite books and decor. In this guide, you’ll discover simple steps to create built-in bookcases that not only save space but also add a personal touch to your home.
Ready to turn your walls into a stunning display? Let’s get started!
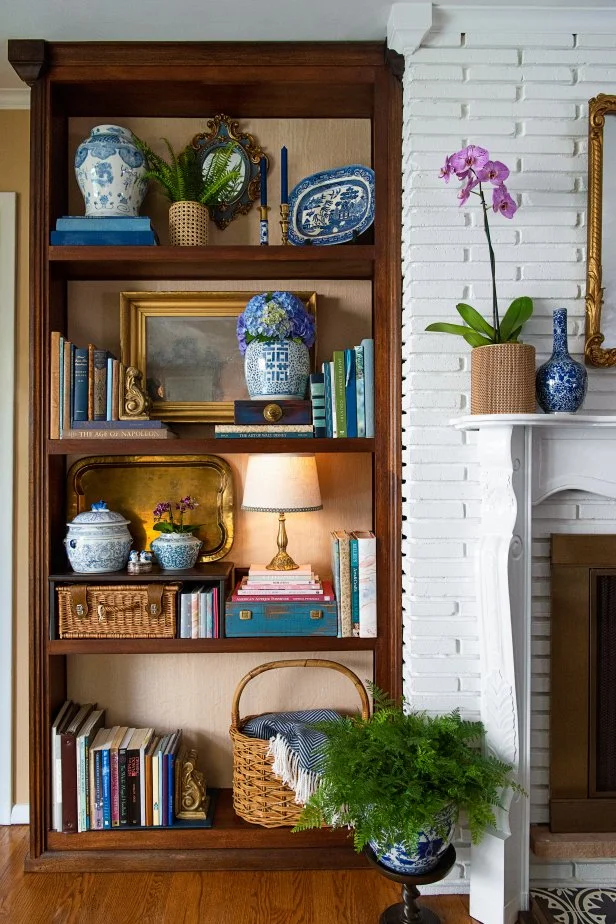
Credit: www.hgtv.com
Planning Your Bookcase
Building a bookcase starts with good planning. You need to think about space, materials, and design. Taking time to plan makes the project easier.
Careful planning helps you avoid mistakes and saves money. Let’s look at the main steps for planning your bookcase.
Measuring The Space
Measure the wall or area where you want the bookcase. Use a tape measure and write down the height, width, and depth. Check for obstacles like vents or switches.
- Measure height from floor to ceiling
- Measure width from one side to the other
- Measure depth, keeping room for books
- Note any wall features or power outlets
Choosing Materials
Pick materials that match your budget and style. Wood is strong and looks nice. Plywood is affordable and easy to work with. MDF is smooth but less sturdy.
| Material | Pros | Cons |
| Solid Wood | Durable, classic look | Expensive, heavy |
| Plywood | Affordable, stable | Edges need finishing |
| MDF | Smooth surface, cheap | Not very strong |
Designing The Layout
Plan the shelves and compartments. Decide how many shelves you need and their height. Think about books, decorations, and storage boxes.
- Count your books and items
- Decide shelf height and spacing
- Choose if shelves are fixed or adjustable
- Include space for tall or large items
- Plan for a sturdy base and top
Gathering Tools And Supplies
Building in bookcases can add elegance and functionality to any room. Before starting, gather all necessary tools and supplies for a smooth building process.
Having everything ready will save time and ensure your project goes as planned. Here are the essentials you need to gather.
Essential Tools
Basic tools are necessary for building bookcases. These tools help you cut, measure, and assemble your project accurately.
- Measuring tape for accurate dimensions
- Saw for cutting wood pieces
- Drill for making holes and driving screws
- Hammer for nailing pieces together
- Level to ensure even surfaces
Selecting Wood Types
Choosing the right wood is important for durability and appearance. Different woods offer various benefits for bookcases.
Consider the style and strength you want for your bookcase. Here’s a guide to help you choose.
- Pine: Affordable and easy to work with
- Oak: Strong and has a beautiful grain
- Maple: Smooth surface and durable
- Cherry: Rich color and ages well
Additional Hardware
Hardware is essential for assembling and finishing your bookcase. Quality hardware ensures stability and longevity.
Gather these items to complete your project efficiently and securely.
- Screws and nails for joining pieces
- Brackets for extra support
- Wood glue for strong bonds
- Sandpaper for smooth finishes
- Paint or stain for a polished look
Step-by-step Assembly
Building a bookcase takes care and the right steps. Follow these instructions to make your own strong bookcase. We will cover cutting wood, building the frame, and installing shelves.
Use simple tools and good materials. Take your time to measure and fit pieces well. This guide will help you build a bookcase that lasts.
Cutting And Preparing Wood
Start by choosing the right wood for your bookcase. Use a saw to cut the wood to the sizes you need. Sand all edges smooth to avoid splinters.
- Measure the length and width carefully
- Mark the wood with a pencil before cutting
- Use a straight edge for clean cuts
- Sand all cut edges with fine sandpaper
- Check each piece for defects or cracks
Building The Frame
Next, join the cut pieces to form the frame. Use wood glue and screws for strong joints. Make sure the frame is square by measuring diagonals.
| Piece | Size (inches) | Purpose |
|---|---|---|
| Side Panels | 72 x 12 | Support the shelves and structure |
| Top and Bottom | 36 x 12 | Hold the sides together |
| Back Panel | 72 x 36 | Keep frame square and sturdy |
Secure each joint tightly. Use clamps to hold wood while the glue dries. Check for gaps and fill if needed.
Installing Shelves
Measure the inside height of your frame. Decide how many shelves you want and mark their positions. Use shelf pins or brackets to hold shelves.
- Mark shelf heights evenly inside the frame
- Drill holes for shelf pins on both sides
- Insert pins and place shelves on top
- Check each shelf is level before fixing
- Use screws to secure shelves if needed
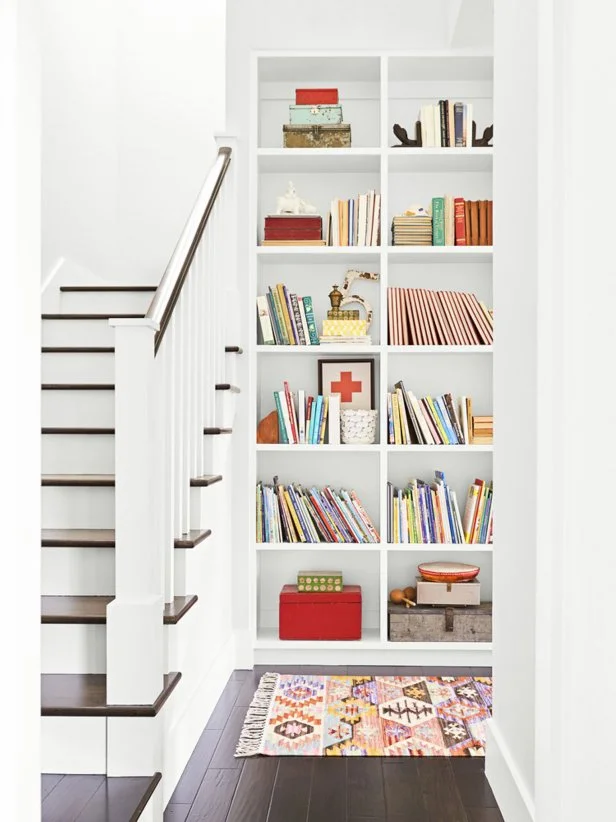
Credit: www.hgtv.com
Finishing Touches
Building a bookcase is not complete without the final details. Finishing touches improve its look and safety. Focus on sanding, painting, decorating, and securing.
These steps give your bookcase a polished and lasting finish. Take your time to ensure each part is done well.
Sanding And Painting
Start by sanding the entire bookcase. Use fine-grit sandpaper for smooth surfaces. Sanding removes rough spots and prepares wood for paint or stain.
- Sand edges and corners carefully
- Wipe dust off with a damp cloth
- Apply primer if painting
- Use even brush strokes for paint or stain
- Let each coat dry fully before adding another
Adding Decorative Elements
Decorative touches make your bookcase unique. Choose simple designs that match your room style. You can add trim, molding, or decals.
Consider these decorative options:
- Attach crown molding on top edges
- Add baseboard trim at the bottom
- Use stencils to paint patterns
- Install small LED lights inside shelves
Securing The Bookcase
Secure your bookcase to avoid tipping and accidents. Attach it firmly to the wall with brackets or straps. Check that the screws are tight and the bookcase stands steady.
| Tool | Purpose |
| Wall brackets | Attach bookcase to wall |
| Screws | Secure brackets and shelves |
| Stud finder | Locate wall studs for strong support |
| Level | Check bookcase is straight |
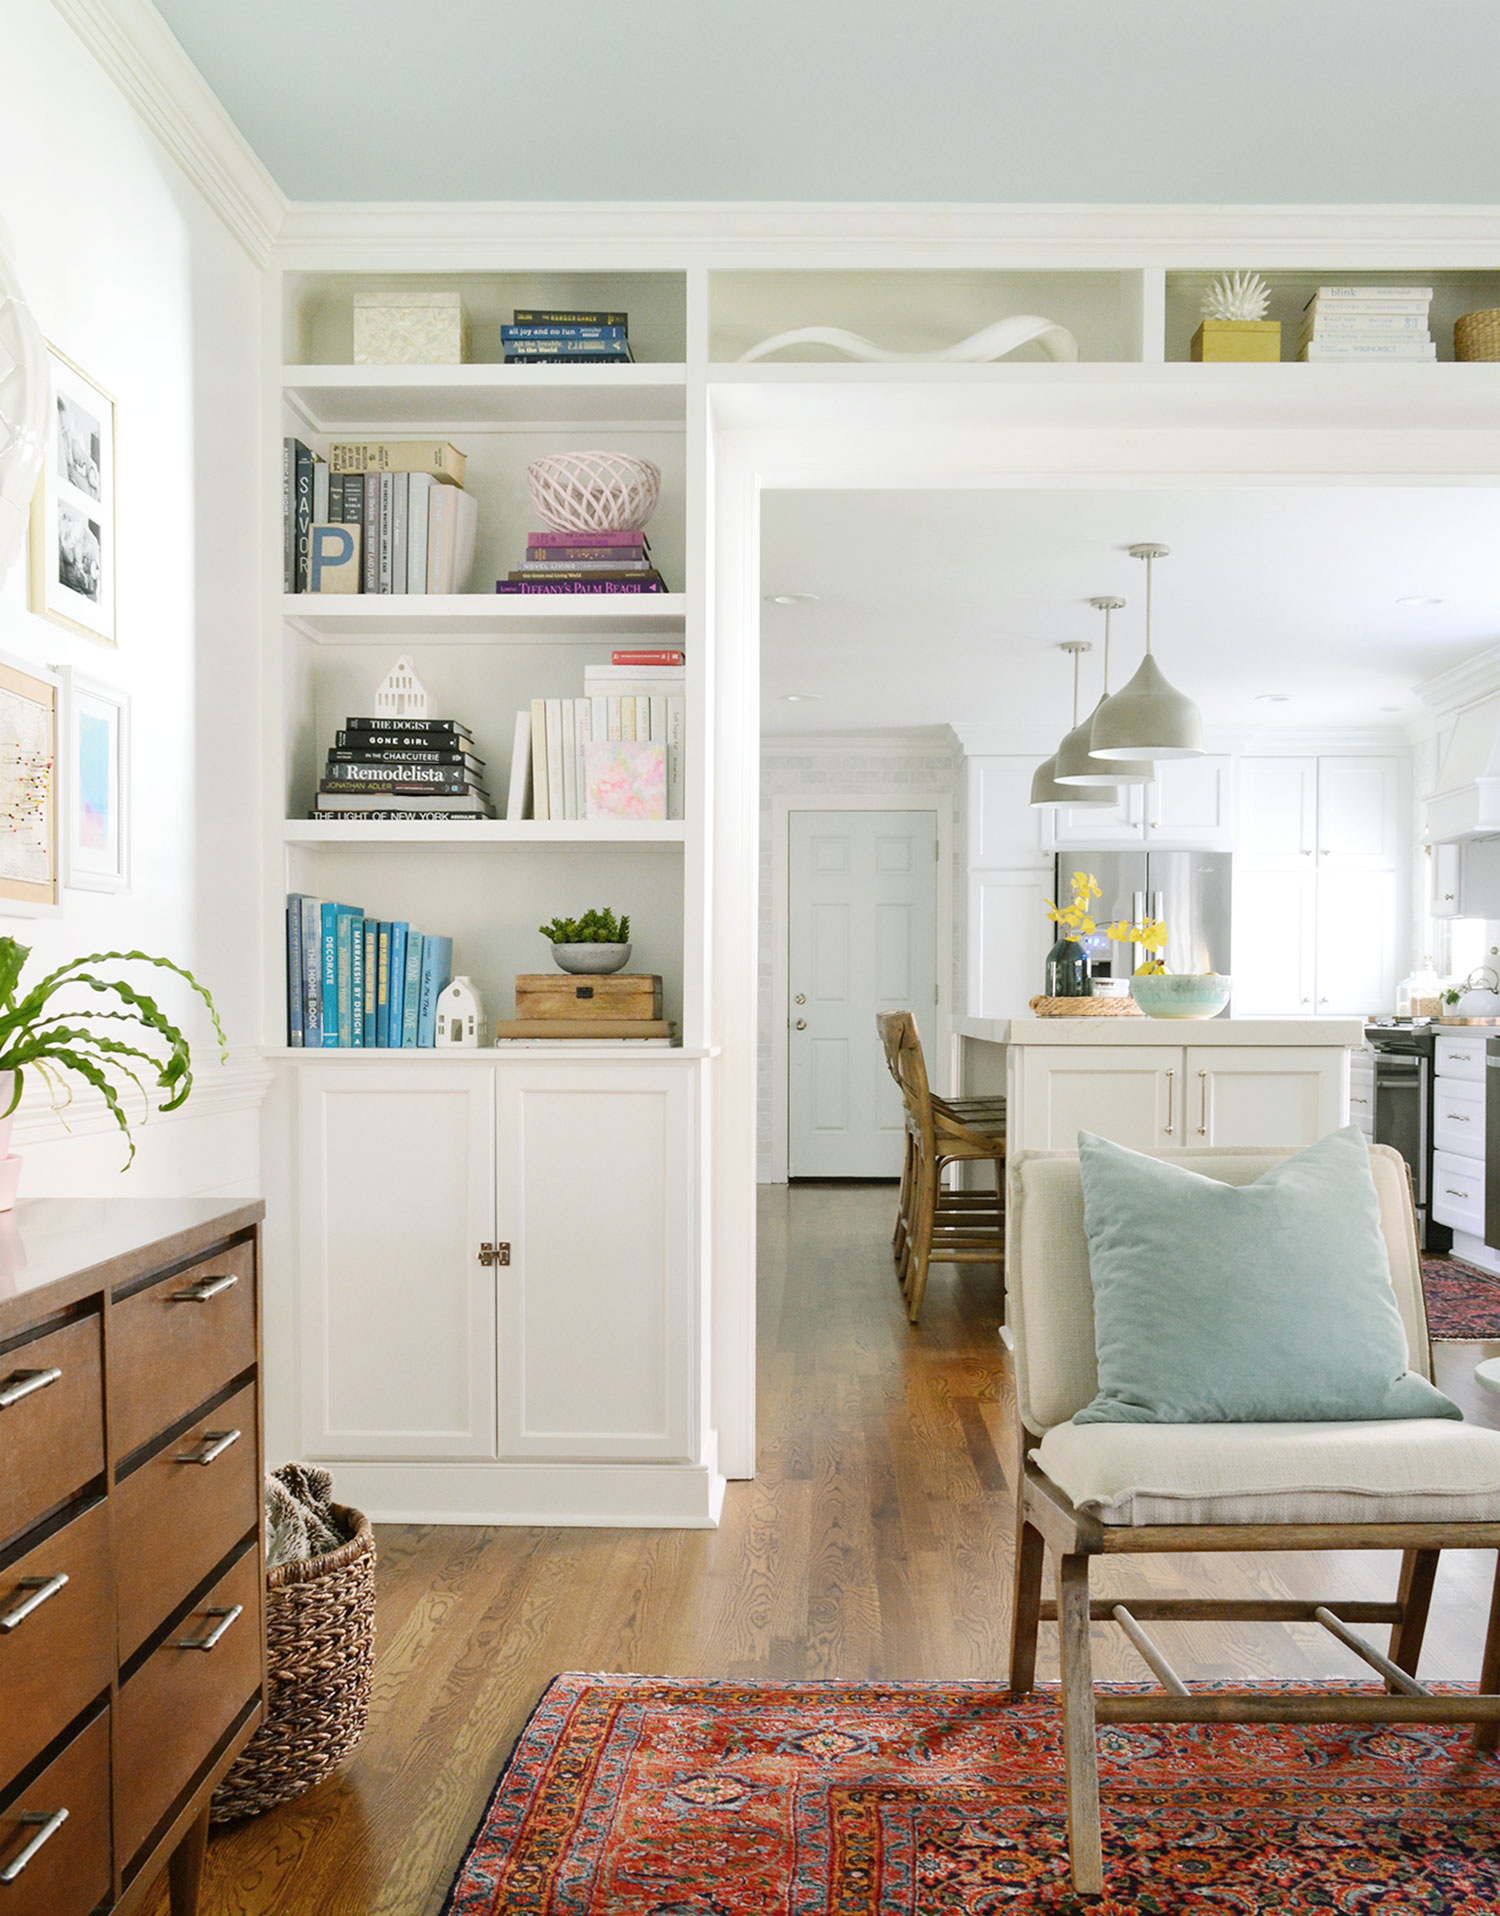
Credit: www.younghouselove.com
Frequently Asked Questions
What Materials Do I Need To Build Bookcases?
You need plywood, wood screws, wood glue, sandpaper, paint or stain, and shelves. Also, gather measuring tape and a saw for cutting.
How Do I Measure Space For Built-in Bookcases?
Measure the height, width, and depth of your space accurately. Consider any baseboards or moldings to fit bookcases perfectly.
What Is The Best Wood For Built-in Bookcases?
Plywood is durable and cost-effective. Hardwood like oak or maple offers strength and a premium look for bookcases.
How Can I Secure Built-in Bookcases To The Wall?
Use wall anchors or screws into studs for strong support. This prevents tipping and ensures safety for your built-in bookcases.
Conclusion
Building bookcases can be a fun and rewarding project. With the right tools and steps, anyone can create sturdy shelves. Start with a clear plan and measure carefully. Choose good materials that fit your style and budget. Take your time during assembly to avoid mistakes.
A well-built bookcase adds charm and storage to any room. Try this project to enjoy both function and beauty in your home. Keep practicing, and your skills will grow with each build.


