
Looking for a simple way to keep your outdoor space tidy and organized? Building your own outdoor storage chest is easier than you think.
Imagine having a sturdy, weatherproof box where you can store garden tools, cushions, or toys—all within reach but out of sight. In this guide, you’ll discover step-by-step instructions that anyone can follow, even if you’ve never built anything before. By the end, you’ll have a practical and attractive storage solution that fits your space perfectly.
Ready to get started? Let’s dive in!
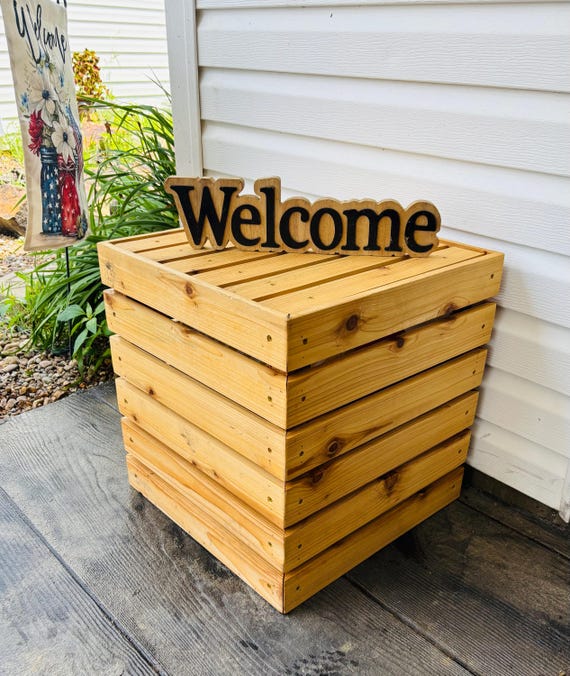
Credit: www.etsy.com
Choosing Materials
Building an outdoor storage chest needs strong and weatherproof materials. Picking the right materials keeps your chest safe and lasting.
This guide helps you choose wood types and hardware. It also shows the tools you need to build your chest.
Selecting Wood Types
Choose wood that resists water and insects. Cedar and redwood are good choices for outdoor use.
Pressure-treated pine is cheaper but may need extra sealing. Avoid softwoods that rot easily.
- Cedar:Naturally resists rot and bugs, smells nice.
- Redwood:Durable and strong, good for outdoor furniture.
- Pressure-treated pine:Affordable and treated to resist decay.
- Teak or mahogany:Very durable but expensive.
Hardware And Tools Needed
Use rust-resistant hardware like stainless steel or galvanized screws. These last longer outside.
Basic tools help you build the chest easily and safely. Having the right tools speeds up the work.
- Measuring tape
- Circular saw or handsaw
- Power drill with drill bits
- Screwdriver
- Hammer
- Clamps
- Sandpaper or power sander
- Wood glue (optional)
- Rust-resistant screws and hinges

Credit: www.ana-white.com
Preparing The Workspace
Building an outdoor storage chest requires a well-organized workspace. A tidy area ensures safety and efficiency.
Start by preparing your workspace to avoid accidents and streamline your construction process.
Setting Up A Safe Area
Safety is crucial when working on any DIY project. Make sure your workspace is clear of hazards.
- Ensure proper ventilation in the area.
- Clear the floor of any unnecessary items.
- Keep a first aid kit nearby.
- Have a fire extinguisher within reach.
Organizing Materials
Gather all necessary materials before starting the project. This helps in avoiding interruptions.
| Material | Purpose |
| Wood Planks | Main structure |
| Nails | Fastening parts |
| Sandpaper | Smoothing surfaces |
| Paint | Finishing touch |
Building The Chest
Building an outdoor storage chest is a fun and useful project. You will create a strong and weather-resistant chest to store garden tools and more.
Focus on cutting the wood carefully, assembling the parts tightly, and adding a lid that keeps water out.
Cutting And Assembling Panels
Start by measuring and cutting the wood panels for the sides, bottom, and front of the chest. Use a saw that fits the thickness of the wood.
- Cut two side panels of equal size
- Cut one bottom panel to fit the chest base
- Cut front and back panels with matching height and width
- Sand all edges smooth to avoid splinters
- Assemble panels using wood glue and screws for strength
Securing The Frame
After assembling the panels, secure the frame to make it strong and stable. Use corner brackets and extra screws in key places.
| Part | Hardware Needed | Purpose |
| Corners | Metal brackets | Strengthen joints |
| Bottom panel | Wood screws | Hold base firmly |
| Side panels | Wood glue and screws | Prevent movement |
| Back panel | Screws | Support structure |
Adding The Lid
Build a lid that fits well and protects the chest inside. Attach hinges so you can open and close it easily.
- Cut the lid panel to the exact size of the chest top
- Attach weatherproof hinges to the back edge
- Add a small handle for easy lifting
- Seal edges with waterproof paint or varnish
Finishing Touches
Finishing your outdoor storage chest well helps it last longer. It also makes it look nice and protects it from weather. Pay attention to the final steps for the best results.
These final touches include smoothing the surface, adding hardware, and keeping the chest in good shape. Each step is important to get the most from your project.
Sanding And Sealing
Start by sanding the chest with fine-grit sandpaper. This removes rough spots and splinters. Wipe off the dust before sealing.
- Sand all wooden surfaces smoothly.
- Clean off all sanding dust with a damp cloth.
- Apply a weather-resistant wood sealer or varnish.
- Let the first coat dry fully, then apply a second coat.
- Allow the chest to dry completely before use.
Installing Handles And Hinges
Handles and hinges make your storage chest easy to open and carry. Choose sturdy hardware that fits your chest size and style.
| Hardware | Purpose | Tip |
|---|---|---|
| Handles | For carrying the chest | Use rust-resistant metal |
| Hinges | To attach the lid securely | Install with screws that fit wood thickness |
Mark the spots before drilling to keep hardware aligned. Check that the lid opens smoothly after installation.
Maintenance Tips
Keep your chest in good shape by following these tips:
- Clean the surface with mild soap and water regularly.
- Reapply sealer every year to protect wood from moisture.
- Check screws on handles and hinges and tighten if loose.
- Store the chest under cover during heavy rain or snow.
- Fix any cracks or damage quickly to avoid bigger problems.

Credit: m.youtube.com
Frequently Asked Questions
What Materials Are Best For Outdoor Storage Chests?
Wood like cedar or teak is ideal for outdoor chests. These woods resist moisture and decay. You can also use weather-resistant plastic or metal with rust protection for durability.
How Do I Waterproof An Outdoor Storage Chest?
Apply a high-quality outdoor sealant or waterproof paint. Ensure all joints and edges are well-covered. Use weatherstripping around the lid to prevent water seepage.
What Size Should An Outdoor Storage Chest Be?
Choose a size based on your storage needs and available space. Common sizes range from small benches to large trunks, offering flexible storage capacity.
Can I Build An Outdoor Storage Chest Without Power Tools?
Yes, you can use hand tools like saws, hammers, and screwdrivers. It may take longer, but it’s possible to build a sturdy chest manually.
Conclusion
Building an outdoor storage chest can save space and keep things neat. Follow the steps carefully for a strong and useful chest. Choose good materials to ensure it lasts long outside. Take your time with measuring and cutting for the best fit.
A well-made chest helps organize tools, toys, and garden items. Enjoy the satisfaction of making something practical with your own hands. This project adds value to your outdoor space and keeps it tidy. Keep your chest clean and dry to protect it from weather damage.
Simple, useful, and handmade—your outdoor storage chest is ready!


