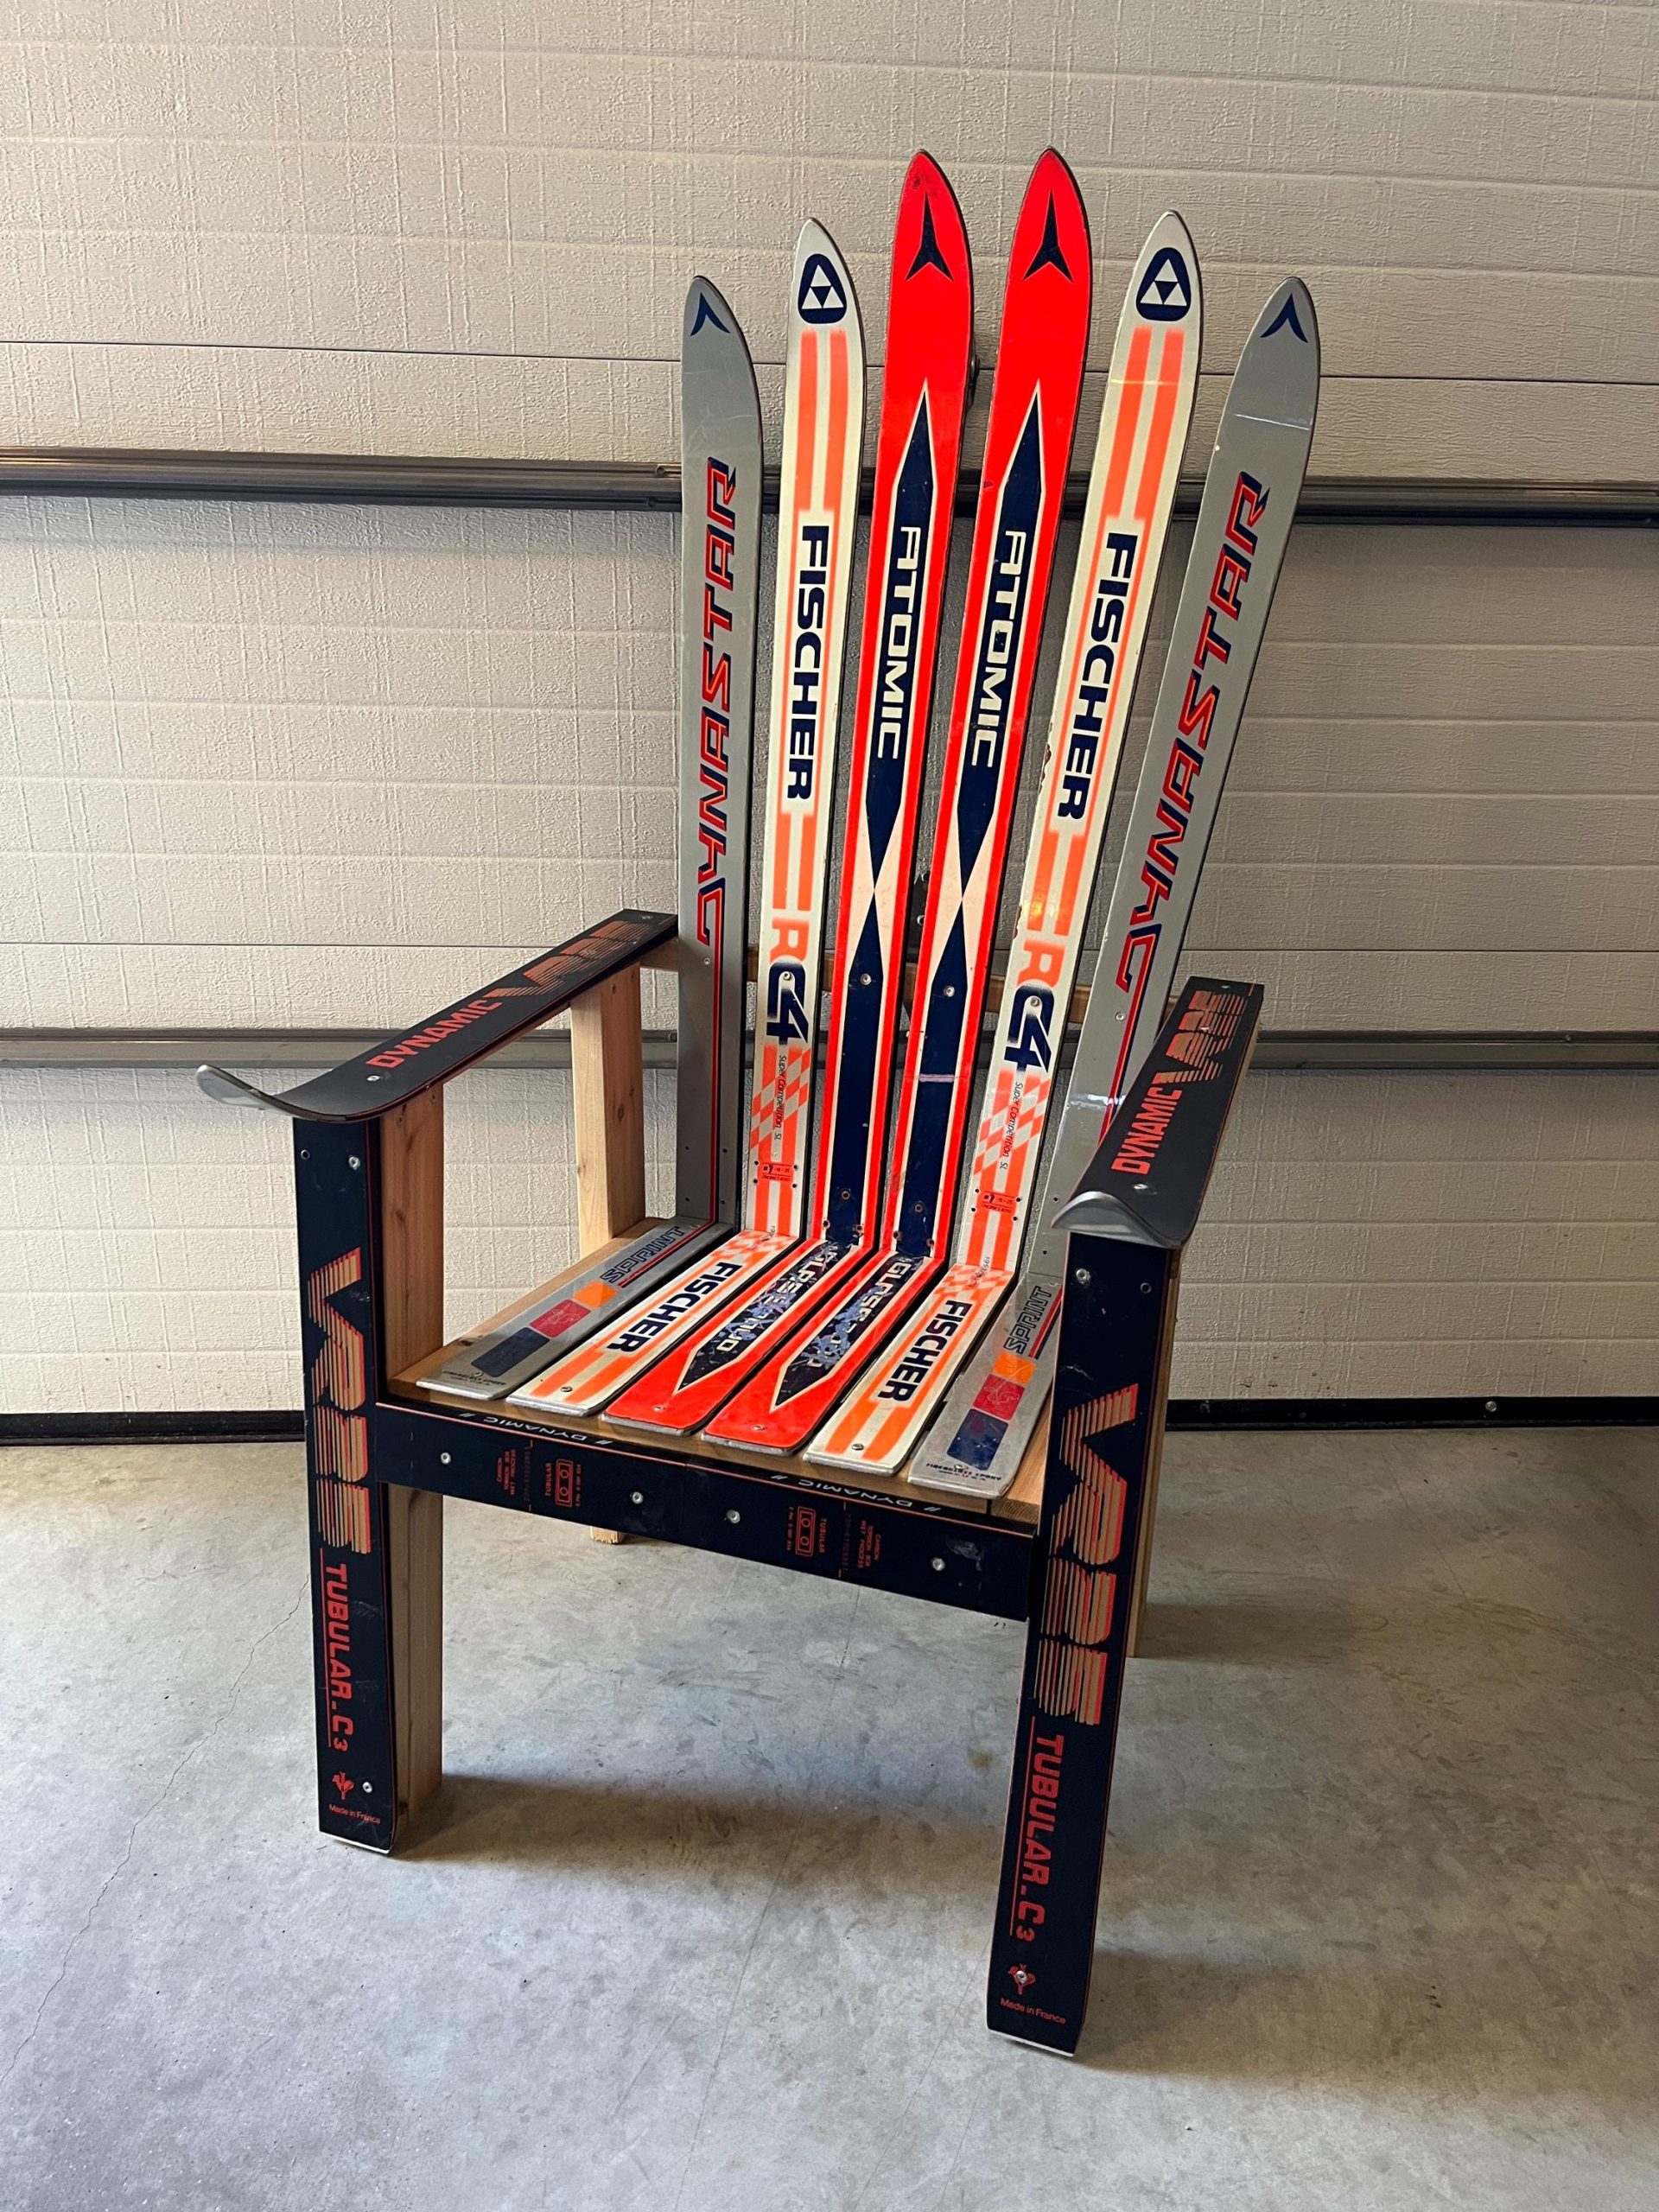
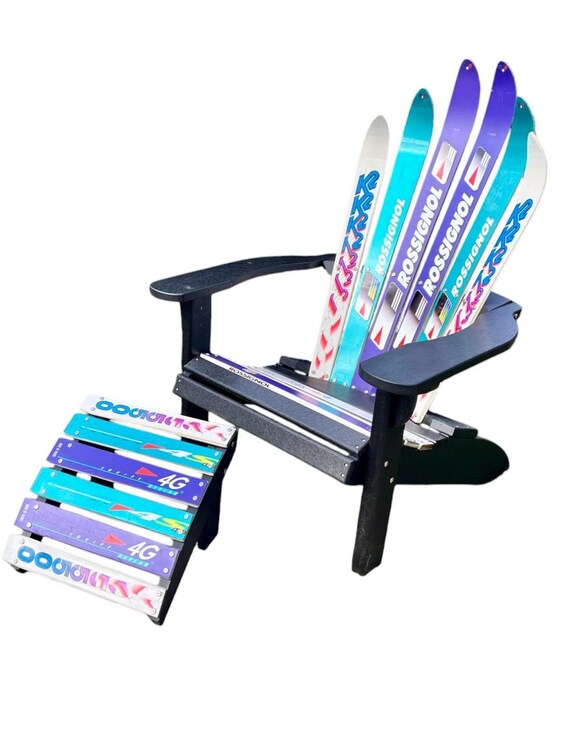
Imagine relaxing on a chair that not only feels comfortable but also tells a story of your love for water skiing. Building a Water Ski Adirondack Chair is a fun and rewarding project that lets you create a unique piece for your outdoor space.
You don’t need to be a woodworking expert to make this chair—just a bit of patience and the right guidance. You’ll discover simple steps to turn old water skis into a stylish, sturdy Adirondack chair that will impress your friends and become your favorite spot to unwind.
Ready to get started? Let’s dive in!

Credit: www.ebay.com
Materials And Tools
Building a water ski Adirondack chair is a fun project. You need the right materials and tools to do it well.
This guide helps you pick the best water skis and shows the tools you will need.
Selecting The Right Water Skis
Choose water skis that are strong and wide. Old or used skis work best for this project.
Look for skis with a flat bottom and no cracks. The size should fit the chair design you want.
- Wide skis offer more stability
- Strong bindings can be removed for parts
- Flat bottoms make building easier
- Older skis are cheaper and suitable
Essential Tools Needed
You will need basic woodworking tools to build the chair. These tools help cut, shape, and join the skis.
Having the right tools makes the work safe and faster.
- Power drill with drill bits
- Jigsaw or handsaw for cutting
- Screwdriver or impact driver
- Measuring tape and pencil
- Clamps to hold parts together
- Sandpaper or electric sander
- Wood screws and wood glue
Credit: www.etsy.com
Preparing The Skis
Building a water ski Adirondack chair is a fun project. The first step is to prepare the skis. Proper preparation ensures the chair is sturdy and looks great.
Get ready to clean and sand the skis. Then, you will cut them to the right size. These steps help in making a comfortable and stylish chair.
Cleaning And Sanding
Start by cleaning the skis thoroughly. Remove all dirt and debris. This makes sanding easier and more effective.
After cleaning, sand the skis smoothly. Use medium-grit sandpaper first, then switch to fine-grit. This helps remove old paint and smoothens the surface.
- Wipe down with a damp cloth after sanding
- Ensure no rough spots remain
- Safety goggles are recommended
Cutting To Size
Measure the skis carefully before cutting. The skis must fit the chair design. Accurate measurements are key to a balanced chair.
Use a saw for cutting the skis. Make sure the cuts are straight and clean. This ensures the skis fit together well.
| Tool | Purpose |
| Saw | For cutting the skis |
| Measuring Tape | For accurate measurements |
Assembling The Chair Frame
Building a water ski Adirondack chair starts with making the frame. The frame holds the chair together and gives it shape. Take your time to join the skis carefully and attach the seat and backrest securely.
Use the right tools and screws to keep the frame strong. Follow each step closely to make sure the chair is safe and sturdy.
Joining The Skis
First, lay out the water skis side by side. These skis form the main parts of the chair frame. Align their edges so they fit well together.
Use wood glue and screws to join the skis. Drill pilot holes to stop the skis from splitting. Tighten screws firmly but do not over-tighten.
- Place two skis parallel for the seat base
- Attach two skis vertically for the back support
- Use corner braces for extra strength
- Check the frame is square with a carpenter’s square
Securing The Seat And Backrest
After the frame is ready, fix the seat and backrest planks onto it. Use screws that are long enough to hold the parts firmly.
Start by attaching the seat planks across the joined skis. Then fix the backrest planks to the vertical skis. Make sure all parts are even and tight.
- Lay seat planks evenly with small gaps
- Secure seat planks with screws into the frame
- Attach backrest planks vertically for comfort
- Double-check all screws are flush and tight
Finishing Touches
Adding finishing touches makes your water ski Adirondack chair safe and long-lasting. Proper sanding and applying paint or sealant protect the wood and improve its look.
These final steps ensure your chair is comfortable and ready for use outdoors or indoors.
Sanding And Smoothing Edges
Start by sanding all rough surfaces with medium-grit sandpaper. Focus on edges and corners to remove splinters. Then use fine-grit sandpaper to smooth the entire chair.
- Use a sanding block for flat surfaces
- Sand curves and edges carefully by hand
- Wipe off dust with a clean cloth after sanding
- Check all joints for any rough spots
Applying Paint Or Sealant
Choose paint or sealant designed for outdoor wood. This protects the chair from water and sun damage. Apply evenly with a brush or sprayer for best results.
| Type | Purpose | Drying Time | Tips |
|---|---|---|---|
| Exterior Paint | Color and protection | 4-6 hours | Apply two coats for durability |
| Clear Sealant | Protects wood grain | 2-4 hours | Use on natural wood finish |
| Wood Stain | Enhances wood color | 6-8 hours | Apply with cloth or brush |

Credit: www.therailingshop.co
Frequently Asked Questions
What Materials Are Needed To Build A Water Ski Adirondack Chair?
You need water skis, outdoor wood screws, waterproof wood glue, sandpaper, paint or sealant, and basic tools like a drill and saw. Choose durable, weather-resistant materials for longevity and safety.
How Do I Prepare Water Skis For Chair Construction?
Clean the skis thoroughly and remove bindings. Sand the skis to smooth edges and improve glue adhesion. This ensures a strong, stable chair frame.
Can I Build A Water Ski Adirondack Chair Without Woodworking Skills?
Yes, basic woodworking skills suffice. Follow step-by-step plans and use pre-measured cuts. Patience and careful measuring help achieve good results.
How Do I Protect The Chair From Outdoor Weather Damage?
Apply waterproof sealant or outdoor paint to the chair. Reapply seasonally to maintain protection. This prevents moisture damage and extends the chair’s life.
Conclusion
Building a water ski Adirondack chair takes time and patience. Follow each step carefully for the best results. Use the right tools and materials to ensure strong construction. Enjoy the process of creating something useful and unique. This chair will add charm to your outdoor space.
Sit back and relax after your hard work. You now have a special chair made by your own hands. Try making more for friends and family to enjoy. Crafting brings joy and a sense of pride. Keep building and improving your skills with each project.