
Are you tired of your outdoor gear getting soaked and damaged every time it rains? Building your own waterproof outdoor storage box can solve that problem—and it’s easier than you think.
Imagine having a sturdy, reliable box right in your backyard, keeping your tools, cushions, or toys safe and dry. In this guide, you’ll discover simple steps to create a storage box that protects your belongings from the weather. Keep reading, and by the end, you’ll have the confidence to build a practical and durable box that fits your needs perfectly.

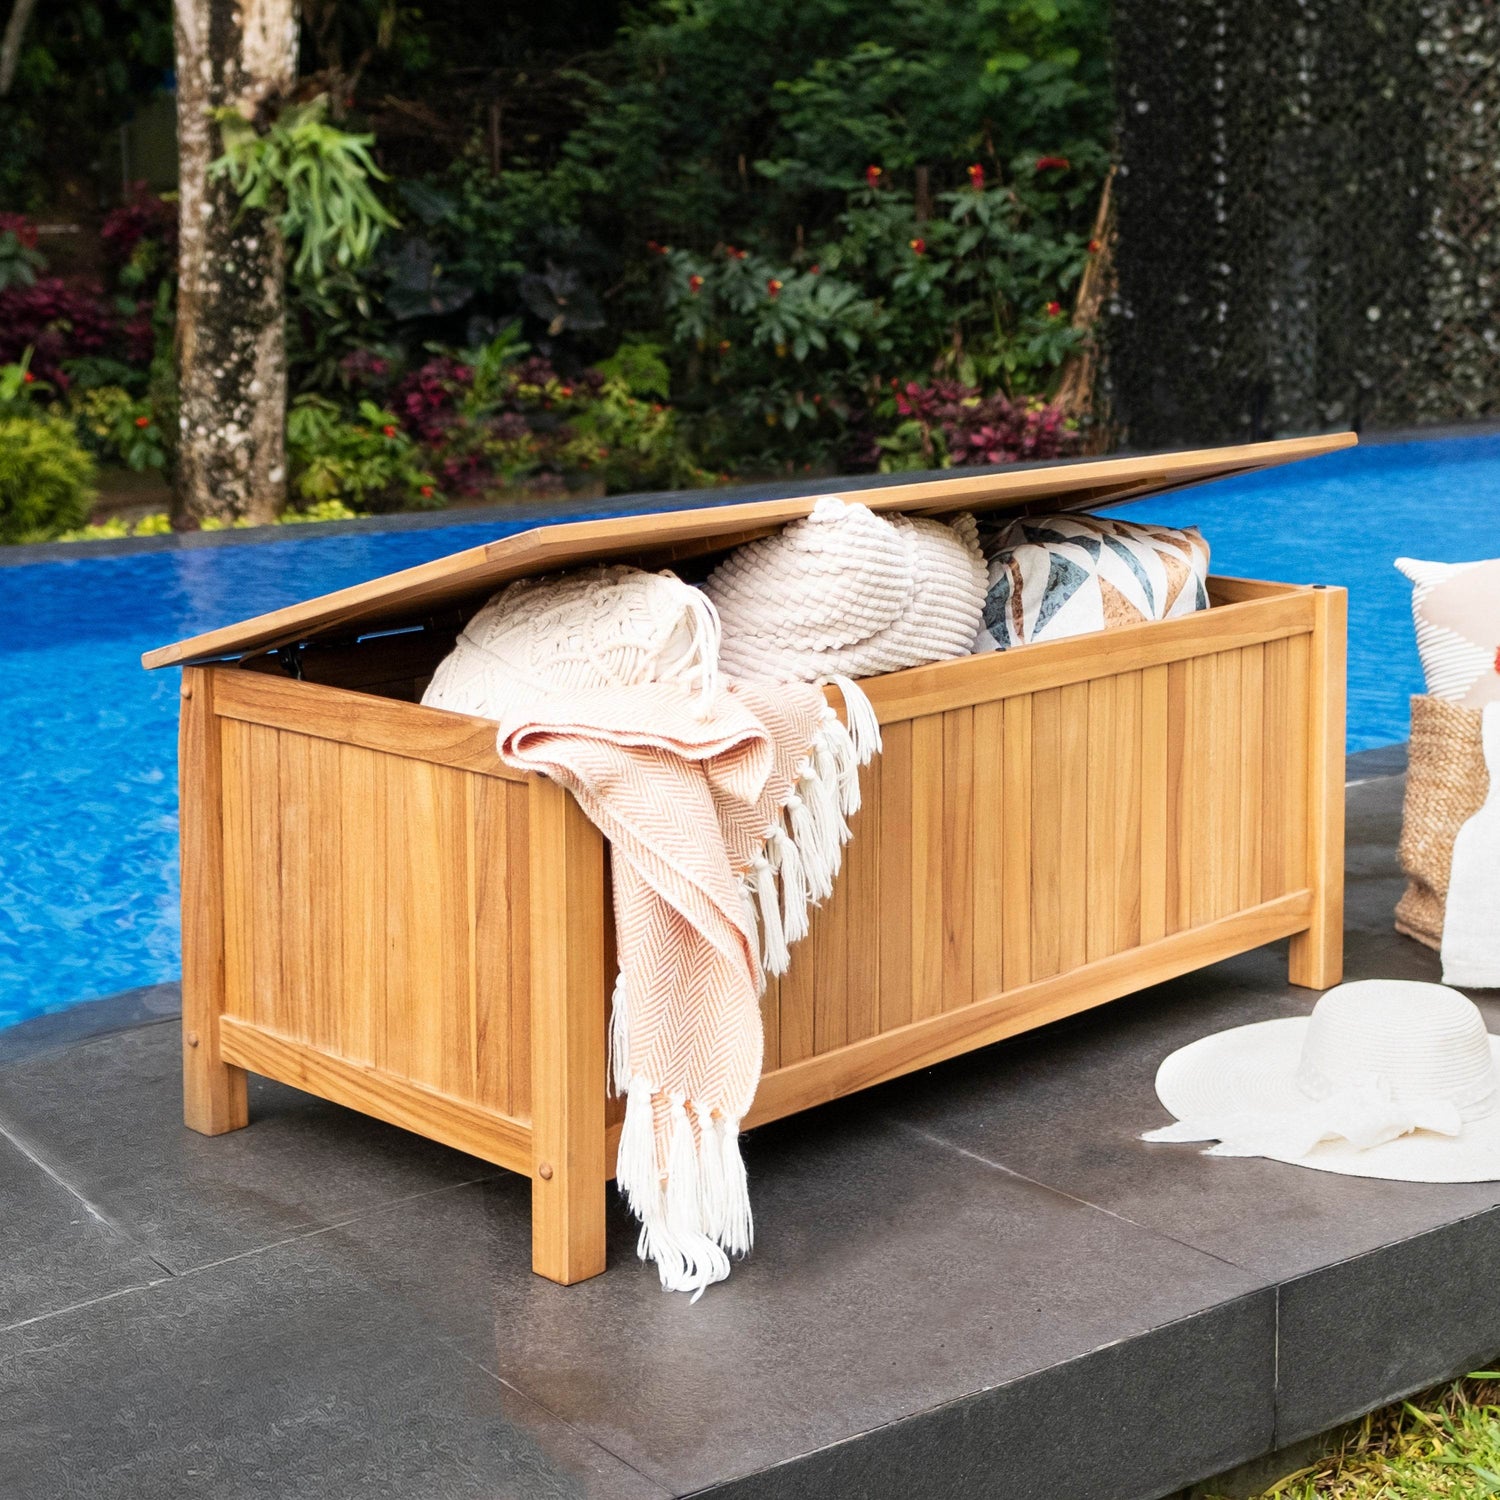
Credit: www.lemonthistle.com
Choosing Materials
Building a waterproof outdoor storage box starts with picking the right materials. The materials must resist rain and sun.
Good materials keep your items dry and the box strong for years. Let’s look at important choices.
Selecting Waterproof Wood
Choose wood that can stand wet weather without rotting. Cedar and redwood are great options. They naturally resist water and insects.
- Cedar: Light, strong, and water-resistant
- Redwood: Durable with natural oils that repel water
- Teak: Very water-resistant but expensive
- Treated pine: Affordable and chemically treated to resist rot
Avoid softwoods that soak up water quickly. Seal the wood with outdoor varnish or paint to add extra protection.
Durable Fasteners And Sealants
Use fasteners that do not rust or corrode outdoors. Stainless steel and coated screws last longer in wet conditions.
| Fastener Type | Material | Benefits |
| Screws | Stainless steel | Strong, rust-resistant |
| Nails | Galvanized steel | Rust-resistant, cost-effective |
| Bolts | Coated steel | Very strong, weatherproof |
Seal all edges and joints with waterproof sealant. Silicone and polyurethane sealants prevent water leaks and keep the box dry inside.
- Apply sealant to all seams
- Use waterproof glue for extra strength
- Check sealant regularly for cracks
Cutting And Preparing Parts
Cutting and preparing parts is a key step in building a waterproof outdoor storage box. Accurate cuts ensure the box fits well and stays sturdy. Preparing the parts carefully also helps protect the wood from water damage.
In this section, we focus on measuring and marking the wood, and using safe cutting techniques. These steps will help you work efficiently and avoid mistakes.
Measuring And Marking
Measure each part of your box carefully before cutting. Use a tape measure and a pencil to mark the wood clearly. Mark all edges so you know exactly where to cut.
- Measure twice to avoid mistakes
- Use a square to keep lines straight
- Mark the wood with a fine pencil line
- Label each piece for easy identification
Safe Cutting Techniques
Cutting wood safely is important to protect yourself and get good results. Use the right tools and follow safety rules to prevent accidents.
| Safety Tip | Description |
| Wear Safety Gear | Always wear goggles and gloves to protect eyes and hands. |
| Use a Stable Surface | Cut on a flat, steady surface to avoid slips and uneven cuts. |
| Secure the Wood | Clamp pieces down to keep them from moving while you cut. |
| Follow Tool Instructions | Read and follow all safety instructions for saws and cutting tools. |
| Keep Hands Clear | Keep your hands away from the cutting blade at all times. |
Assembly Steps
Building a simple waterproof outdoor storage box can be a fun project. It provides extra space for your outdoor items.
Follow these steps to create a durable and efficient storage solution for your garden or patio.
Building The Frame
The frame gives structure to your storage box. It ensures everything stays in place.
- Measure and cut wood for the base.
- Attach the side supports using screws.
- Check all angles to ensure they are square.
Attaching Panels And Lid
The panels and lid protect items from weather. They keep everything dry and secure.
- Secure the side panels to the frame with waterproof screws.
- Attach the back panel, ensuring it aligns with the sides.
- Fit the lid with hinges to allow easy opening and closing.
- Seal all edges with waterproof sealant.
| Material | Purpose |
| Wood | Frame and panels |
| Hinges | Attach the lid |
| Sealant | Waterproofing |
Credit: cambridge-casual.com
Waterproofing And Finishing
Protecting your outdoor storage box from water is important. Good waterproofing keeps items dry and safe. Finishing touches add strength and a clean look.
Use the right materials to seal and paint the box. This stops water from seeping in and wood from rotting.
Applying Sealant
Sealant forms a clear, protective layer on the wood. It fills cracks and blocks moisture. Choose a waterproof sealant made for outdoor wood.
- Clean the surface well before applying sealant.
- Use a brush or roller to spread sealant evenly.
- Cover all edges and corners carefully.
- Apply two or three coats for best protection.
- Let each coat dry fully before the next one.
Adding Weatherproof Paint
Weatherproof paint adds color and extra defense. It protects wood from sun damage and rain. Use paint made for outdoor use on wood surfaces.
| Paint Type | Best Use | Dry Time |
| Acrylic Latex | General outdoor wood | 1-2 hours |
| Oil-Based | High durability needed | 6-8 hours |
| Elastomeric | Crack-prone wood | 8-12 hours |
Apply paint after sealant dries. Use a brush or sprayer for smooth coverage. Two coats make the box last longer.
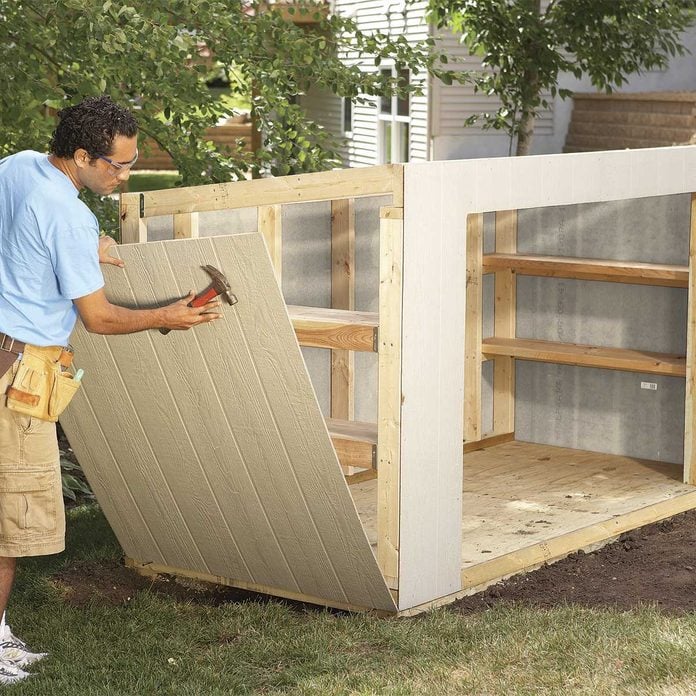
Credit: www.familyhandyman.com
Frequently Asked Questions
What Materials Are Best For A Waterproof Storage Box?
Use marine-grade plywood or plastic for durability and water resistance. Seal edges with waterproof paint or silicone. These materials prevent moisture damage and ensure long-lasting outdoor storage.
How Do I Ensure The Box Is Fully Waterproof?
Apply waterproof sealant on all joints and surfaces. Use weatherproof hinges and rubber gaskets around the lid. Proper sealing blocks water entry and protects stored items effectively.
Can I Build A Storage Box Without Professional Tools?
Yes, basic tools like a saw, drill, and screwdriver suffice. Choose simple designs to ease construction. Using common tools makes the project affordable and accessible to beginners.
How To Maintain The Waterproof Outdoor Storage Box?
Regularly inspect for cracks or peeling sealant. Reapply waterproof paint annually to maintain protection. Clean the box to prevent mold and prolong its lifespan outdoors.
Conclusion
Building a simple waterproof outdoor storage box is easy and useful. You need just a few materials and basic tools. Follow clear steps and take your time. A good box protects your items from rain and dirt. This project saves money and adds value to your space.
Try it yourself and enjoy the benefits. Simple, strong, and weatherproof storage is within reach. Keep your outdoor gear safe and dry every day.


