
Are you tired of clutter around your piano? Imagine having a stylish bench that not only gives you a comfortable seat but also keeps your sheet music, pedals, and accessories neatly hidden away.
Building a piano bench with storage is easier than you think—and it can transform your practice space instantly. In this guide, you’ll discover simple steps to create a custom bench that fits your style and keeps everything organized. Ready to take your piano setup to the next level?
Let’s get started!
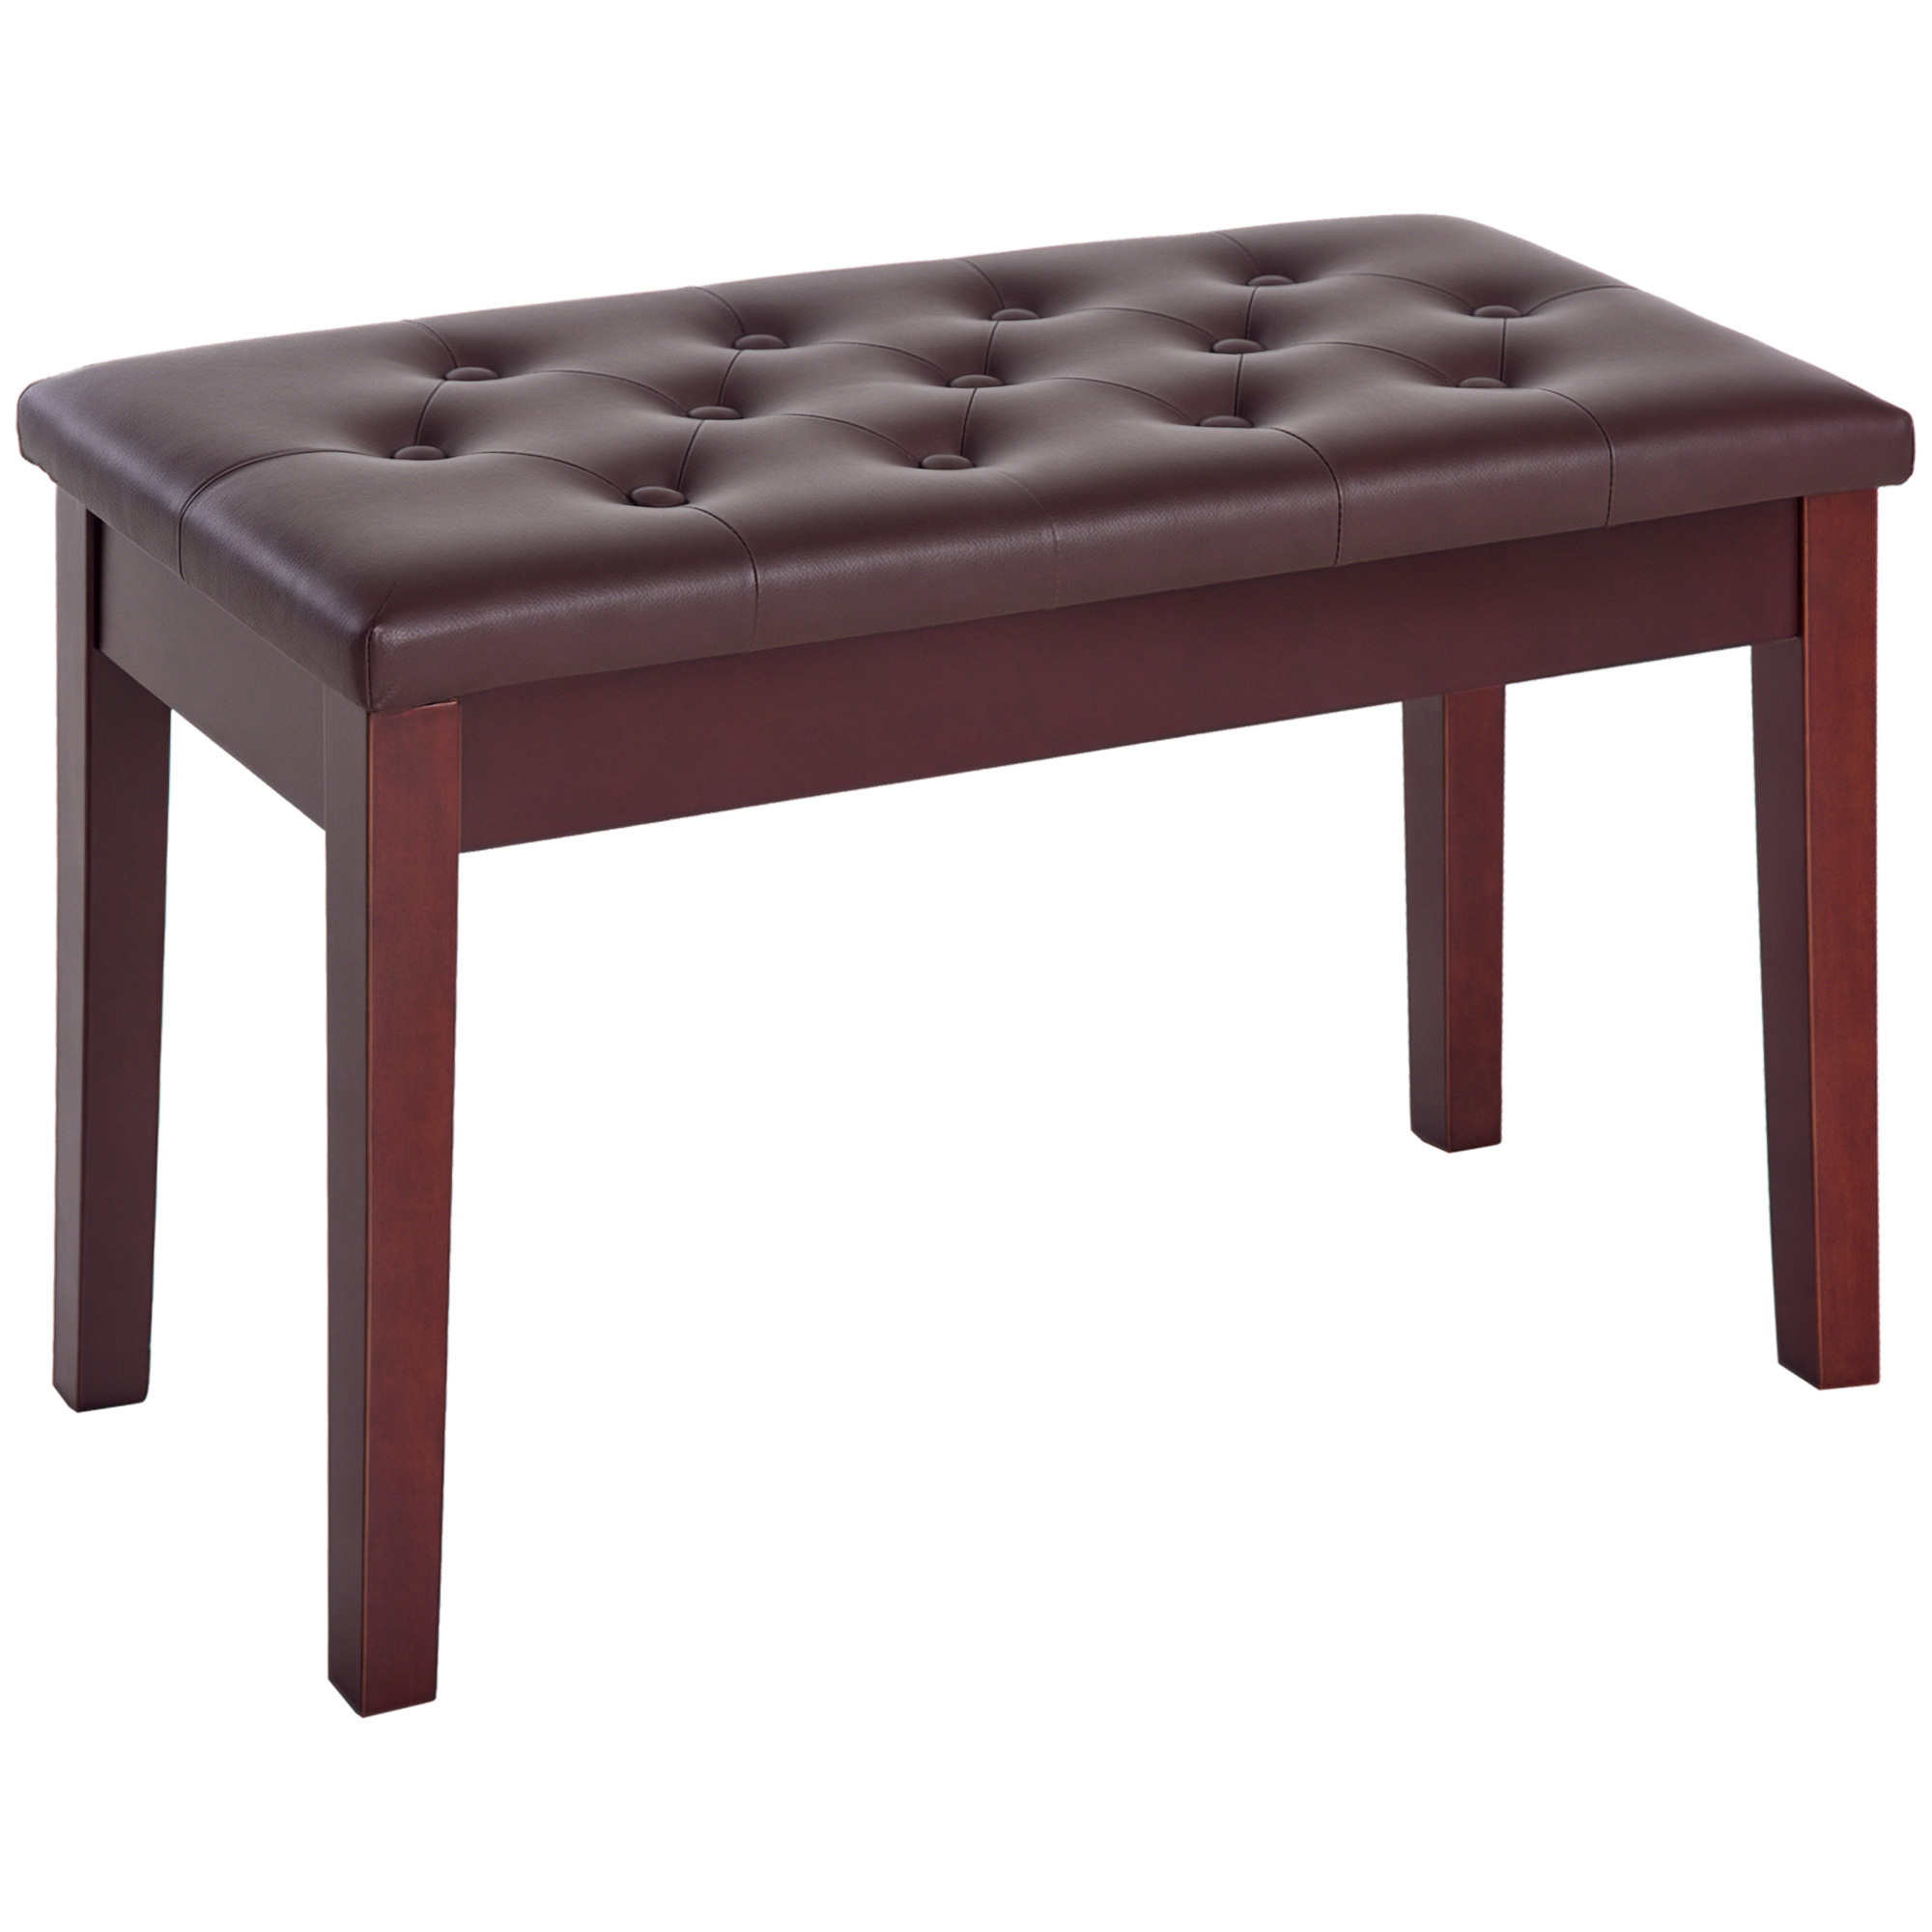
Credit: www.aosom.ca
Materials And Tools Needed
Building a piano bench with storage is a great project. You need the right materials and tools to make it strong and useful.
This guide helps you choose wood, hardware, and tools for your bench. Clear choices make building easier.
Wood Selection
Pick wood that is sturdy and looks nice. Hardwood is best for strength and long life.
Popular woods include oak, maple, and cherry. These woods hold up well and have a smooth finish.
- Oak: strong and has a classic look
- Maple: smooth surface and hard
- Cherry: rich color and ages well
- Plywood: good for the storage box parts
Hardware And Accessories
Hardware helps your bench open and close easily. Choose parts that fit the bench size.
Hinges and screws are the main hardware needed. Soft-close hinges add smoothness but are optional.
- Butt hinges or piano hinges for the lid
- Wood screws to hold parts together
- Handles or knobs for easy opening
- Corner braces for extra support
Essential Tools
Good tools make building faster and safer. Use tools you know how to handle well.
You need tools for measuring, cutting, and joining wood. A drill and screwdriver are must-haves.
- Measuring tape and pencil for marks
- Hand saw or circular saw for cutting wood
- Power drill with drill bits
- Screwdriver or drill driver
- Clamps to hold wood pieces
- Sandpaper or electric sander
- Wood glue for extra strength
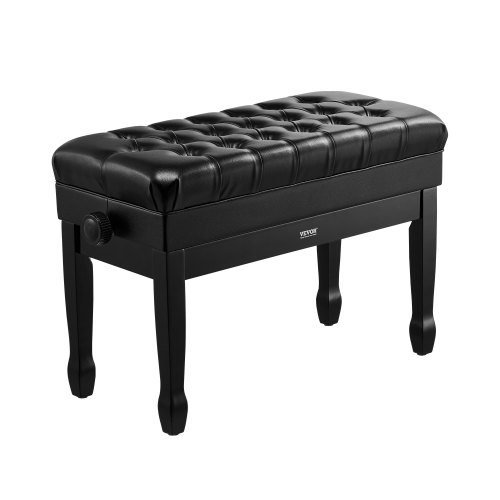
Credit: www.vevor.ca
Preparing The Wood Pieces
Building a piano bench with storage is a fun project. It starts with preparing the wood pieces. This involves measuring, cutting, sanding, and smoothing.
Getting these steps right ensures the bench is sturdy and looks great. Let’s dive into the details of each process.
Measuring And Cutting
Accurate measurements are crucial for a perfect fit. Use a measuring tape and pencil to mark the wood.
- Measure the length and width of each piece.
- Double-check measurements before cutting.
- Use a saw for precise cuts.
Cut along the marked lines carefully. Safety goggles and gloves are recommended for protection.
Sanding And Smoothing
Sanding makes the wood surface smooth. This step is important to avoid splinters and ensure a clean finish.
Tools for sanding:
- Sandpaper (start with coarse, end with fine)
- Electric sander (optional for large surfaces)
Sand each piece until the surface feels even. Wipe away dust with a damp cloth to see your progress.
| Grit Type | Use |
| 60-80 | Initial sanding |
| 120-150 | Smoothing edges |
| 220 | Final smooth finish |
Assembling The Bench Frame
Building the bench frame is a key step to make your piano bench sturdy. This part holds the seat and supports the legs.
Take your time to connect the parts tightly. A solid frame makes the bench safe and durable.
Joining The Legs And Supports
Start by attaching the legs to the side supports. Use wood glue and screws for a strong bond.
Make sure the legs are straight and even. Check the height to keep the bench balanced.
- Apply wood glue to leg ends
- Align legs with side supports
- Use clamps to hold pieces in place
- Drive screws through supports into legs
- Repeat for all four legs
Attaching The Seat Base
Next, fix the seat base on top of the frame. This base will hold the storage box and seat cushion.
Check that the seat base fits well and is flush with the frame edges. Secure it with screws.
- Place the seat base on the frame
- Align edges to frame sides
- Pre-drill holes for screws
- Screw the seat base down firmly
- Test for any wobbling or gaps
Adding Storage And Finishing Touches
Building a piano bench with storage needs careful planning. You want it to hold your music sheets and look good in your room.
This guide covers how to build the storage compartment and add a smooth finish to your bench.
Building The Storage Compartment
Start by measuring the inside space of the bench frame. The storage box must fit snugly but open easily.
- Cut plywood panels for the bottom and sides of the storage box.
- Assemble the panels using wood glue and screws.
- Make sure the box sits flat inside the bench frame.
- Add small handles or cutouts for easy opening.
- Test the fit before attaching the bench top.
Painting And Sealing
Choose a paint that matches your piano or room decor. Sealing protects the wood and paint from damage.
| Material | Purpose | Application Tips |
|---|---|---|
| Primer | Prepares surface for paint | Apply one coat, let dry fully |
| Paint | Gives color and style | Use two thin coats for smooth finish |
| Sealant | Protects from scratches and moisture | Choose clear polyurethane, apply evenly |

Credit: www.ana-white.com
Frequently Asked Questions
What Materials Do I Need To Build A Piano Bench With Storage?
You need wood panels, screws, hinges, wood glue, sandpaper, and paint or stain. Choose sturdy wood like pine or oak for durability. Also, gather basic tools like a saw, drill, and screwdriver to complete the project efficiently.
How Do I Create Storage Space Inside The Piano Bench?
Build a hollow seat with a hinged lid to create storage. Use sturdy hinges to allow easy opening. Ensure the interior is spacious enough for music sheets, accessories, or small items. Reinforce the bench base for weight support.
What Is The Best Wood Type For A Piano Bench?
Hardwoods like oak, maple, or cherry are ideal. They provide durability and a classic look. Softwoods like pine are budget-friendly but less durable. Choose wood that matches your piano for a cohesive aesthetic.
How Can I Ensure The Piano Bench Is Comfortable?
Add foam padding and upholster the seat with fabric or leather. Ensure the bench height suits standard piano dimensions. Smooth all edges and corners for safety and comfort during long practice sessions.
Conclusion
Building a piano bench with storage saves space and adds style. You can keep music sheets and accessories neatly inside. The project is simple and rewarding to complete. Use the right tools and follow clear steps carefully. This bench fits well in any music room or home.
Enjoy your new, practical seating while organizing your piano space. Start your project today and feel proud of your work. It’s a great way to combine function and creativity.


