Are you looking for a smart way to add both seating and storage to your space? Building a bucket seat bench with storage is the perfect solution.
Imagine having a cozy spot to sit while keeping your room neat and organized. In this guide, you’ll discover simple steps to create a sturdy, stylish bench that fits your needs. Whether you’re a beginner or have some DIY experience, this project will save you money and give you a sense of pride.
Keep reading, and soon you’ll have a practical piece that transforms your home.
Materials And Tools Needed
Building a bucket seat bench with storage is a useful project. You need the right materials and tools to make it sturdy and functional.
This guide lists everything you need before starting your build. Preparing well will save time and help you work smoothly.
Wood And Materials
Choose strong wood for the bench frame and storage box. Plywood and hardwood are good options.
- 3/4 inch plywood sheets
- 1×4 and 1×6 hardwood boards
- Wood screws (1 1/4 inch and 2 1/2 inch)
- Wood glue
- Sandpaper (120 and 220 grit)
- Paint or wood stain
- Clear wood finish or sealant
- Hinges for storage lid
- Foam padding for seat cushion
- Fabric for seat cover
Tools Required
Use these tools to cut, assemble, and finish your bench. Check that all tools work well before you start.
| Tool | Purpose |
|---|---|
| Measuring tape | Measure wood and space |
| Circular saw or table saw | Cut wood pieces |
| Drill with screwdriver bits | Drive screws and make holes |
| Clamps | Hold wood pieces while gluing |
| Sanding block or electric sander | Smooth wood surfaces |
| Staple gun | Attach fabric to seat cushion |
| Paintbrush or roller | Apply paint or stain |
Safety Gear
Protect yourself with safety gear. It helps prevent accidents and keeps you comfortable.
- Safety glasses
- Hearing protection
- Dust mask or respirator
- Work gloves
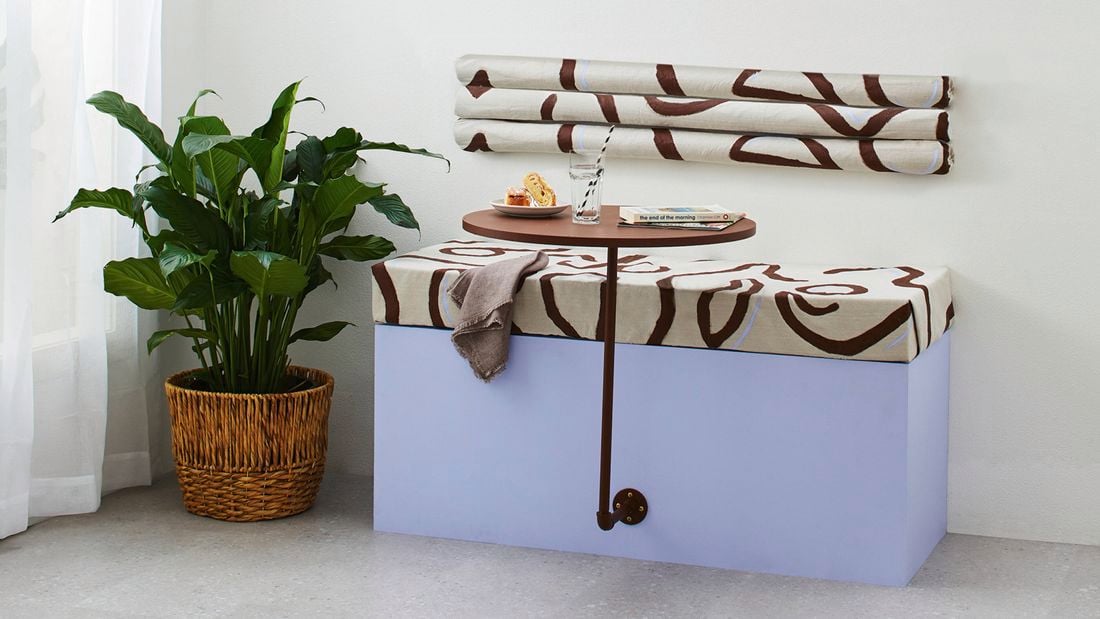
Credit: www.fordtransitusaforum.com
Cutting And Preparing Wood
Building a bucket seat bench with storage requires careful wood preparation. Proper cutting ensures a good fit and sturdy construction.
This section will guide you through the steps of cutting and preparing wood for your bench project.
Selecting The Right Wood
Choose wood that is sturdy and durable. Pine and oak are great choices for benches.
Ensure the wood is straight and free of knots. This will make cutting easier and improve the bench’s strength.
- Pine is affordable and easy to work with.
- Oak is strong and has a nice grain.
- Avoid warped or cracked pieces.
Measuring And Marking
Accurate measurements are crucial for a snug fit. Use a tape measure for precision.
Mark your cuts clearly with a pencil. Double-check measurements before cutting.
- Measure twice, cut once.
- Use a square to ensure straight lines.
- Label each piece for easy assembly.
Cutting The Wood
Use a saw to cut the marked lines. A circular saw is quick, but a hand saw gives more control.
Cut slowly to avoid splintering. Support the wood to prevent wobbling while cutting.
- Wear safety goggles and gloves.
- Secure the wood with clamps.
- Follow the marked lines carefully.
Sanding The Edges
Smooth edges make the bench comfortable and safe. Use sandpaper to round off sharp corners.
Start with coarse grit, then use finer grit for a smooth finish.
- Sanding prevents splinters.
- Use a sanding block for even pressure.
- Wipe away dust with a damp cloth.
Assembling The Bench Frame
Building a bucket seat bench with storage starts with a strong frame. The frame holds the bench together and supports weight. Take your time to assemble it correctly.
Use quality wood and tools to make the frame stable and safe. Follow the steps carefully to get the best result.
Cutting And Preparing Wood Pieces
Start by cutting all wood pieces to the right size. Sand the edges to avoid splinters. Label each piece to keep track during assembly.
Joining The Side Panels
Attach the side panels to the seat base using wood screws. Drill pilot holes to prevent the wood from splitting. Make sure the panels are square and flush with the base.
Adding Support Beams
Support beams add strength to the bench frame. Place them evenly under the seat base. Secure each beam with screws and wood glue for extra hold.
- Measure exact positions for beams
- Use clamps to hold beams in place
- Check alignment before screwing
- Apply wood glue to contact surfaces
- Allow glue to dry fully
Securing The Backrest Frame
The backrest must be strong and stable. Attach vertical supports to the side panels. Then fix the horizontal backrest frame at the top of these supports.
| Part | Material | Length (inches) |
| Side Panels | 2×6 Pine | 36 |
| Seat Base | 3/4″ Plywood | 48 x 18 |
| Support Beams | 2×4 Pine | 18 |
| Backrest Vertical Supports | 2×4 Pine | 24 |
| Backrest Horizontal Frame | 2×4 Pine | 48 |
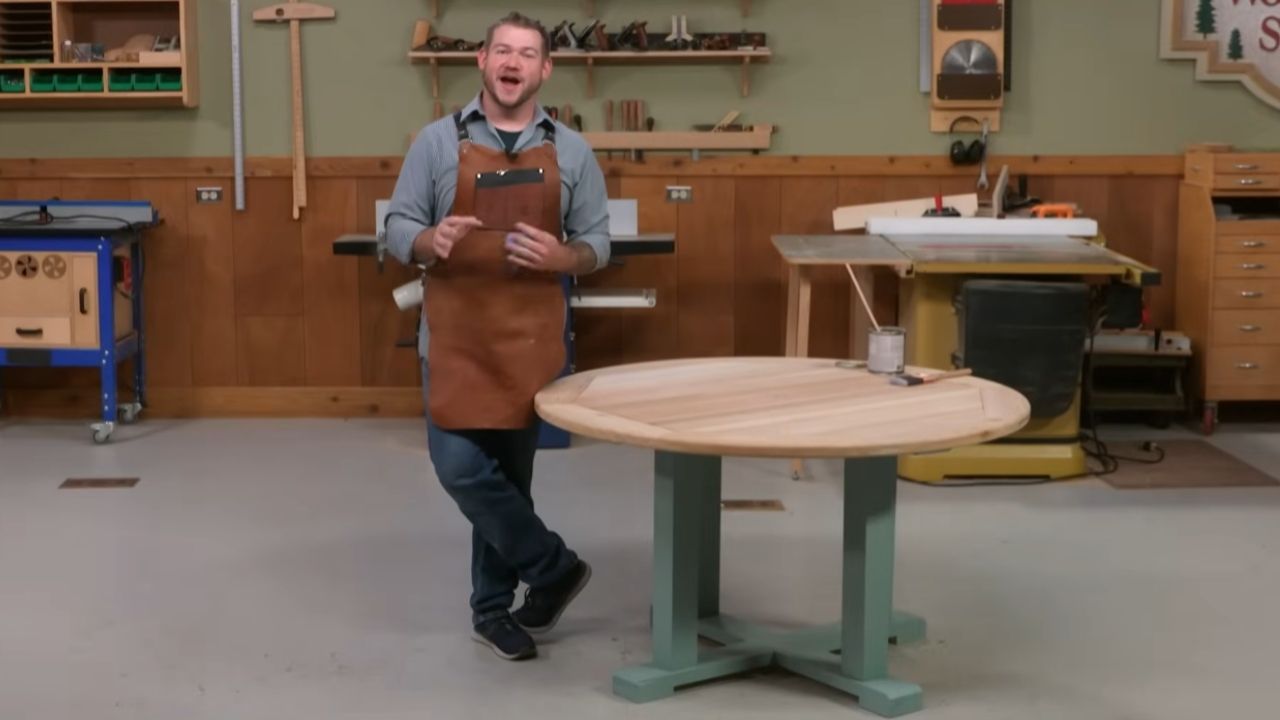
Credit: www.woodsmith.com
Adding The Bucket Seat And Storage
Building a bucket seat bench with storage adds comfort and function. The bucket seat gives a cozy place to sit. The storage keeps your space neat and organized.
This guide shows how to add the bucket seat and storage to your bench. You will learn how to make the seat comfy and the storage useful.
Building The Bucket Seat Frame
Start by making the frame for the bucket seat. Use sturdy wood to create a strong base. The frame should fit the bench top size exactly.
Attach side supports to add strength and shape to the seat. This will help hold the cushion firmly in place.
- Cut wood pieces to match bench dimensions
- Assemble base with screws and wood glue
- Add side supports for extra stability
Adding The Cushion To The Seat
Choose a foam cushion that fits the seat frame. Cut foam to match the seat size. Cover the foam with fabric for comfort and style.
Use a staple gun to attach the fabric under the seat frame. Make sure the fabric is tight and smooth for a neat look.
- Select high-density foam for better comfort
- Use durable fabric that matches your room
- Staple fabric securely under the seat frame
Creating The Storage Compartment
Build the storage box to fit under the bucket seat. Use plywood or solid wood panels for walls and bottom. Make sure it fits inside the bench frame.
Attach the storage box to the bench base. You can add hinges to the seat for easy access to the storage inside.
- Measure space under seat carefully
- Cut panels for storage box sides and bottom
- Use hinges to connect seat and storage box
- Ensure smooth opening and closing
Finishing Touches And Assembly
Sand all wood surfaces to remove rough spots. Paint or stain the bench and storage box as desired. Attach the bucket seat securely to the storage base.
Check that the seat opens easily and the storage is sturdy. Add cushions or decorations to match your style.
- Sand edges and surfaces smooth
- Apply paint or stain evenly
- Secure seat to storage box with screws or hinges
- Add cushions for extra comfort
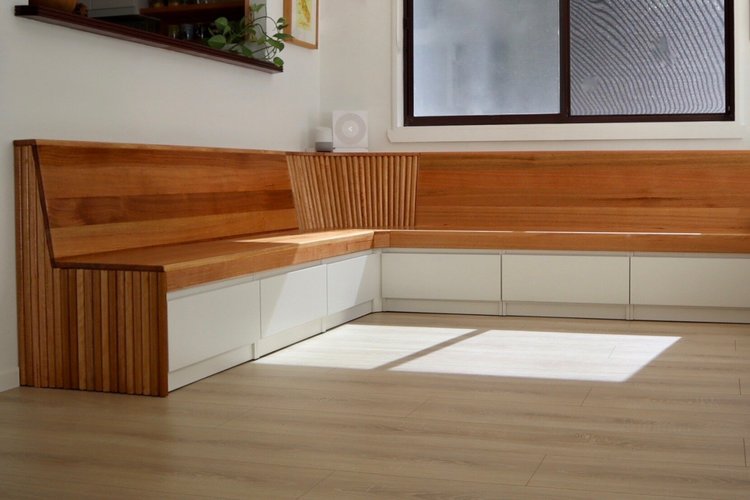
Credit: littleredindustries.com
Frequently Asked Questions
What Materials Are Needed For A Bucket Seat Bench?
You need plywood, foam padding, fabric, wood screws, hinges, and paint or stain. These materials ensure durability and comfort for your bucket seat bench.
How Do I Add Storage To A Bucket Seat Bench?
Incorporate a hinged seat or drawers beneath the bench. This design maximizes space while keeping items accessible and organized.
What Tools Are Required To Build This Bench?
Essential tools include a saw, drill, screwdriver, measuring tape, and staple gun. These help you cut, assemble, and upholster the bench effectively.
How Long Does It Take To Build A Bucket Seat Bench?
Building usually takes 4 to 6 hours, depending on skill level. Planning and prepping materials can reduce total time.
Conclusion
Building a bucket seat bench with storage is a smart choice. It saves space and adds style to any room. You only need basic tools and simple steps to get started. The result is a useful bench that hides clutter neatly.
Plus, it gives a cozy spot to sit or relax. Try this project to make your home more organized and inviting. Enjoy the satisfaction of creating something useful with your own hands. A small effort brings big rewards.


