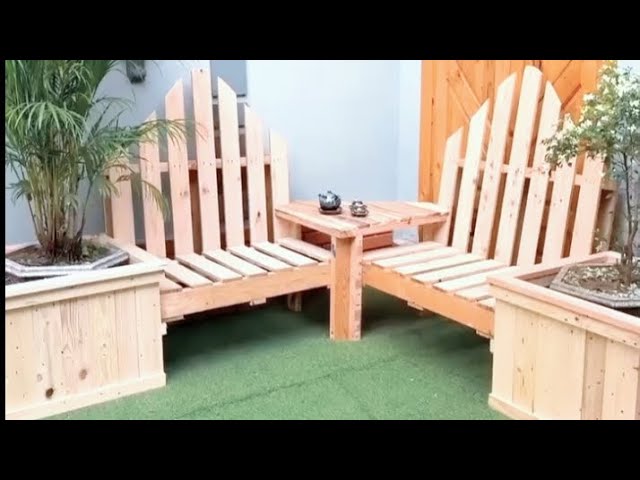
Imagine relaxing on a chair you built yourself—sturdy, stylish, and made from simple wooden pallets. Building an Adirondack chair out of pallets is easier than you think, even if you’ve never worked with wood before.
You’ll save money, add a unique touch to your outdoor space, and enjoy the satisfaction of creating something with your own hands. Ready to transform those old pallets into a cozy spot just for you? Keep reading, and I’ll guide you step-by-step to make your very own Adirondack chair.
Credit: medium.com
Choosing The Right Pallets
Building an Adirondack chair from pallets starts with picking the right wood. Not all pallets are safe or strong enough.
Choosing good pallets makes your chair last longer and look better. It also keeps you safe during building and use.
Types Of Pallets To Use
Wood pallets come in different types. Some are better for making furniture like Adirondack chairs.
Look for pallets made from hardwood or softwood that is clean and smooth. Avoid pallets with many nails or cracks.
- Hardwood pallets are strong and last longer.
- Softwood pallets are easier to cut and shape.
- Heat-treated pallets are safer than chemically treated ones.
- Avoid pallets marked with “MB” as they use harmful chemicals.
- Choose pallets without paint or stains for safer use.
Inspecting For Quality And Safety
Check each pallet carefully before you use it. Look for damage, dirt, and signs of chemicals.
Good pallets have no cracks, rot, or mold. Make sure the wood is dry and strong.
- Check for broken or loose boards that can cause injury.
- Smell the pallet; avoid any that smell like chemicals or mildew.
- Look for stamps that show heat treatment, not chemicals.
- Remove all nails and staples before starting your project.
- Sand the wood to remove splinters and rough spots.
Credit: www.easypalletideas.com
Gathering Tools And Materials
Building an Adirondack chair from pallets is a fun project. You’ll need the right tools and materials to get started.
Let’s gather everything you need for this DIY project to ensure a smooth building process.
Essential Tools For The Project
Having the right tools is crucial. They help you work efficiently and safely.
- Hammer: For securing nails.
- Saw: To cut the pallets to size.
- Measuring tape: To ensure accurate measurements.
- Drill: For making holes and driving screws.
- Screwdriver: To tighten screws securely.
Additional Supplies Needed
Besides tools, you’ll also need some supplies to complete your chair.
| Material | Purpose |
| Wood pallets | Main structure |
| Sandpaper | Smoothing surfaces |
| Nails and screws | Assembly |
| Wood glue | Extra hold |
| Wood finish | Protection and look |
Step-by-step Assembly
Building an Adirondack chair from pallets is a rewarding project. It uses recycled wood to make a strong, classic chair. Follow these steps carefully to get a great result.
This guide covers preparing the wood, cutting parts, putting the frame together, and adding finishing touches.
Preparing The Pallet Wood
Start by choosing good pallet wood. Look for wood that is dry and free from rot. Remove all nails and screws before working with the wood.
- Break down the pallets carefully using a crowbar.
- Sand the planks to remove splinters and rough spots.
- Cut the planks into manageable pieces for the chair parts.
Cutting And Shaping Components
Measure and mark the wood pieces before cutting. Each part must fit well for a sturdy chair. Use a saw to cut the parts to size.
| Component | Dimensions (inches) |
| Seat slats | 20 x 3 |
| Back slats | 24 x 3 |
| Armrests | 26 x 4 |
| Leg supports | 18 x 2 |
| Frame pieces | 30 x 2 |
Shape the edges with sandpaper or a router to make them smooth and comfortable.
Assembling The Chair Frame
Start by building the base frame with the cut pieces. Use screws to join the parts firmly. Check for square corners with a carpenter’s square.
- Attach the legs to the base frame.
- Fix the seat slats evenly spaced on top of the frame.
- Secure the back slats to the back frame at an angle.
- Attach the armrests on both sides with screws.
Adding Finishing Touches
Fill any screw holes with wood filler. Sand the entire chair again for a smooth finish. Apply paint or wood sealant to protect the wood.
- Use outdoor paint or sealant for durability.
- Apply two coats for better protection.
- Let the chair dry fully before use.

Credit: www.ana-white.com
Maintenance And Customization
Building an Adirondack chair from pallets is only the start. Taking care of the wood and adding your personal touch will keep it looking great. These steps help protect your chair from weather and wear.
Below are tips for sealing and protecting the wood. Also, find ideas to paint and decorate your chair to match your style.
Sealing And Protecting The Wood
Sealing your pallet wood helps stop moisture and sun damage. Use a good outdoor wood sealer or varnish. Apply it evenly on all surfaces and let it dry fully before use.
- Sand the wood smooth before sealing.
- Use a brush to apply the sealer evenly.
- Cover every corner and edge.
- Apply two or more coats for better protection.
- Reapply sealer once a year for lasting care.
Painting And Decorating Ideas
Painting your Adirondack chair adds color and personality. You can choose bright, bold colors or soft pastels. Use outdoor paint to prevent peeling and fading.
| Paint Type | Best Use | Dry Time |
| Latex Paint | Easy to clean, many colors | 1 hour |
| Oil-Based Paint | Durable and smooth finish | 6-8 hours |
| Chalk Paint | Matte look, vintage style | 30 minutes |
Add decorations like stencils, stripes, or dots after painting. Use waterproof markers or paint pens for fine details. Seal decorations with clear varnish to protect them.
Frequently Asked Questions
What Tools Are Needed To Build An Adirondack Chair?
You need a saw, drill, measuring tape, screwdriver, and sander. These tools help cut, assemble, and finish the pallet wood effectively. Having basic woodworking tools ensures accuracy and safety while building your Adirondack chair from pallets.
How Long Does It Take To Build An Adirondack Chair?
Building an Adirondack chair from pallets usually takes 4 to 6 hours. This depends on your skill level and tool availability. Proper planning and preparation can speed up the process, ensuring a sturdy and attractive chair.
Can I Use Any Pallet Wood For The Chair?
Not all pallet wood is suitable; use heat-treated, clean pallets only. Avoid chemically treated or damaged pallets to ensure safety and durability. Properly selected pallets provide strong, eco-friendly material for your Adirondack chair.
How Do I Protect The Chair From Weather Damage?
Apply outdoor paint or sealant to protect the chair from moisture and UV rays. Regular maintenance like reapplying sealant extends the chair’s life. Proper finishing keeps your Adirondack chair looking great and weather-resistant.
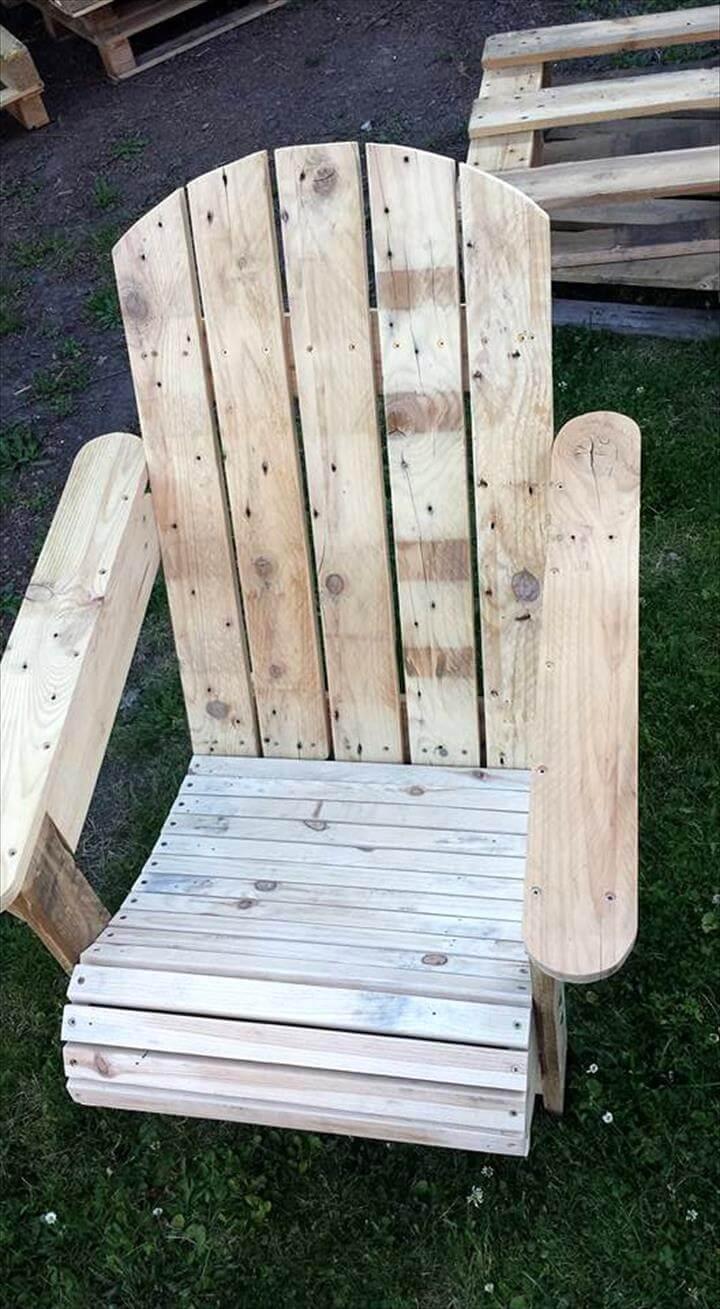
Conclusion
Building an Adirondack chair from pallets is a fun project. You get to reuse wood and create something useful. It saves money and adds charm to your space. Follow the steps carefully to make a strong chair. Take your time and enjoy the process.
Soon, you will have a comfy chair to relax in. Try it yourself and see how easy it can be. Pallet wood gives your chair a rustic, natural look. This DIY project is perfect for beginners and hobbyists alike.


