
Looking to add extra seating and smart storage to your yard? A yard storage bench with a seat is the perfect solution.
It not only keeps your outdoor space tidy but also gives you a comfortable spot to relax. If you’ve ever wondered how to assemble one yourself, you’re in the right place. This guide will walk you through simple, step-by-step instructions that anyone can follow.
By the end, you’ll have a sturdy, stylish bench ready to enhance your yard. Ready to get started? Let’s dive in!
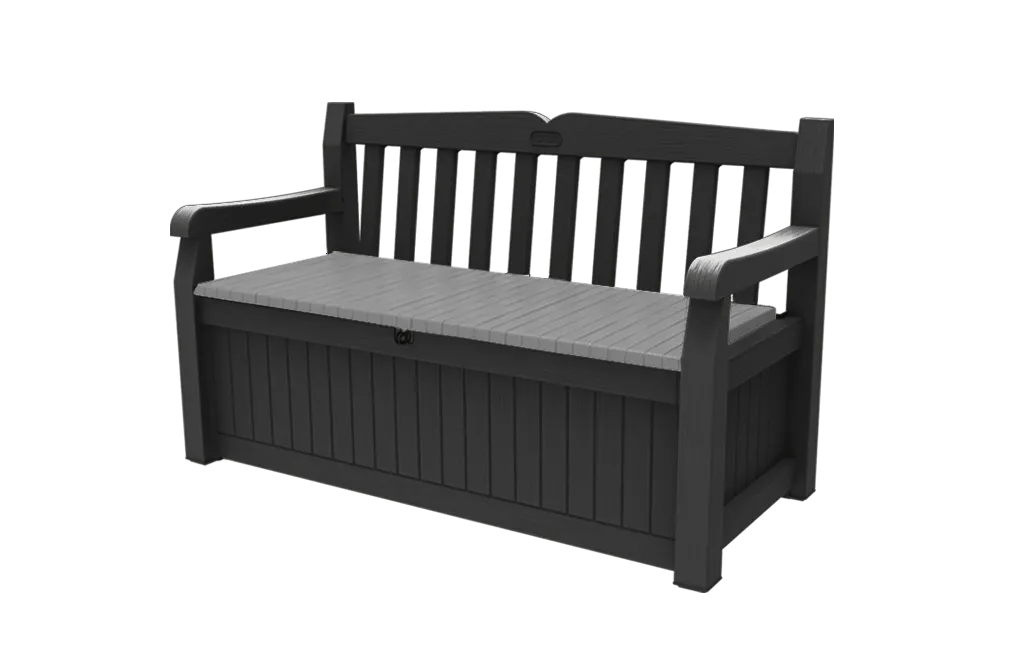
Credit: www.keter.com
Materials And Tools Needed
Building a yard storage bench with a seat is a practical project. You will need specific materials and tools to complete it properly.
Gathering all items before starting will make the assembly smooth and safe.
Materials Required
- Wood boards (cedar or treated pine)
- Wood screws (1¼ inch and 2½ inch)
- Exterior wood glue
- Wood stain or paint (optional)
- Weather-resistant seat cushion (optional)
- Hinges for the seat lid
- Sandpaper (120 and 220 grit)
- Wood filler
Tools Needed
| Tool | Purpose |
| Measuring tape | Measure wood pieces accurately |
| Power drill | Make pilot holes and drive screws |
| Screwdriver | Tighten screws manually |
| Hand saw or circular saw | Cut wood to required sizes |
| Clamps | Hold pieces steady while gluing |
| Sanding block or electric sander | Smooth wood surfaces |
| Paintbrush or roller | Apply stain or paint |
| Safety glasses | Protect eyes during cutting and drilling |
| Work gloves | Protect hands while handling tools |
Safety And Preparation Items
Safety is important during assembly. Wear protective gear and prepare your workspace well.
- Clear and level working area
- Proper lighting
- First aid kit nearby
- Trash bin for wood scraps

Credit: www.ramblingrenovators.ca
Preparing The Workspace
Before you start assembling your yard storage bench with a seat, it’s essential to prepare your workspace. A well-organized area ensures efficiency and safety during the assembly process.
Make sure you have all the necessary tools and enough space to work comfortably. Proper preparation can save you time and frustration later.
Gather Necessary Tools
Having the right tools on hand is crucial for a smooth assembly. Ensure you have everything listed before you begin.
- Screwdriver
- Hammer
- Measuring tape
- Wrench
- Drill
Clear The Area
A clutter-free workspace helps prevent accidents and allows easy movement. Clear away any unnecessary items.
Organize Parts And Hardware
Organizing all parts and hardware before starting helps you find what you need quickly. Lay out all components in a visible manner.
| Component | Quantity |
| Bench legs | 4 |
| Seat panels | 2 |
| Screws | 20 |
Step-by-step Assembly Process
Building a yard storage bench with a seat is a useful project. It gives you a place to sit and store items. Follow these steps to assemble your bench easily.
This guide breaks down the process into three parts. You will learn how to build the frame, attach the seat, and add storage components.
Building The Frame
Start by creating a strong base for your bench. The frame supports the entire structure. Use sturdy wood pieces and screws for safety.
- Cut the wood to the desired bench size.
- Assemble the rectangular base using four pieces.
- Add vertical supports at each corner.
- Attach horizontal braces between vertical supports.
- Check that all joints are tight and square.
Attaching The Seat
The seat must be secure and comfortable. Use strong hinges or screws. Smooth the surface to avoid splinters.
| Material | Purpose | Tip |
|---|---|---|
| Wooden planks | Seat surface | Sand edges for comfort |
| Hinges | Seat attachment | Use rust-resistant types |
| Screws | Fix seat to frame | Pre-drill holes to prevent splitting |
Adding Storage Components
Storage space makes the bench more useful. You can store garden tools or cushions. Add shelves or compartments inside the frame.
- Measure the inside of the frame for storage size.
- Cut panels for shelves or dividers.
- Secure panels using screws or brackets.
- Install handles or knobs if the storage has doors.
- Paint or seal the storage area to protect from weather.
Finishing Touches And Maintenance
After assembling your yard storage bench, it is important to add final details. These finishing touches improve both look and function.
Proper maintenance keeps your bench strong and looking good for a long time.
Apply A Protective Finish
Use a water-resistant sealant or paint to protect wood from rain and sun. This helps prevent cracks and fading.
Apply the finish evenly with a brush or sprayer. Let it dry completely before using the bench.
- Choose outdoor paint or wood sealant
- Apply at least two coats for best protection
- Allow drying time between coats
Add Comfortable Seating
Place cushions or seat pads on the bench for comfort. Choose weather-resistant fabrics to avoid damage.
Secure cushions with ties or non-slip pads to keep them in place.
- Pick cushions with waterproof covers
- Use cushion ties or Velcro strips
- Store cushions indoors when not in use
Regular Cleaning
Clean your bench regularly to remove dirt and debris. Use mild soap and water with a soft brush or cloth.
Rinse and dry the bench well to avoid moisture damage.
- Clean at least once a month
- Avoid harsh chemicals that damage finish
- Check for mold or mildew and clean promptly
Inspect And Repair
Look over your bench often for loose screws or cracks. Fix small problems before they get worse.
Tighten screws and replace damaged parts as needed to keep the bench safe.
- Check screws and joints every 3 months
- Sand rough spots to prevent splinters
- Replace broken slats or hardware quickly
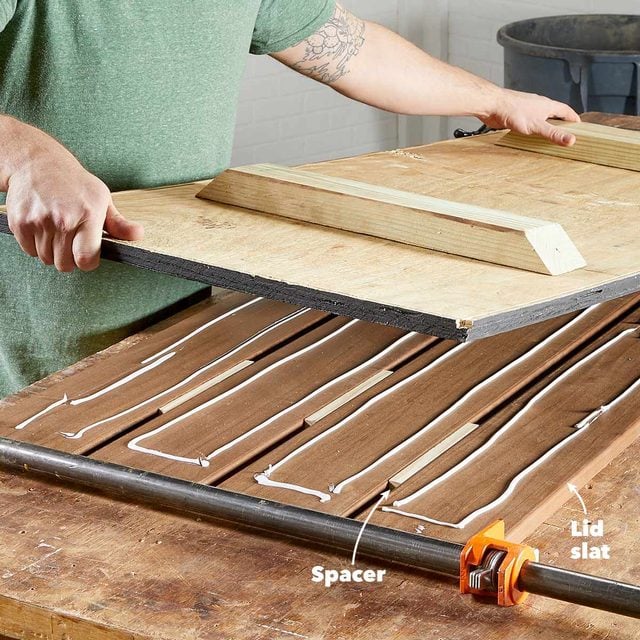
Credit: www.familyhandyman.com
Frequently Asked Questions
What Tools Are Needed To Assemble A Yard Storage Bench?
You need basic tools like a screwdriver, hammer, drill, measuring tape, and level. These help ensure precise and secure assembly.
How Long Does It Take To Assemble A Yard Storage Bench?
Assembly usually takes 1 to 2 hours depending on your experience and the bench complexity. Following instructions speeds up the process.
Can I Customize The Bench Seat For Extra Comfort?
Yes, you can add cushions or padding to the seat for added comfort. Choose weather-resistant materials for outdoor use.
How Do I Maintain The Yard Storage Bench After Assembly?
Regularly clean with mild soap and water, check for loose screws, and apply sealant yearly to protect wood from weather damage.
Conclusion
Building a yard storage bench with a seat is simple and rewarding. Follow each step with care and patience. Use the right tools and parts for a sturdy bench. Enjoy the extra storage and comfortable seating it offers. This project adds both function and charm to your yard.
Try assembling one yourself and see the difference. A small effort brings big benefits to your outdoor space. Easy to build, useful to own.


