
Are you staring at the scattered pieces of your new console table, wondering how to transform the chaos into a stylish centerpiece for your home? You’re not alone, and the good news is that assembling a console table is easier than you might think.
With the right guidance, you can turn those intimidating parts into a stunning piece of furniture that enhances your space. Imagine the satisfaction of completing the task on your own, enjoying both the process and the result. In this guide, you’ll discover simple, step-by-step instructions that ensure you not only assemble your console table with ease but also enjoy the experience.
Get ready to unlock the secrets of successful assembly, so you can proudly say, “I did it myself!”

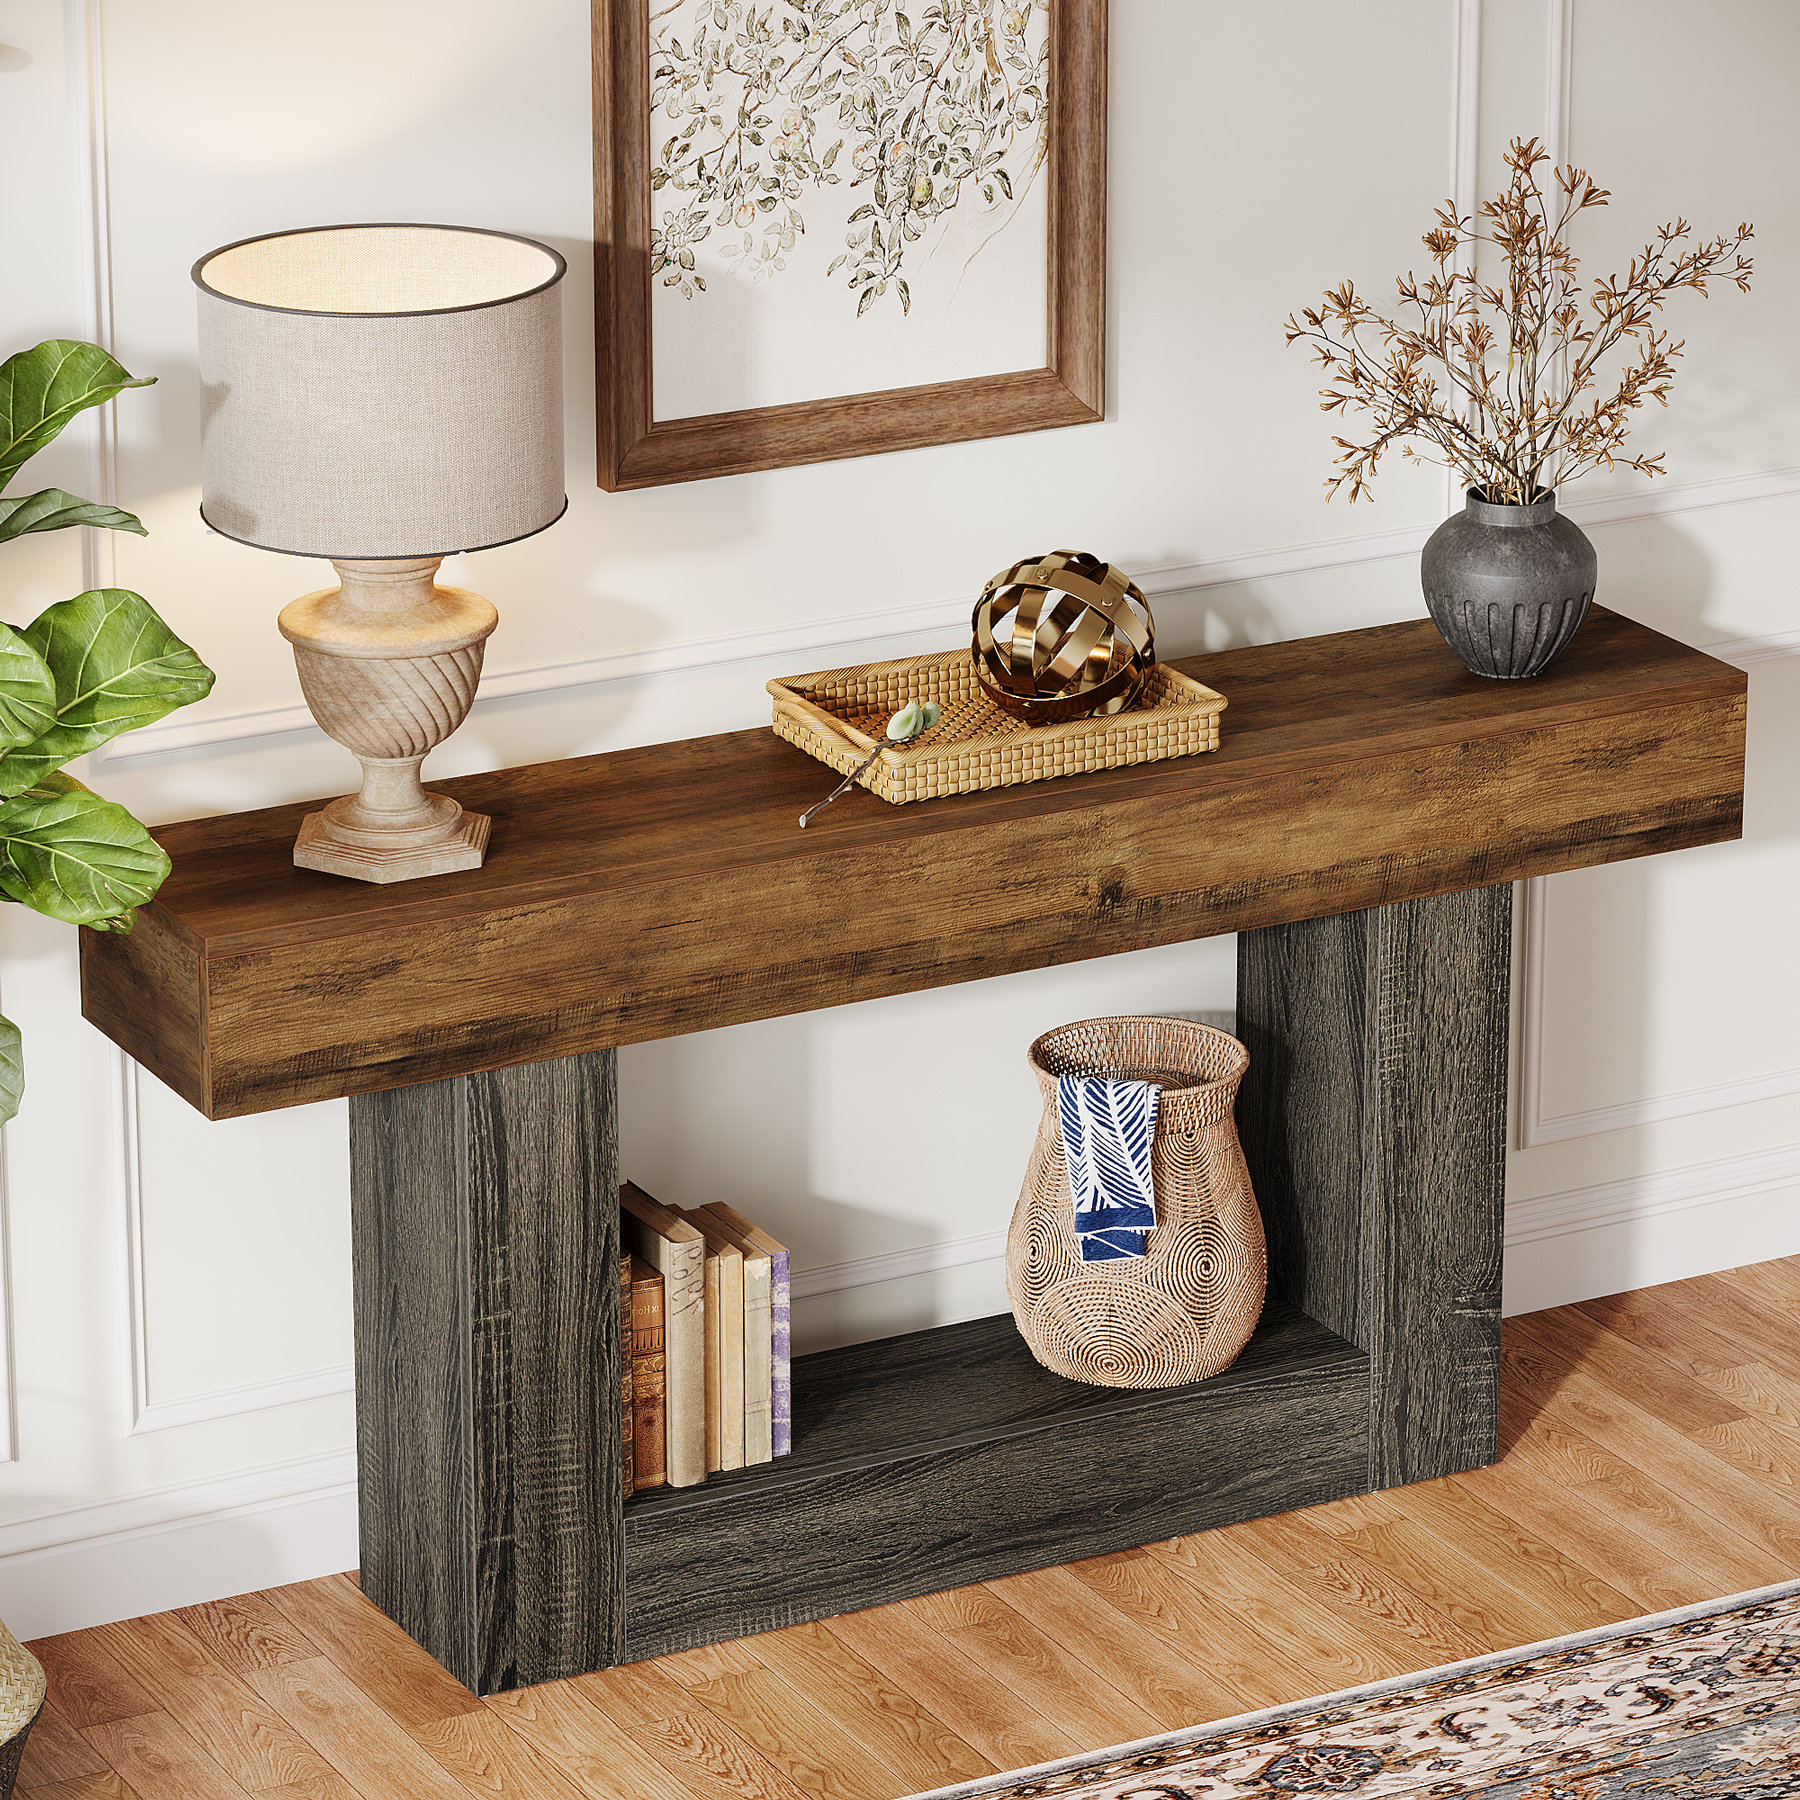
Credit: www.bushhome.com
Gathering Tools And Materials
Gathering the right tools and materialsmakes assembly easier. Essential tools often include:
- Screwdriver (flathead and Phillips)
- Hammer
- Measuring tape
- Level
- Allen wrench (usually provided)
- Wood glue (optional for extra strength)
Prepare your workspace by choosing a clean, flat surface. Clear enough space to spread out all parts. Good lighting helps see screws and pieces clearly. Lay down a soft cloth or cardboard to protect the table parts from scratches. Keep tools within easy reach to avoid searching mid-assembly.
Credit: www.wayfair.com
Step-by-step Assembly Guide
Gather all parts and tools before starting assembly. Follow clear instructions to join pieces securely. Take time to align parts for a sturdy console table.
Assembling The Frame
Start by laying out all the frame parts on a flat surface. Check that you have all screws and tools ready. Attach the side panels to the base using screws. Make sure the frame is square and tight. Use a screwdriver to secure the joints firmly. A loose frame can cause wobbling later.
Attaching The Tabletop
Place the tabletop upside down on a soft cloth to avoid scratches. Align the frame with the pre-drilled holes under the tabletop. Use screws to attach the frame to the tabletop. Tighten screws evenly to avoid uneven surfaces. The tabletop should feel solid and not move.
Securing The Legs
Flip the table over carefully. Position each leg at the corners of the frame. Use bolts or screws to fix each leg tightly. Check that legs are straight and stable. Tighten all fasteners again to prevent wobbling. The table is ready to use once legs are secure.
Final Adjustments And Care
Ensure all screws and bolts are tightened firmly. Loose parts can cause the table to wobble or fall.
Check the table’s stabilityby gently shaking it from different angles. If it moves, adjust the legs or screws.
- Use a soft cloth to dustthe table regularly.
- Clean spills immediately to avoid stains.
- Use mild soap and water for deeper cleaning; avoid harsh chemicals.
- Protect the surface with coasters or mats.
- Keep the table away from direct sunlight to prevent fading.
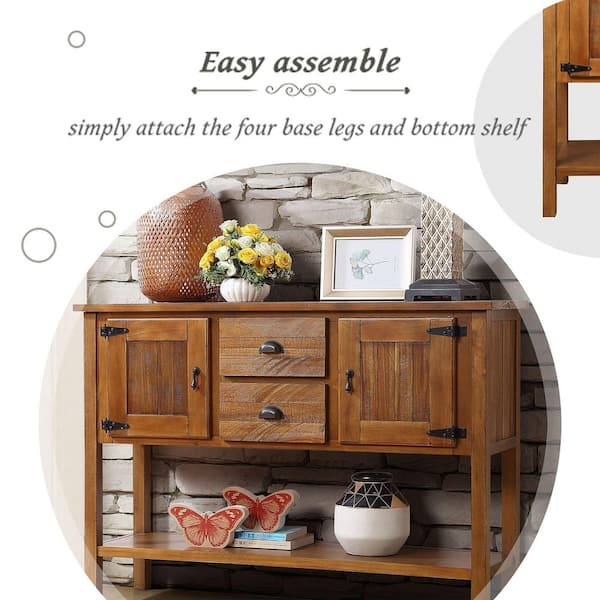
Credit: www.homedepot.com
Frequently Asked Questions
What Tools Are Needed To Assemble A Console Table?
To assemble a console table, you need basic tools like a screwdriver, hammer, Allen wrench, and measuring tape. Some kits include specific tools. Always check the instruction manual for recommended tools before starting the assembly process.
How Long Does It Take To Assemble A Console Table?
Assembly time varies but typically takes 30 minutes to 1 hour. It depends on your experience and table complexity. Following step-by-step instructions carefully helps speed up the process and ensures proper assembly.
Can One Person Assemble A Console Table Alone?
Yes, one person can assemble a console table alone, especially simpler designs. However, having an extra set of hands can make alignment and lifting easier. Always work on a flat surface to ensure stability during assembly.
How To Avoid Damage During Console Table Assembly?
To avoid damage, work on a soft surface like a carpet or mat. Handle parts gently, follow instructions, and avoid over-tightening screws. Organize all parts before starting to prevent mistakes and accidental damage.
Conclusion
Assembling a console table is simpler than it seems. Follow each step with care and patience. Take your time to align all parts correctly. Use the right tools to avoid mistakes. Soon, you will have a sturdy and stylish table.
This project brings a sense of pride and accomplishment. Enjoy your new furniture and the space it creates. Keep this guide handy for future assembly tasks. Now, you can add a personal touch to your home easily.


