Are you dreaming of a stylish and organized wardrobe without spending a fortune? Imagine having a wardrobe that perfectly fits your space and reflects your unique style.
The best part? You can build it yourself! DIY wardrobe cabinets offer you the freedom to customize every detail, from the layout to the color, and even the type of materials used. Not only will you save money, but you’ll also enjoy the satisfaction of creating something with your own hands.
Curious about how to get started? Let’s dive into the world of DIY wardrobe cabinets and unlock the secrets to crafting a functional and beautiful storage solution that’s all about you.
Choosing Materials And Tools
Choosing the right materials and tools is the foundation of a successful DIY wardrobe cabinet project. The quality and type of wood you select will affect durability and appearance, while having the proper tools ensures precision and ease during construction. Before you start, consider how your choices will impact both the function and look of your finished wardrobe.
Selecting Wood Types
Not all wood is created equal, especially for wardrobe cabinets. Solid hardwoods like oak or maple offer strength and a classic look, but they can be pricey and heavy. If your budget is tight, plywood or medium-density fiberboard (MDF) can be practical alternatives that still provide a smooth finish and good durability.
Think about moisture levels in the room where your wardrobe will go. Woods like cedar resist moisture and insects, making them ideal for humid spaces. Also, consider how easy the wood is to work with—softer woods like pine are easier to cut and shape but may dent more easily.
Have you thought about the finish? Some woods take stain beautifully, while others look better painted. Matching the wood type to your design vision can save you time and frustration down the road.
Essential Tools Checklist
Having the right tools on hand makes your DIY project smoother and more enjoyable. Here’s a list of must-have tools for building wardrobe cabinets:
- Measuring Tape:Accuracy starts with precise measurements.
- Circular Saw or Table Saw:For clean and straight cuts on large panels.
- Power Drill:Essential for drilling holes and driving screws quickly.
- Clamps:Keep pieces steady while gluing or screwing them together.
- Level:Ensures your cabinet is perfectly vertical and horizontal.
- Screwdrivers:Useful for finer adjustments and assembling hardware.
- Sandpaper or Electric Sander:Smooths surfaces and edges for a polished finish.
Think about investing in quality tools if you plan to build more furniture in the future. Cheaper tools might save money now but can lead to frustration and imprecise results. Which tools do you already have, and which ones could make your project easier?

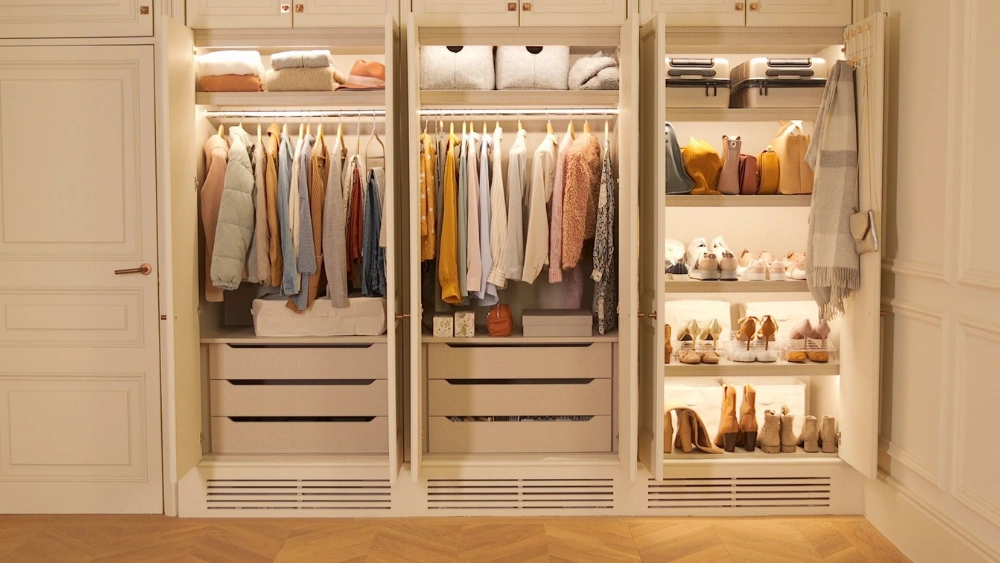
Credit: www.innovativeinteriors.co.nz
Building The Cabinet Frame
Building the cabinet frame is the foundation of your DIY wardrobe cabinet. It’s where precision meets creativity, setting the stage for a durable and stylish storage solution. Getting this right ensures your cabinet not only looks great but stands strong for years.
Measuring And Cutting
Start by carefully measuring the space where your cabinet will sit. Use a tape measure to note height, width, and depth, and double-check each dimension to avoid costly mistakes.
Cut your wood panels according to these measurements. Use a circular saw for straight, clean cuts—this helps the pieces fit together perfectly. Remember, accurate cuts save time and frustration during assembly.
Assembling The Structure
Lay out your cut pieces on a flat surface to visualize the frame before putting it together. This lets you spot any mismatched parts early on.
Use wood glue and screws to join the pieces, starting with the base and sides. Clamps can hold the frame steady as you work, preventing shifts that cause misalignment.
Ask yourself: Is every corner square? Use a carpenter’s square to check. A perfectly squared frame makes adding shelves and doors much easier later.
Finishing Touches
Finishing touches transform your DIY wardrobe cabinets from simple storage units into stunning focal points in your room. They add personality, enhance durability, and make your cabinets truly yours. Paying attention to these final details ensures a polished, professional look that lasts.
Sanding And Painting
Sanding creates a smooth surface essential for a flawless paint job. Use fine-grit sandpaper to gently rub down rough edges and surfaces. This step helps paint stick better and prevents uneven patches.
Choosing the right paint color can set the tone of your entire space. Matte finishes hide imperfections, while glossy paints highlight details. Think about how your cabinet will complement the rest of your room’s decor.
Have you ever noticed how a fresh coat of paint can change the vibe of a whole room? It’s the same with your wardrobe cabinets. Take your time with thin, even coats and let each layer dry completely for the best results.
Adding Hardware And Accessories
Hardware is where function meets style. Handles, knobs, and pulls don’t just open doors—they add character. Pick designs that reflect your taste, whether modern, rustic, or vintage.
Installing soft-close hinges or drawer slides can make your cabinets feel high-end. These small upgrades improve usability and reduce wear over time. Imagine the satisfaction of a cabinet door that closes quietly and smoothly every time.
Accessories like hooks, internal organizers, or LED lighting can boost your wardrobe’s practicality. Think about your daily routine and what features would make your life easier. What small addition could make you love your cabinet even more?
:max_bytes(150000):strip_icc()/spr-closetmaid-suitesymphony-closet-system-art-silverio-17-d691178a88004c30bf686b22d61c6202.jpeg)
Credit: www.thespruce.com
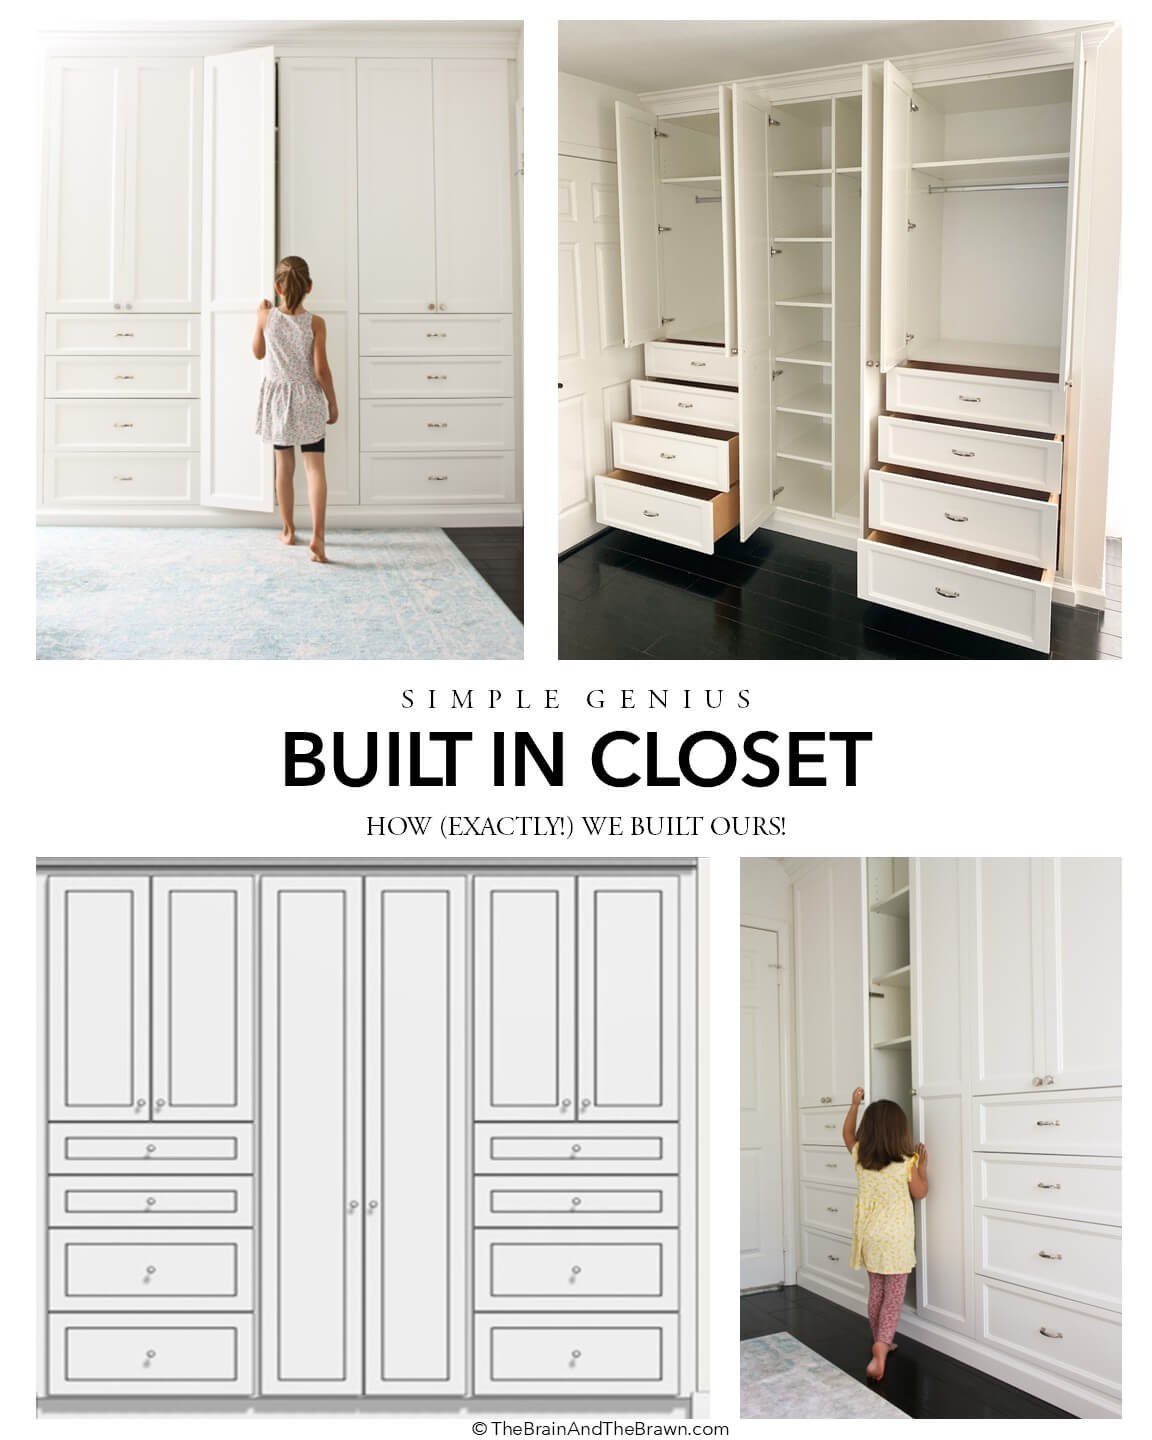
Credit: thebrainandthebrawn.com
Frequently Asked Questions
What Tools Do I Need For Diy Wardrobe Cabinets?
You need basic tools like a saw, drill, screwdriver, measuring tape, and level. These tools help you cut, assemble, and install the wardrobe cabinets efficiently and accurately.
How Much Does It Cost To Build Diy Wardrobe Cabinets?
Costs vary based on materials and size. On average, materials range from $150 to $500. DIY saves labor costs, making it budget-friendly compared to custom cabinets.
How Long Does It Take To Build Wardrobe Cabinets?
Building DIY wardrobe cabinets usually takes 1 to 3 days. Time depends on your skill level, cabinet complexity, and available tools.
Can I Customize Diy Wardrobe Cabinets Easily?
Yes, DIY wardrobe cabinets are fully customizable. You can choose dimensions, materials, finishes, and internal storage to suit your space and style.
Conclusion
Building your own wardrobe cabinets saves money and fits your space well. You control the design and choose materials you like. The process can be fun and rewarding. Small steps each day lead to great results. Enjoy the pride of using something you made yourself.
Start simple, learn as you go, and improve with each project. Your home will feel more organized and personal. DIY wardrobe cabinets bring both style and function together easily. Give it a try and see the difference.


