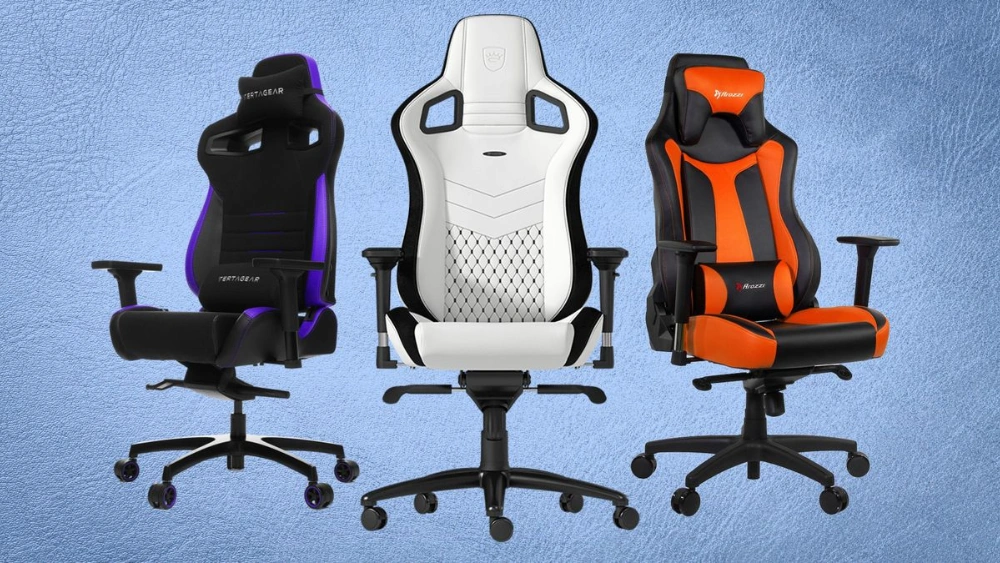
Are you tired of sitting on a boring, uncomfortable chair during your gaming sessions? Imagine having a gaming chair that fits you perfectly, looks exactly how you want, and saves you money.
Building your own gaming chair from scratch might sound hard, but it’s easier than you think. In this guide, you’ll discover simple steps to create a chair that boosts your comfort and style. Ready to take control of your gaming setup and impress your friends?
Keep reading, and let’s get started!

Credit: www.reddit.com
Choosing Materials And Tools
Choosing the right frame materialis key to building a strong gaming chair. Metal frames offer great durabilityand support. Wood frames can be easier to work with but may not last as long. Plastic frames are lightweight but less sturdy. Think about the chair’s weight capacity and stability.
Comfortable paddingmakes a big difference during long gaming sessions. Foam padding is popular for its softnessand support. Memory foam molds to your body shape, increasing comfort. Use thick padding on the seat and backrest to prevent soreness.
| Essential Tools | Purpose |
|---|---|
| Screwdriver | Tighten screws and bolts |
| Drill | Create holes for screws |
| Measuring Tape | Ensure accurate dimensions |
| Staple Gun | Attach fabric or padding |
| Wrench | Secure nuts and bolts |
Constructing The Chair Frame
Start by cutting sturdy wood or metal pieces to form the chair’s base and back support. Join these parts securely to create a strong frame that holds weight well.
Measuring And Cutting Components
Start with measuring each piece carefully. Use a measuring tape for accuracy. Mark the spots with a pencil. Use a saw to cut the wood. Each piece must fit perfectly together. Double-check each measurement before cutting. Mistakes can waste your wood.
Assembling The Base And Backrest
Begin by attaching the base parts. Use screws and a screwdriver for this. Make sure each joint is tight. Next, fix the backrest to the base. Align it straight and secure firmly. A steady hand is helpful here. Ask an adult to assist if needed.
Adding Support And Stability
Support beams make the chair stronger. Attach beams under the seat. Use metal brackets for extra stability. Ensure everything is tight and secure. Test the chair for balance. It should not wobble or tilt.
Finishing Touches And Upholstery
Start by cutting foam padding to fit the chair frame. Use thick foam for seat and back areas for extra comfort. Cover the foam with fabric or leather, pulling it tight to avoid wrinkles. Attach fabric using a staple gun or strong glue. Make sure edges are neat and secure.
Install adjustable parts like armrests, tilt mechanisms, and height levers. Use screws and bolts to fix them firmly. Test each part to ensure it moves smoothly and locks in place. Adjustable features help customize comfort for different users.
Check the chair by sitting and moving in different ways. Look for any loose parts or weak spots. Test how well the padding holds up after pressure. Make sure the chair feels stable, comfortable,and durablebefore using it daily.

Credit: blacklyte.com

Credit: www.youtube.com
Frequently Asked Questions
What Materials Are Needed To Build A Gaming Chair?
You need wood or metal for the frame, high-density foam for cushioning, durable fabric or leather for upholstery, screws, and tools like drills and screwdrivers. Choose quality materials to ensure comfort and durability.
How Long Does It Take To Build A Gaming Chair?
Building a gaming chair typically takes 6 to 12 hours. Time varies based on skill level and design complexity. Proper planning and preparation can speed up the process.
Can I Customize The Gaming Chair Design?
Yes, customization is possible. You can choose colors, materials, cushioning thickness, and ergonomic features. Custom designs enhance comfort and style to fit your personal preferences.
Is Building A Gaming Chair Cost-effective?
Building your own chair can be cost-effective if you source materials wisely. It often costs less than buying high-end models. DIY also allows for personalized features and quality control.
Conclusion
Building a gaming chair from scratch is a rewarding project. It lets you create a chair that fits your style and comfort. Start with simple tools and follow each step carefully. Take your time to choose good materials. Testing your chair often helps ensure safety and comfort.
This hands-on work gives you a unique, personal seat. Enjoy the process and the final product. Now, you have a custom chair ready for long gaming sessions. Keep improving your design with each build.


