Are you staring at that old jewelry armoire in your room, wondering how to bring it back to life? Whether it’s a family heirloom or a thrift store find, refurbishing a jewelry armoire can transform it into a stunning piece you’ll treasure for years.
Imagine opening its doors to find not just your jewelry, but a reflection of your personal style and creativity. By learning how to refurbish it yourself, you’re not just saving money; you’re creating a unique piece that tells your story.
Ready to dive into this rewarding project? Let’s explore how you can turn that tired armoire into the star of your room.
Choosing The Right Materials
Choosing the right materials is key to a successful jewelry armoire refurbishment. The materials you select affect the armoire’s look, feel, and durability. Picking good quality supplies ensures the final product lasts long and looks beautiful. Focus on materials that match your style and the room’s decor. Consider ease of use and maintenance. This helps keep the armoire looking fresh for years.
Selecting Paint And Finishes
Choose paint types designed for wood surfaces. Acrylic and chalk paints work well for a smooth finish. They dry quickly and resist chipping. Pick colors that fit your room’s palette or create contrast for visual interest.
Finish options protect the paint and add shine or matte effects. Clear polyurethane or wax finishes are popular choices. They guard against scratches and moisture. Test finishes on a small area to check the look before full application.
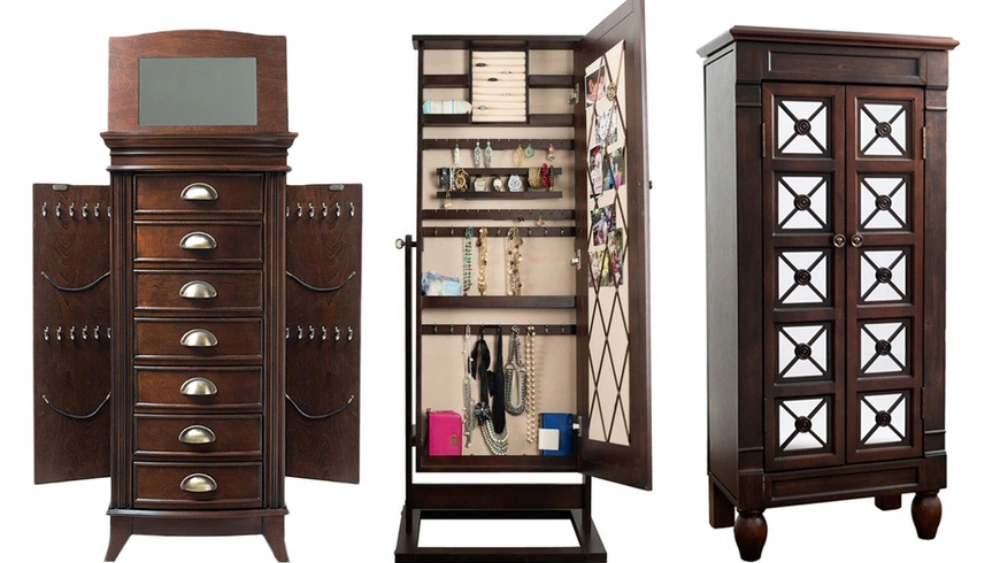
Picking Hardware And Accessories
Hardware adds function and style to your jewelry armoire. Choose knobs, handles, and hinges that match the armoire’s style. Brass, chrome, or vintage-style metals often look great. Make sure hardware fits existing holes or be ready to drill new ones.
Consider adding accessories like hooks, trays, or mirrors inside. These help organize jewelry and improve usability. Soft liners or velvet inserts protect delicate pieces from scratches. Small additions make a big difference in daily use.
Credit: www.clevelandfashionista.com
Prepping The Armoire
Prepping the jewelry armoire sets a strong base for a beautiful finish. This stage clears away dirt and smooths rough spots. It also fixes any flaws that could spoil the look. Taking time here helps the paint or stain stick well. The result is a polished, fresh piece that lasts longer.
Cleaning And Sanding Surfaces
Start by removing all dust and grime from the armoire. Use a gentle soap and water mix with a soft cloth. Dry it completely to avoid moisture damage. Next, sand the entire surface lightly using fine-grit sandpaper. This step helps remove old finish and smooths uneven areas. Sanding also opens wood pores for better paint or stain absorption. Clean off dust with a tack cloth before moving on.
Repairing Damages And Imperfections
Look closely for cracks, chips, or dents in the wood. Fill small holes with wood filler using a putty knife. Let the filler dry fully, then sand smooth. For loose joints or broken parts, apply wood glue and clamp firmly. Wait until glue sets before sanding. Check hardware like hinges and knobs; tighten or replace if needed. Fixing these issues now prevents problems after finishing.
Applying The Makeover
Applying the makeover to your jewelry armoire brings new life to the piece. This stage transforms a plain cabinet into a beautiful storage solution. Careful painting, adding decorative touches, and organizing the inside create a stunning result. Each step builds on the last to ensure a polished finish.
Painting Techniques For A Smooth Finish
Start by sanding the surface to remove old paint or varnish. Use fine-grit sandpaper for a smooth base. Choose a high-quality primer to help paint stick well. Apply the primer evenly and let it dry completely.
Use acrylic or chalk paint for a fresh look. Apply paint in thin, even layers with a soft brush or foam roller. Avoid thick coats to prevent drips and uneven texture. Lightly sand between coats for extra smoothness. Finish with a clear sealant to protect the surface and add shine.
Adding Decorative Elements
Decorative details add charm and personality. Consider using stencils to create patterns or designs. Apply them with a small brush or sponge for precision. Attach new hardware like knobs or handles to update the look. Choose styles that match your room’s decor.
Use adhesive decals or wallpaper on inside panels for surprise accents. Add a small mirror or hooks to increase function and style. Decorative molding or trim can enhance edges and corners. These simple touches make your armoire unique and appealing.
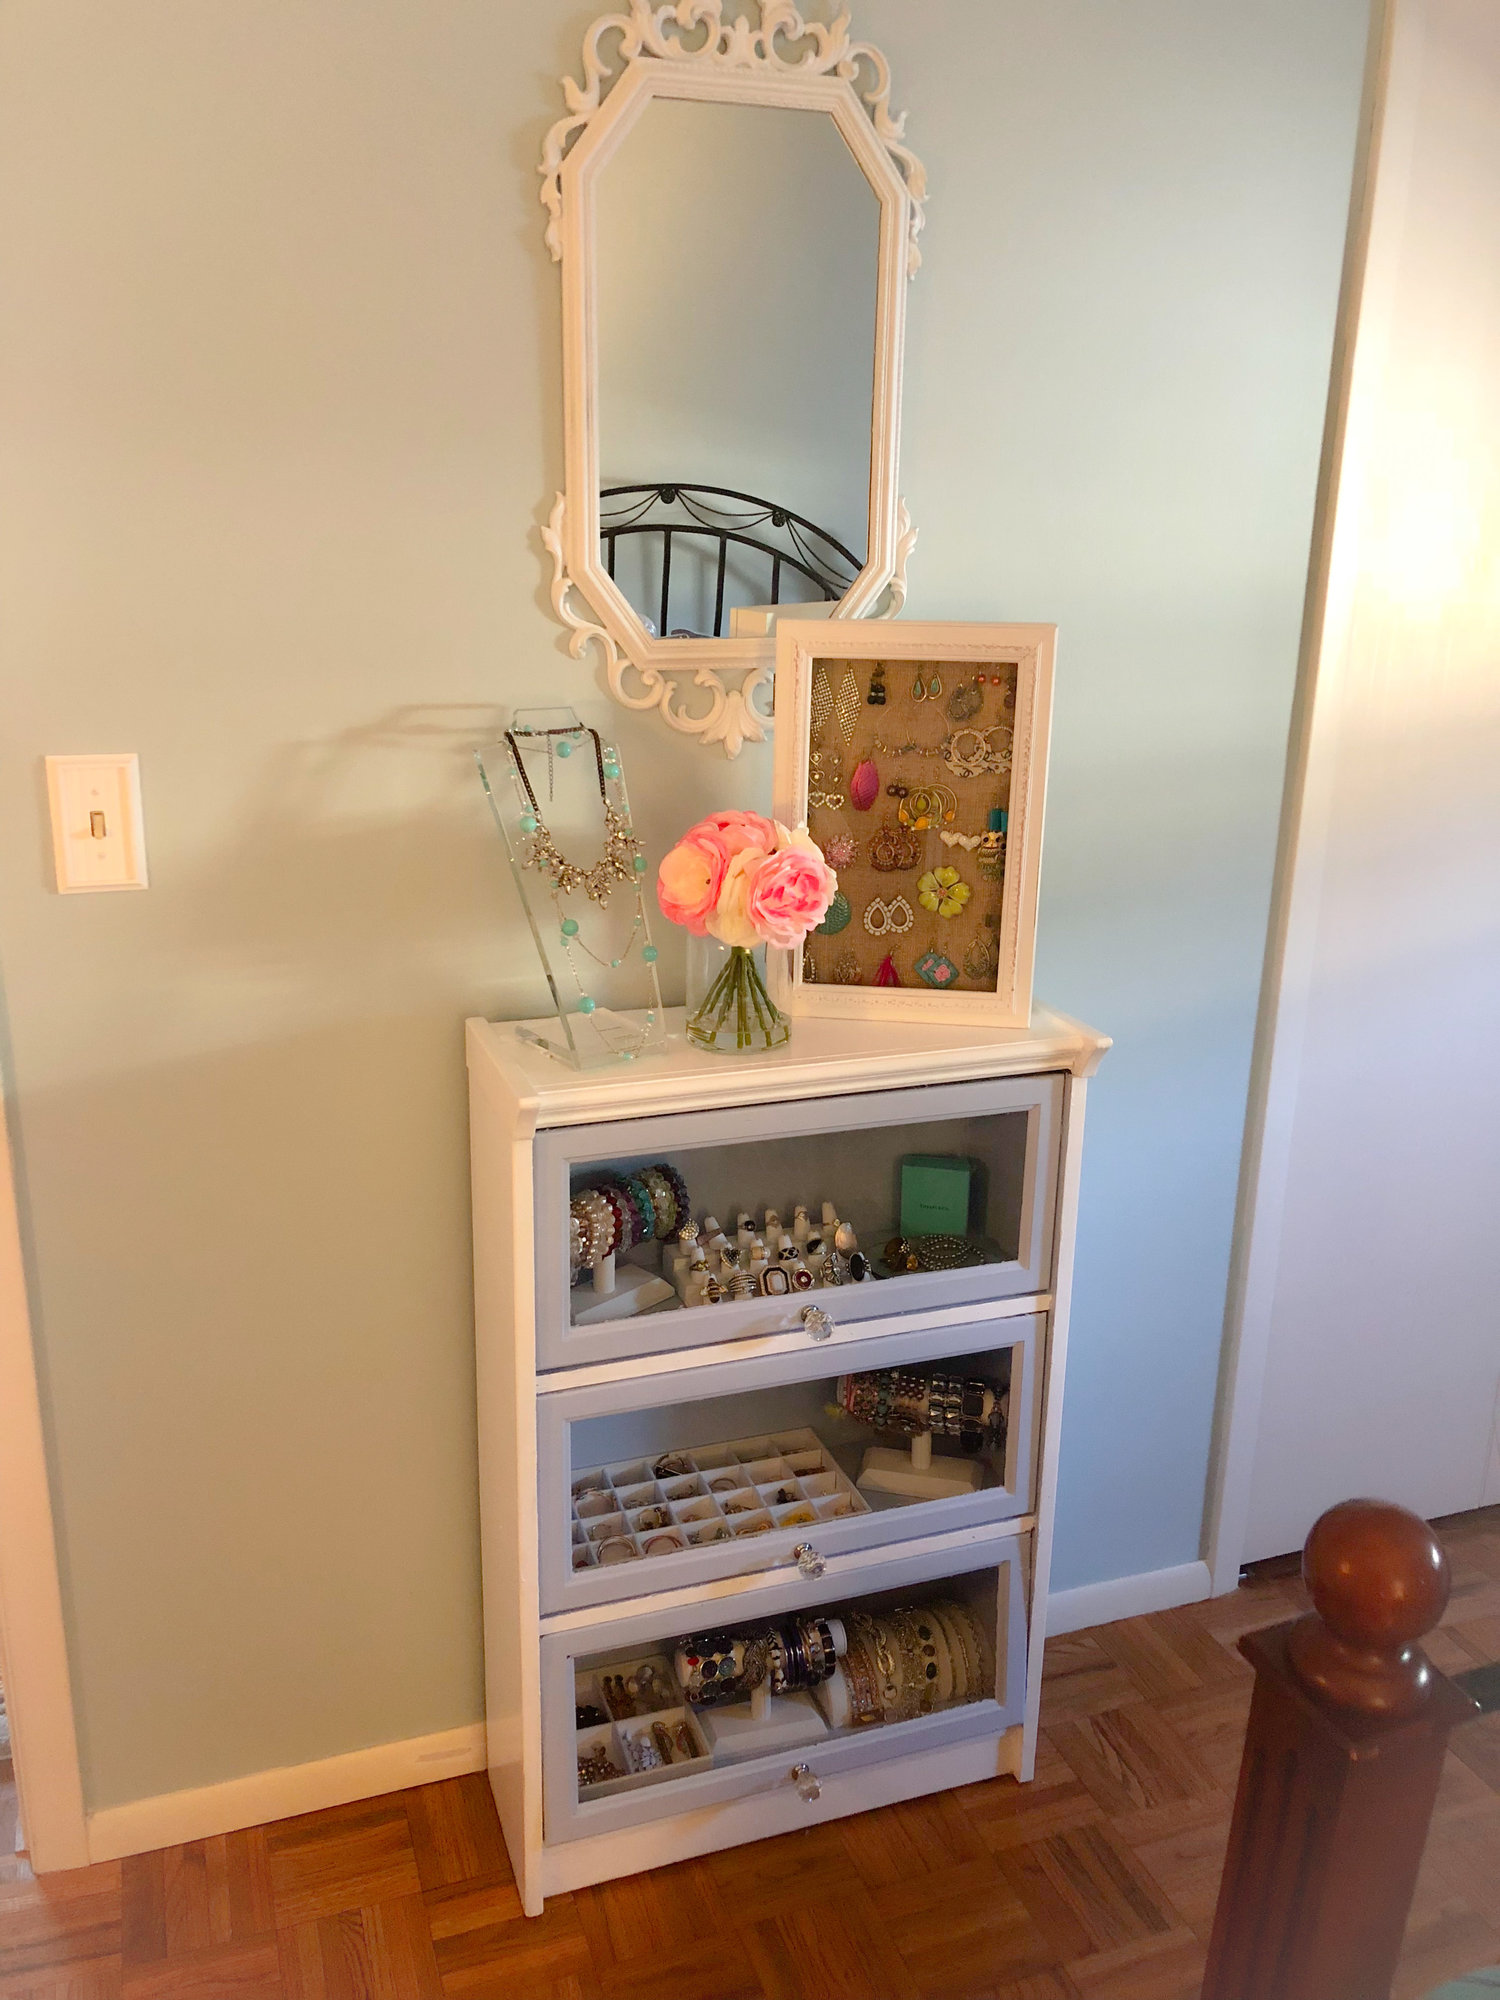
Organizing The Interior
Good organization keeps your jewelry neat and easy to find. Add small trays or dividers to separate rings, earrings, and necklaces. Use soft fabric liners to protect delicate pieces from scratches.
Install hooks or rods to hang bracelets and chains without tangling. Consider stacking boxes or drawer inserts for additional storage. Label sections to quickly locate items. A well-organized interior maximizes space and usability.

Credit: www.youtube.com
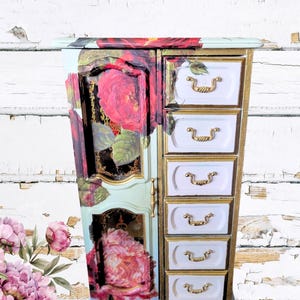
Credit: www.etsy.com
Frequently Asked Questions
What Materials Are Best For Refurbishing A Jewelry Armoire?
Use fine-grain sandpaper, wood stain, quality paint, and protective sealant. These materials restore and protect your armoire effectively.
How Do I Remove Old Finish From A Jewelry Armoire?
Apply a chemical stripper or sand the surface gently. Always work in a ventilated area and wear protective gloves.
Can I Change The Hardware On A Jewelry Armoire?
Yes, replacing knobs and handles modernizes the look. Choose hardware that complements the armoire’s style and size.
How To Repair Scratches On A Wooden Jewelry Armoire?
Use wood filler or wax sticks for minor scratches. Sand lightly and apply matching stain for a seamless finish.
Conclusion
Refurbishing a jewelry armoire can be simple and fun. Choose the right materials and take your time. Small changes make a big difference in appearance. Cleaning, painting, and adding new hardware refresh your piece. You get a unique armoire that fits your style.
Enjoy your refreshed armoire every day. It holds your treasures safely and beautifully. Try these steps and see how easy it is!