Are you looking for a simple way to add both comfort and storage to your outdoor space? Making your own outdoor bench seat with storage is easier than you think—and it can transform your garden, patio, or porch.
Imagine having a cozy spot to sit while keeping your cushions, tools, or toys neatly tucked away. In this guide, you’ll discover step-by-step instructions that anyone can follow, even if you’ve never built furniture before. Keep reading, and you’ll soon have a stylish, practical bench that fits perfectly in your outdoor area.
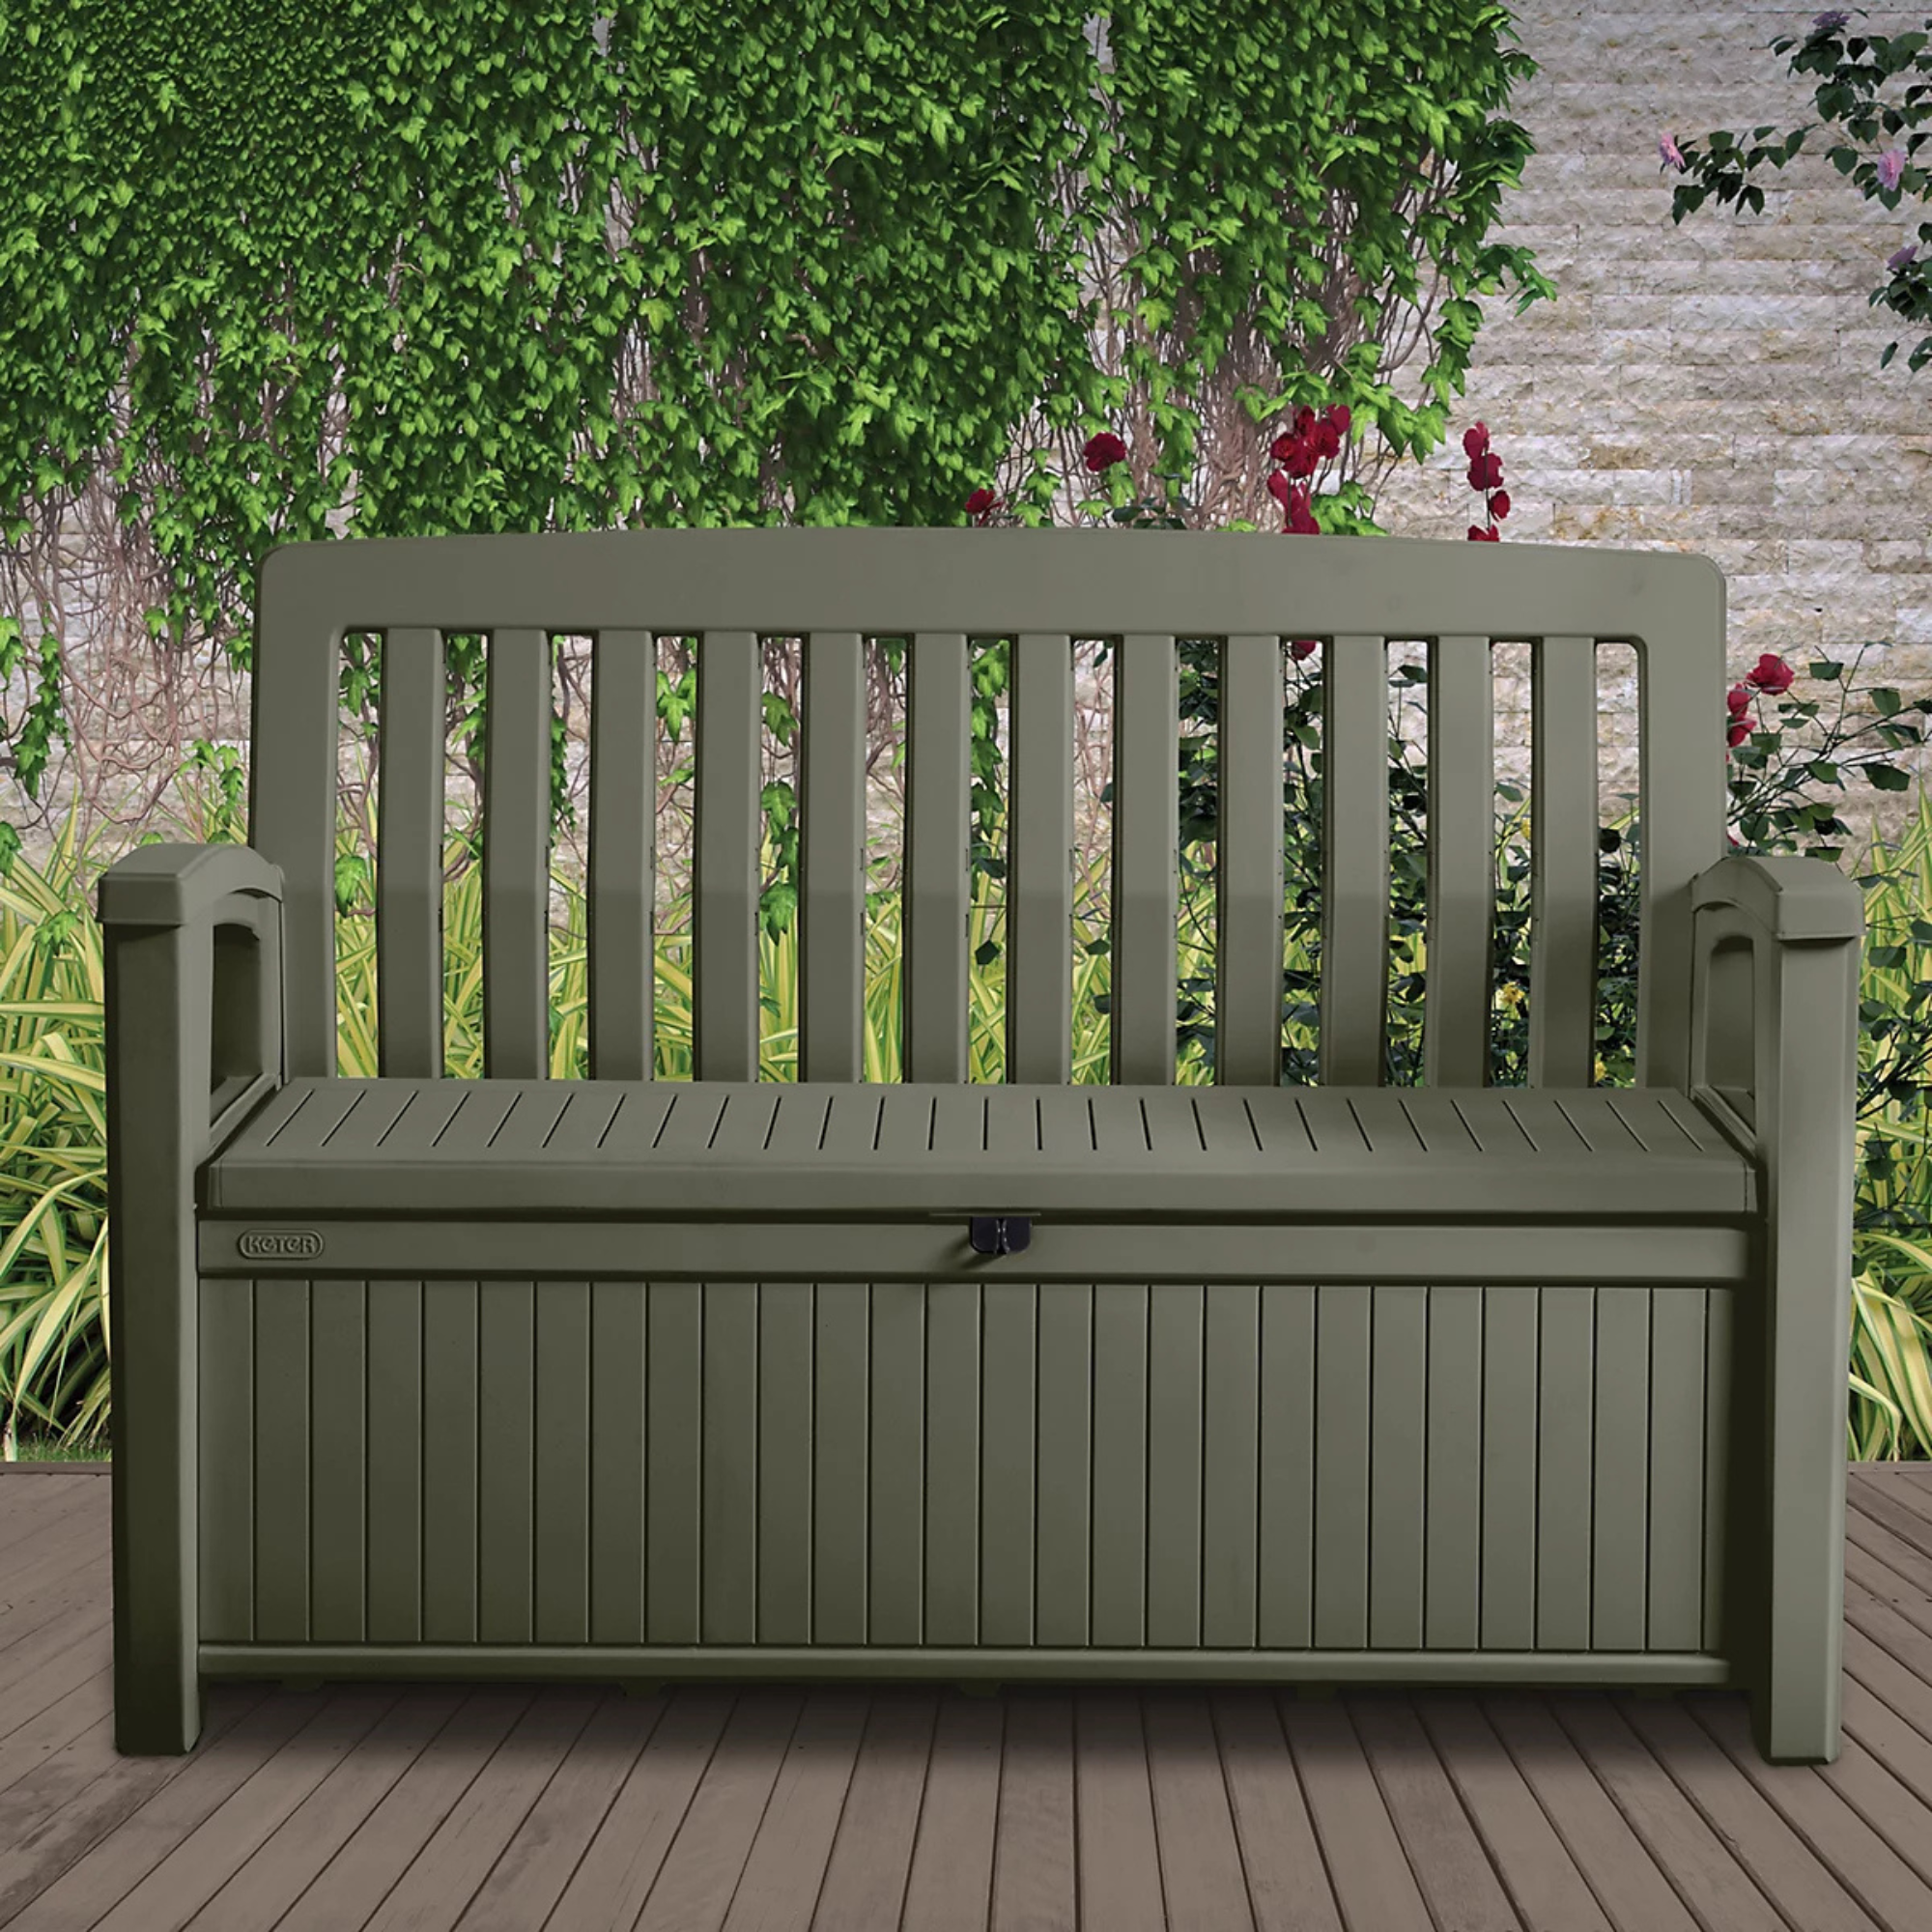
Credit: www.idealhome.co.uk
Choosing Materials
Building an outdoor bench seat with storage needs strong materials. You want wood and hardware that last outside.
Good materials keep the bench safe, sturdy, and useful for years.
Wood Types
Pick wood that can handle weather and looks nice. Some woods resist water and bugs better than others.
Common woods for outdoor benches include cedar, redwood, and teak. These woods last longer outside.
- Cedar:Light, easy to work with, and resists rot.
- Redwood:Strong and has a nice red color.
- Teak:Very durable but can be costly.
- Pine:Affordable but needs sealing to protect.
Hardware Essentials
Choose hardware that holds the bench parts tightly. Use rust-resistant screws and hinges for outdoor use.
Stainless steel or coated metal hardware prevents rust. Good hardware keeps storage lids working well.
- Use stainless steel screws to avoid rust.
- Pick strong hinges for the storage lid.
- Consider weatherproof handles for easy opening.
- Use wood glue for extra strength.

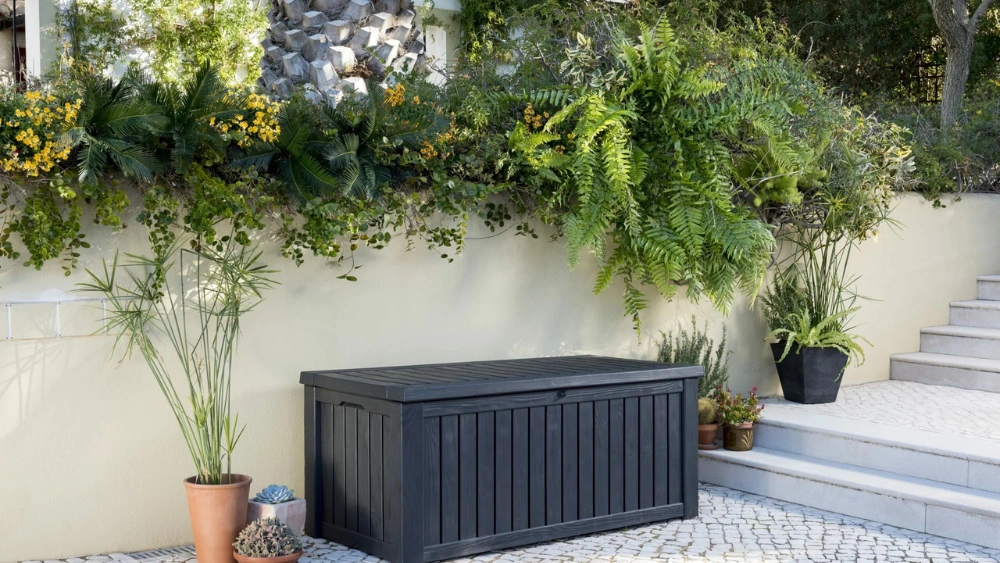
Credit: www.theawesomeorange.com
Planning Your Design
Designing an outdoor bench seat with storage starts with a good plan. You need to think about how much space you have and what style you want.
Creating a detailed plan will help you build a bench that fits your needs and looks great in your yard.
Measuring Space
Before you start building, measure the area where you want to place the bench. This ensures that the bench will fit perfectly in your chosen spot.
Use these tips for accurate measurements:
- Measure the length and width of the available space.
- Consider the height of the bench for comfortable seating.
- Account for extra room around the bench for movement.
Sketching Layout
Once you have the measurements, sketch a layout of the bench. This helps you visualize the design and make adjustments before building.
| Element | Details |
| Bench Length | Measured length of space |
| Bench Width | Measured width of space |
| Storage Section | Determine how much storage you need |
Draw the bench outline and label the parts. This step is crucial for a successful build.
Building The Bench
Building an outdoor bench with storage is a useful and fun project. You will create a sturdy seat and extra space to keep items safe.
This guide covers cutting the wood, putting pieces together, and adding storage features.
Cutting And Assembly
Start by cutting all the wood pieces to the right size. Use a saw and measure twice to avoid mistakes. You will need parts for the seat, legs, sides, and bottom.
- Cut two long boards for the bench seat.
- Cut four legs to the desired height.
- Cut two side panels to connect the legs.
- Cut a back panel for support and stability.
- Cut a bottom panel to hold the storage box.
Next, assemble the pieces using screws and wood glue. Attach the legs to the seat boards first. Then connect the side and back panels. Finally, fix the bottom panel inside the frame.
Adding Storage Features
To make the bench useful for storage, add a hinged seat and compartments inside. This lets you lift the seat and store items safely.
| Storage Feature | Description |
|---|---|
| Hinged Seat | Attach with strong hinges to open and close easily. |
| Internal Compartments | Divide storage space to keep items organized. |
| Handles | Add handles on the sides for easy moving. |
| Ventilation Holes | Prevent moisture inside storage by drilling small holes. |
Use screws to fix hinges on the back edge of the seat. Build small boxes or dividers inside to separate tools or cushions. Add handles on the sides for easy carrying.
Finishing Touches
Finishing touches make your outdoor bench seat look great and last longer. They protect the wood from weather and wear.
Paying attention to sanding, sealing, painting, and decorating will improve your bench’s appearance and durability.
Sanding And Sealing
Sanding smooths the wood and removes rough spots. Use fine-grit sandpaper for the best finish.
Sealing protects the wood from moisture and sun damage. Apply a good outdoor wood sealer evenly over all surfaces.
- Sand all surfaces with 120 to 220 grit sandpaper
- Wipe off dust with a clean cloth before sealing
- Apply at least two coats of outdoor sealer
- Let each coat dry fully before applying the next
Painting And Decorating
Painting adds color and extra protection to your bench. Use outdoor paint that can handle weather changes.
Decorating allows you to personalize the bench. Use stencils or freehand designs for a unique look.
- Choose outdoor paint made for wood surfaces
- Apply a primer before painting for better adhesion
- Use brushes or rollers for smooth coverage
- Add cushions or pillows for comfort and style
Credit: www.lostateminor.com
Frequently Asked Questions
What Materials Are Best For Outdoor Bench Seat With Storage?
Wood like cedar or teak is best for outdoor benches. They resist weather and last longer. Waterproof sealant protects wood from moisture and sun damage.
How Do I Waterproof An Outdoor Bench Seat?
Use outdoor-grade sealant or varnish. Apply two to three coats for full protection. Let each coat dry completely before adding the next layer.
Can I Build A Bench With Storage Without Tools?
Basic tools like a saw, drill, and screwdriver are needed. For beginners, a simple design with pre-cut wood kits can help.
How Much Does It Cost To Build A Storage Bench?
Costs vary by materials and size but expect $50 to $150. Using reclaimed wood can reduce expenses.
Conclusion
Building an outdoor bench seat with storage adds both comfort and function. You can keep your space tidy by storing items inside. This project suits beginners and can be completed with basic tools. Choose weather-resistant materials to ensure durability. Personalize your bench with paint or cushions for extra style.
Enjoy relaxing outside with a handy seat that saves space. Start your DIY project today and see the difference it makes. Simple steps lead to a useful and attractive outdoor bench.