Have you ever noticed the default Zen Cart icon sitting on your bookmark bar and wished it looked a little more personal or professional? Changing that small icon can make a big difference every time you open your browser.
It’s a simple tweak that helps your website stand out and feel more polished. You’ll discover exactly how to change the Zen Cart icon on your bookmark bar—step by step, with no confusing tech jargon. Keep reading, and you’ll have your custom icon up and running in no time.
Locate The Current Zen Cart Icon
The Zen Cart icon appears on the bookmark bar of your web browser. It helps you find your store quickly. To change this icon, you need to find where the current icon is stored.
This guide will help you locate the current Zen Cart icon on your website. Knowing its location makes it easier to replace with a new image.
Check Your Website Root Folder
The Zen Cart icon is often stored in the root folder of your website. This folder holds important files for your site.
Look for a file named “favicon.ico” or similar. This file is usually the icon shown on the bookmark bar.
- Access your website files via FTP or hosting control panel
- Open the root folder, often named “public_html” or “www”
- Look for “favicon.ico” or “favicon.png”
Check The Zen Cart Template Folder
Sometimes, Zen Cart icons are inside the template folder. This folder holds theme files for your store.
Look inside the folder named “includes/templates” followed by your template name. Look for image files used as icons.
- Open “includes” folder in your Zen Cart root
- Go to “templates” then your active template folder
- Search for files like “favicon.ico” or small PNG images
View Source Code To Find Icon Url
You can find the icon location by checking your website’s source code. The icon URL is in the HTML header.
Open your Zen Cart homepage in a browser. Right-click and choose “View Page Source” or “Inspect.” Search for “favicon” in the code.
- Open Zen Cart homepage in a browser
- Right-click and select “View Page Source”
- Use search (Ctrl+F) to find “favicon”
- Note the URL path of the icon file
Check Browser Cache And Bookmark Settings
The bookmark bar icon may come from your browser cache. Clear cache to see if the icon updates after replacement.
You can also check bookmark properties to confirm the icon URL used by the browser. This helps verify the icon’s location.
Credit: pageflows.com
Create A Custom Icon
Changing the Zen Cart icon on the bookmark bar makes your site unique. A custom icon gives your store a special look.
Creating a custom icon is simple and helps in branding. You need to know the right size and design for clarity.
Choose The Right Size And Format
Your icon needs to be the correct size to display well. The standard size for bookmarks is 16×16 pixels.
Use formats like PNG or ICO for best results. These formats ensure your icon looks good on all browsers.
- 16×16 pixels size fits bookmark bars
- PNG and ICO formats are widely supported
- Ensure the icon is clear and sharp
Design Tips For Clear Visibility
Your icon should be clear and easy to recognize. Simple designs are often the most effective.
Use contrasting colors to make the icon stand out. Avoid too many details that can be lost in small sizes.
- Keep the design simple and bold
- Use contrast to ensure visibility
- Limit the use of intricate details
Replace The Icon In Zen Cart Files
Changing the icon shown on the bookmark bar in Zen Cart can improve your site’s branding. You need to replace the default icon file in the Zen Cart system.
This guide explains how to access your server and upload a new icon to change the bookmark bar icon.
Accessing The Server
First, you must connect to your web server where Zen Cart is installed. Use an FTP client or file manager in your hosting control panel.
Look for the folder where your Zen Cart files are stored. This is often in the public_html or www directory.
- Open your FTP client or hosting file manager
- Enter your server address, username, and password
- Navigate to the Zen Cart root folder
Uploading The New Icon
The bookmark bar icon is usually a file named favicon.ico or favicon.png. Find this file in the Zen Cart root directory.
Upload your new icon file with the same name to replace the old one. Make sure your icon file is 16×16 or 32×32 pixels.
- Prepare your new icon file in .ico or .png format
- Rename it to favicon.ico or favicon.png as needed
- Upload and overwrite the old icon file on the server
- Clear your browser cache to see the new icon

Credit: www.reddit.com
Clear Cache And Verify Changes
After changing the Zen Cart icon on your bookmark bar, clearing the cache is important. This helps your browser show the new icon instead of the old one.
Verifying the changes ensures that the new icon appears correctly. Follow these steps to clear your browser cache and test the updated icon.
Browser Cache Clearing
Your browser saves images to load sites faster. This is called cache. It can keep showing the old Zen Cart icon.
Clearing the cache removes saved files and forces the browser to load the new icon.
- Open your browser settings or preferences.
- Find the section for clearing browsing data or cache.
- Select cached images and files to delete.
- Clear the cache and restart the browser.
Testing The Updated Icon
After clearing the cache, check if the new icon appears on the bookmark bar. This confirms the change was successful.
If the icon does not update, try refreshing the page or restarting the browser again.
- Open the Zen Cart website.
- Look at the bookmark bar icon.
- Refresh or restart if the icon is old.
- Clear cache again if needed.
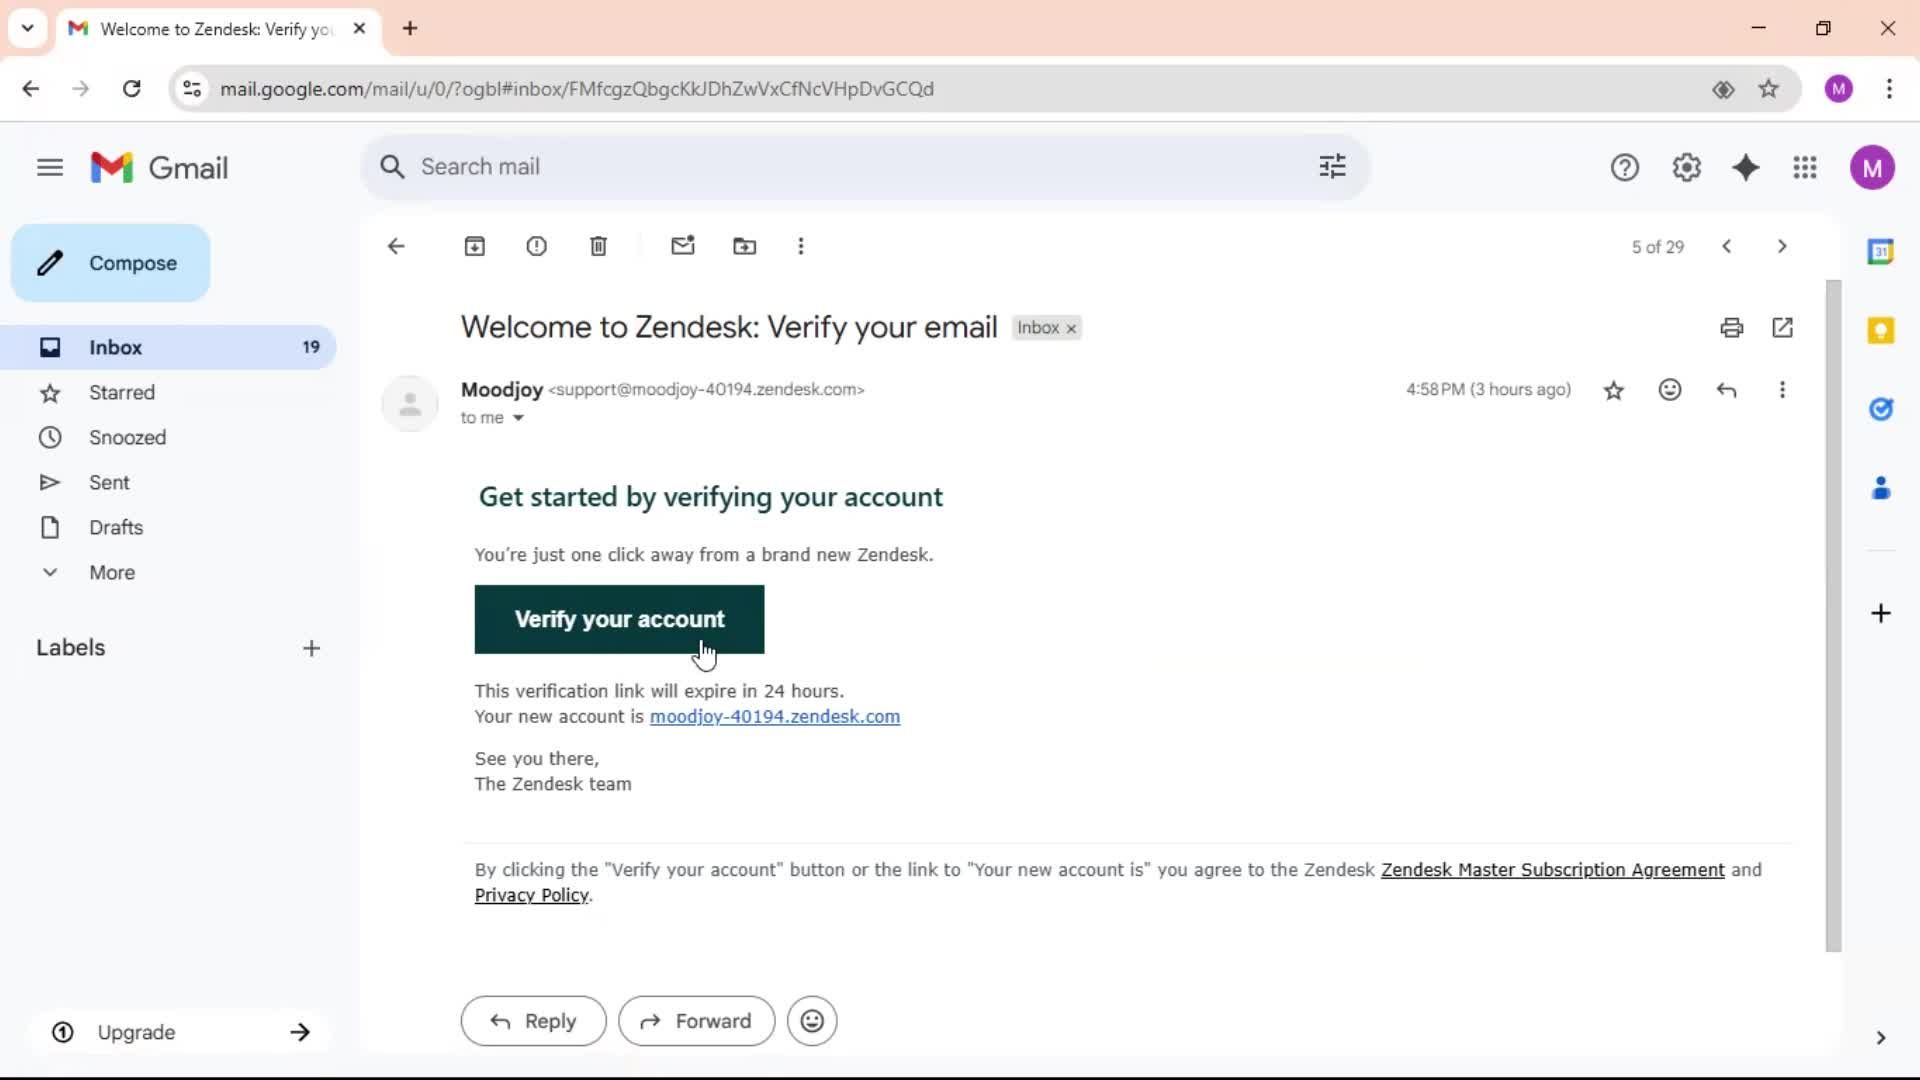
Credit: pageflows.com
Frequently Asked Questions
How Do I Change The Zen Cart Bookmark Icon?
To change the Zen Cart bookmark icon, replace the favicon. ico file in your site’s root directory. Upload a new 16×16 pixel icon, clear your browser cache, and refresh the page to see the updated icon.
Why Isn’t My New Zen Cart Icon Showing?
If the new icon doesn’t appear, clear your browser cache and reload the page. Ensure the favicon. ico is correctly named and placed in the root directory of your Zen Cart installation.
Can I Use Png Files For Zen Cart Icons?
Zen Cart prefers favicon. ico files, but modern browsers support PNG format. For best compatibility, convert your icon to. ico format before uploading to Zen Cart’s root folder.
Where Is The Zen Cart Favicon Located?
The Zen Cart favicon is located in the website’s root directory as favicon. ico. You can replace this file to update the bookmark icon shown in browsers.
Conclusion
Changing the Zen Cart icon on your bookmark bar is simple and quick. A personalized icon helps your site stand out and looks professional. Follow the easy steps to update the icon without any trouble. This small change improves your store’s branding and user experience.
Keep your site fresh and recognizable with a custom bookmark icon. Try it today and see the difference yourself.


