
Looking to add a touch of charm and practicality to your space? Building a small vanity table could be the perfect project for you.
Imagine having a personal spot where you can get ready, organize your beauty essentials, and even boost your confidence every day. This guide will walk you through simple steps to create a stylish and functional vanity table that fits your space and style.
By the end, you’ll have a beautiful piece made by your own hands—designed just for you. Ready to transform your room and daily routine? Let’s get started!
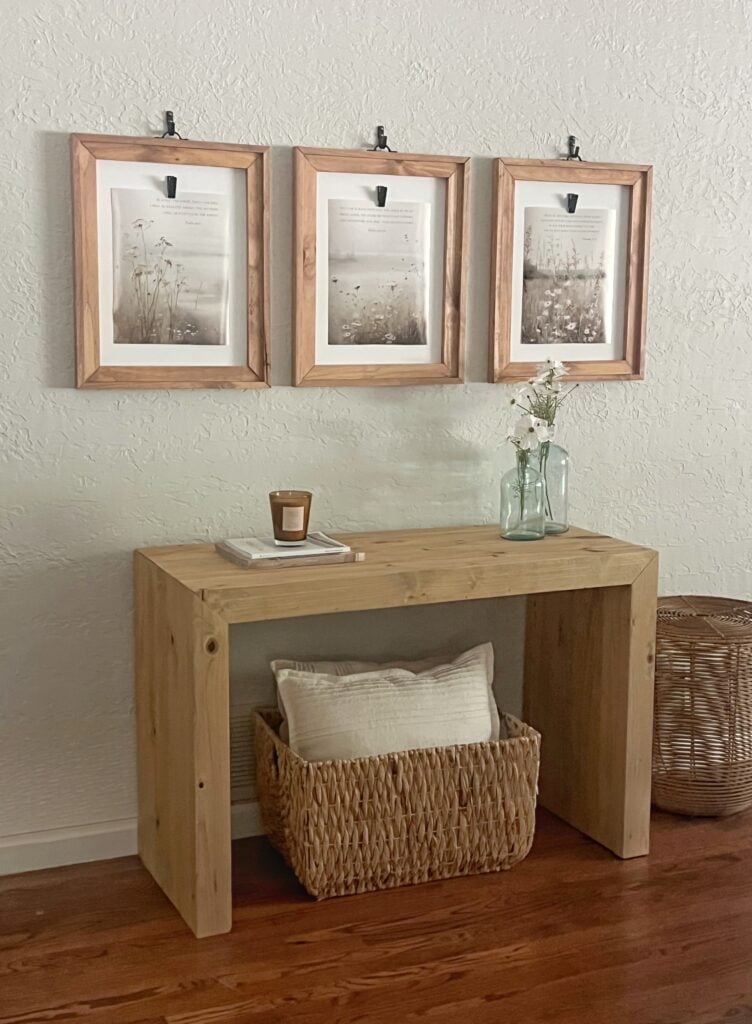
Credit: www.shanty-2-chic.com
Choosing Materials And Tools
Building a small vanity table is a fun project you can do at home. Picking the right materials and tools is important.
Good choices make your table strong and look nice. Let’s talk about wood and tools you will need.
Selecting Wood Types
Wood is the main part of your vanity table. Different woods have different looks and strengths.
Choose wood that fits your style and budget. Hardwoods last longer but cost more. Softwoods are easier to work with.
- Oak:Strong and durable with a nice grain.
- Pine:Soft, easy to cut, and affordable.
- Maple:Hard and smooth, good for painting.
- Birch:Light color and good for stains.
- MDF:Cheap and smooth, but less durable.
Essential Tools Checklist
You need the right tools to build your vanity table safely and well. Some tools are for cutting, others for joining parts.
Gather these tools before you start. They help make your work easier and faster.
- Measuring tape – for exact sizes
- Pencil – to mark cuts and holes
- Handsaw or circular saw – for cutting wood
- Drill with bits – to make holes and drive screws
- Screwdriver – to tighten screws
- Clamps – to hold pieces while gluing or screwing
- Sandpaper or electric sander – to smooth surfaces
- Wood glue – to join parts firmly
- Square – to check corners are right angles

Credit: www.amazon.com
Designing Your Vanity Table
Creating your own vanity table is a fun project. It lets you have a personalized space for your beauty routine.
Follow these simple steps to design a vanity table that fits perfectly in your room.
Measuring Space
Before you start, measure the area where your vanity table will go. This helps in selecting the right size for your table.
- Use a tape measure for accurate dimensions.
- Write down the width, height, and depth available.
- Ensure there’s enough space for a chair.
Sketching The Layout
Once you have your measurements, sketch a simple layout of your vanity table. This will serve as a guide during assembly.
Consider these design elements:
- Number of drawers needed for storage
- Placement of mirror for optimal lighting
- Space for makeup and accessories
| Feature | Importance |
| Drawers | High |
| Mirror | Medium |
| Chair Space | High |
Step-by-step Assembly
Building a small vanity table can be simple with clear instructions. This guide helps you assemble your table step-by-step.
Follow the sections below carefully to cut, prepare, join, and secure all parts of your vanity table.
Cutting And Preparing Pieces
Start by cutting all wood pieces to the correct size. Sand each piece to make the surfaces smooth and safe to touch.
- Measure and mark each piece carefully
- Cut pieces using a saw or have them cut at a store
- Sand edges and faces until smooth
- Check all pieces for any damage or defects
- Organize pieces by their role in the table
Joining And Securing Parts
Use glue and screws to attach parts firmly. Make sure each joint is tight and aligned.
| Part | Joining Method | Tools Needed |
|---|---|---|
| Tabletop to legs | Wood glue and screws | Drill, screwdriver |
| Drawers to frame | Wood glue and nails | Hammer, wood glue |
| Leg braces | Screws | Drill, screwdriver |
| Mirror frame | Glue and small nails | Hammer, wood glue |
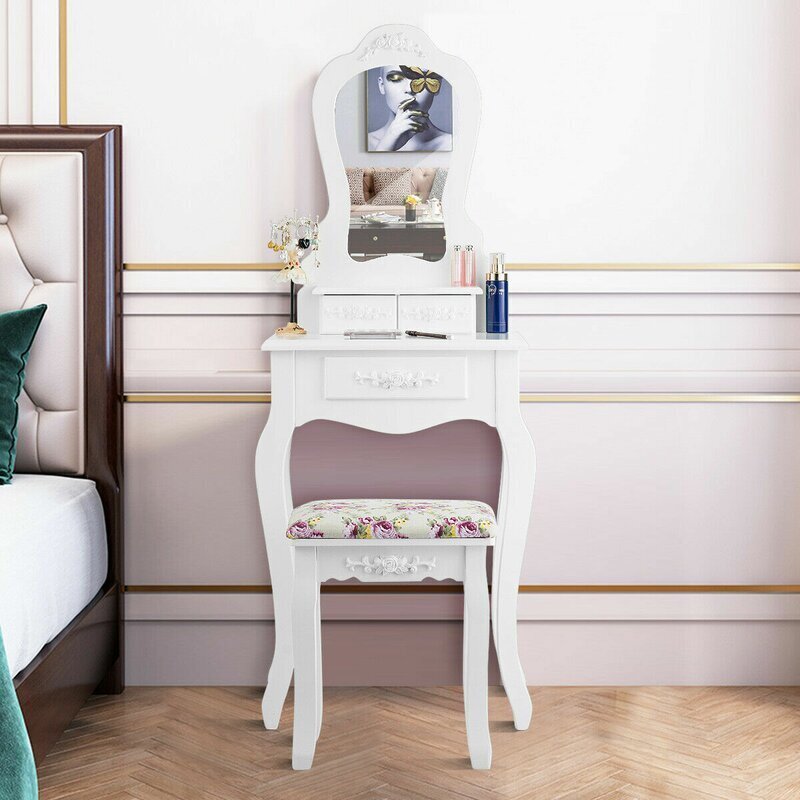
Credit: foter.com
Finishing Touches
Finishing touches make your vanity table look complete and polished. They protect the wood and add style.
Focus on painting or staining and adding hardware or accessories. These steps improve both look and function.
Painting And Staining
Painting or staining your vanity table changes its appearance and protects it from damage. Choose a finish that fits your room’s style.
Use smooth, even strokes to apply paint or stain. Let each coat dry before adding another one for the best results.
- Light colors brighten small spaces
- Dark stains show wood grain clearly
- Use a sealant to protect the surface
- Sand between coats for smoothness
Adding Hardware And Accessories
Hardware and accessories add both beauty and function to your vanity table. Choose handles and knobs that match your style.
Add mirrors, small trays, or organizers to keep your table neat. These items make your vanity more useful every day.
- Pick hardware that fits your table’s size
- Match metal finishes for a unified look
- Use drawer organizers for small items
- Add a mirror for convenience
Frequently Asked Questions
What Materials Are Best For Building A Small Vanity Table?
Wood like pine or oak is ideal for durability and style. Use plywood for the tabletop. Add metal or wooden legs for support. Choose materials that fit your budget and room decor.
How Much Space Is Needed For A Small Vanity Table?
A small vanity table typically requires 24 to 30 inches in width. Depth should be around 16 to 18 inches. Ensure there’s enough room for a chair and movement around the table.
What Tools Are Necessary To Build A Vanity Table?
Basic tools include a saw, drill, measuring tape, and screwdriver. Sandpaper smooths edges, while clamps hold pieces together. Having a level and wood glue also helps in assembly.
How Can I Add Storage To A Small Vanity Table?
Incorporate small drawers or shelves under the tabletop. Use organizers or trays on top for cosmetics. Vertical storage like wall-mounted shelves can save surface space.
Conclusion
Building a small vanity table can be simple and fun. Start with the right materials and tools. Follow each step carefully to avoid mistakes. Take your time to paint or decorate it nicely. A small vanity adds style and space to any room.
Enjoy your new, useful piece of furniture every day. Try customizing it to fit your needs perfectly. Your effort will create a lovely spot to get ready. Simple projects like this bring great satisfaction and charm.


